Introduction
There’s something undeniably magical about biting into a freshly made donut. The warm, soft texture that melts in your mouth, paired with a sweet glaze that brings comfort and joy, is a culinary experience that many cherish. Homemade donuts, in particular, evoke feelings of nostalgia, reminiscent of childhood mornings spent at local bakeries or family gatherings filled with laughter and the scent of sugary treats wafting through the air. In today’s fast-paced world, indulging in a homemade donut is not just a treat—it’s a delightful escape into comfort food that warms the soul.
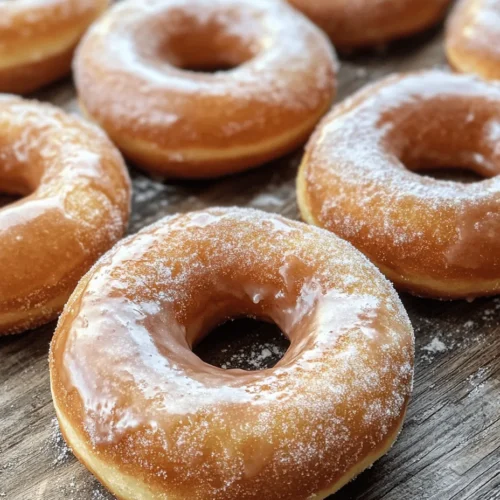
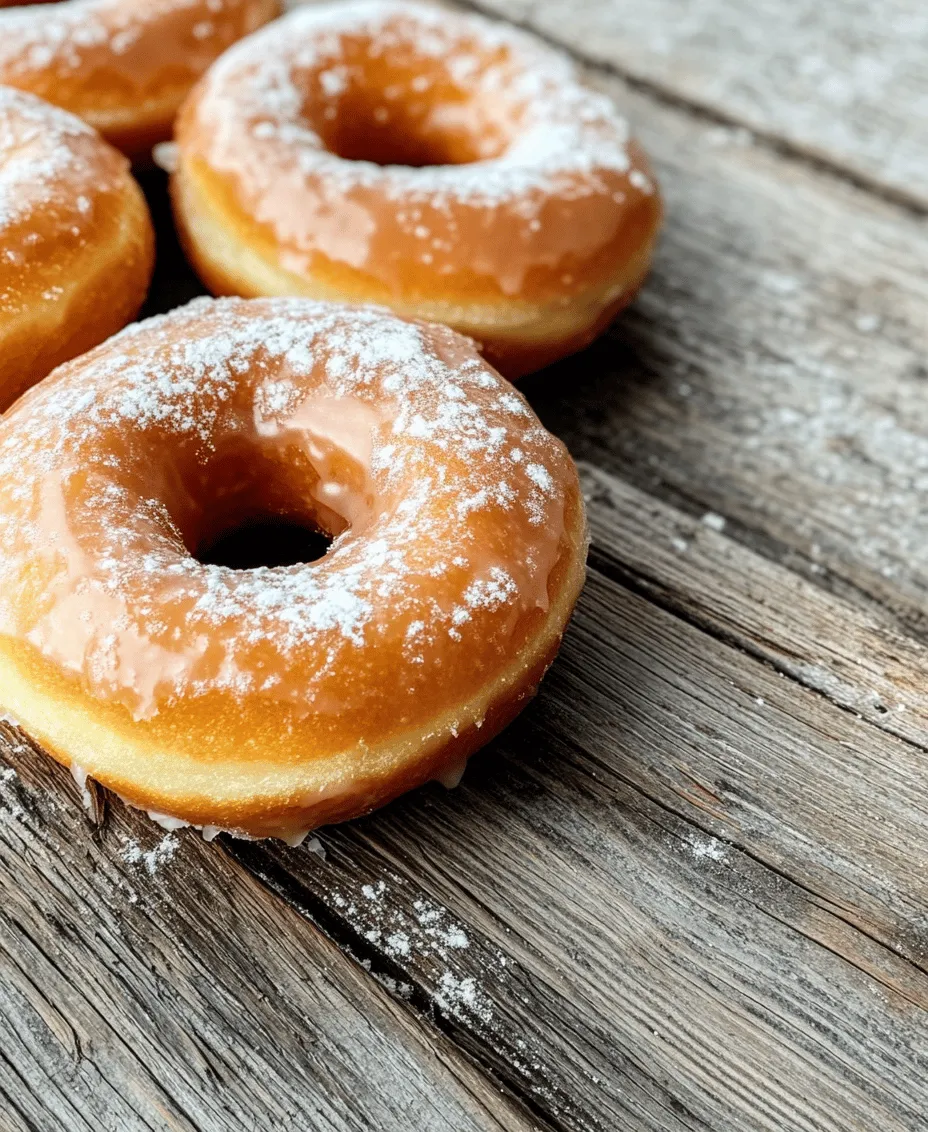
These “Melt In Your Mouth Glazed Donuts” are not just any ordinary donuts; they are crafted to perfection. The secret lies in a combination of quality ingredients and a few simple techniques that create a delightful texture and flavor that will leave you craving more. Their pillowy softness, coupled with a glossy, sweet glaze, makes them irresistible. Whether served at breakfast, as a snack, or at a special celebration, these donuts are sure to impress family and friends alike.
Understanding the Ingredients
Importance of Quality Ingredients
When it comes to baking, the quality of your ingredients can make or break your recipe. Using fresh and high-quality ingredients not only enhances the flavor of your donuts but also contributes to their texture, ensuring that each bite is as delightful as the last. For these melt-in-your-mouth glazed donuts, every component plays a crucial role in creating the perfect balance of taste and texture.
Overview of the Basic Ingredients
1. All-Purpose Flour: This is the backbone of our donut recipe. All-purpose flour is preferred for its versatility, providing the right amount of gluten to give the donuts structure while still remaining soft. Using too much flour can lead to dense donuts, so measuring accurately is key.
2. Granulated Sugar vs. Powdered Sugar: In this recipe, granulated sugar is used in the dough to add sweetness and enhance the flavor. Powdered sugar, on the other hand, is used for the glaze. It dissolves easily, creating a smooth, glossy finish that coats the donuts beautifully.
3. Buttermilk: This ingredient is essential for achieving a tender crumb. The acidity in buttermilk reacts with baking soda and baking powder, helping to leaven the donuts while also imparting a rich flavor. If you don’t have buttermilk on hand, you can easily make a substitute by mixing milk with a little vinegar or lemon juice.
4. Melted Butter: Using melted butter instead of solid butter in this recipe ensures that the fat is evenly distributed throughout the dough, resulting in a richer flavor and more tender texture. It also helps to keep the donuts moist.
5. Baking Powder and Baking Soda: These leavening agents are vital for achieving the perfect rise. Baking powder provides a quick lift, while baking soda helps to enhance browning and flavor. Together, they create a light and airy donut that’s still substantial enough to hold its shape.
6. Vanilla Extract: This ingredient adds a depth of flavor that elevates the overall taste of the donuts. A good quality vanilla extract can make a significant difference, enhancing the sweetness and aroma of the finished product.
Step-by-Step Guide to Making Melt In Your Mouth Glazed Donuts
Preparation Before You Start
Before diving into the joyous process of donut-making, it’s important to set up your kitchen for success. A little preparation goes a long way in ensuring that your baking experience is smooth and enjoyable.
Essential Tools and Equipment:
– Mixing Bowls: You’ll need at least two mixing bowls—one for dry ingredients and one for wet ingredients.
– Frying Pan or Deep Fryer: A deep-frying pan or a fryer will be necessary for cooking the donuts. Ensure it has high sides to contain the oil and prevent splatters.
– Donut Cutter: A donut cutter is ideal for shaping your donuts, but if you don’t have one, you can use two round cookie cutters of different sizes to create the classic ring shape.
– Thermometer: A kitchen thermometer is essential for checking the oil temperature to ensure your donuts fry perfectly without burning.
– Cooling Rack: Once your donuts are fried, a cooling rack will help drain excess oil and prevent them from becoming soggy.
Mixing the Dough
Now that your kitchen is set up, it’s time to mix the dough. This step is crucial for creating the perfect texture in your donuts.
1. Whisking Dry Ingredients: Start by combining your all-purpose flour, granulated sugar, baking powder, baking soda, and a pinch of salt in a mixing bowl. Whisk these ingredients together until they are well combined. This helps to evenly distribute the leavening agents and ensures that your donuts rise uniformly.
2. Combining Wet Ingredients: In a separate bowl, mix together the buttermilk, melted butter, and vanilla extract. Make sure the melted butter is not too hot, as this can cook the eggs if you add them directly into the mixture. If your recipe calls for eggs, beat them lightly before adding them to the wet ingredients.
3. Combining Wet and Dry Ingredients: Gradually add the wet mixture to the dry ingredients, stirring gently with a spatula or wooden spoon. The key here is to combine them until just mixed; overmixing can lead to tougher donuts. It’s okay if there are a few lumps in the batter—this will help keep the donuts light and fluffy.
Chilling the Dough
After mixing, it’s time to chill the dough. This step is crucial for achieving the right texture in your donuts.
1. Why Chilling the Dough is Crucial: Chilling the dough helps to relax the gluten, ensuring that the donuts remain tender. It also makes the dough easier to handle when shaping, reducing stickiness.
2. Tips on Properly Covering and Refrigerating the Dough: Transfer the dough to a lightly floured surface and shape it into a disk. Wrap it tightly in plastic wrap or place it in an airtight container. Refrigerate the dough for at least 30 minutes, or up to overnight, if time allows. This not only improves the texture but also allows the flavors to meld beautifully.
Shaping the Donuts
Once your dough has chilled, it’s time to shape the donuts. This step is where the magic happens!
1. Rolling Out the Dough: On a floured surface, roll the chilled dough to about ½-inch thickness. Be sure to use enough flour to prevent sticking, but not so much that it alters the dough’s consistency.
2. Cutting the Donuts: Use your donut cutter or cookie cutters to cut out the donuts. Start from the outer edge and work your way in, ensuring that you cut as close together as possible to avoid wasting any dough. After cutting, you can re-roll the scraps to make additional donuts.
3. Preparing to Fry: Once shaped, let the donuts rest for a few minutes. This allows them to puff up slightly, which will help achieve that light and airy texture you’re aiming for. Meanwhile, heat your oil in the frying pan or deep fryer to around 350°F (175°C). Use your thermometer to keep an eye on the temperature, as too hot oil can burn the donuts, while too cool oil can result in greasy, undercooked donuts.
As you prepare to fry your donuts, the anticipation builds. The process of making these melt-in-your-mouth glazed donuts is not just about the end result; it’s about the joy of creating something delicious from scratch. Stay tuned for the next part of this recipe, where we will delve into the frying process, the glazing technique, and how to serve these delightful treats to your family and friends.
Rolling Out the Dough and Cutting Shapes
Once your donut dough has rested and risen, it’s time to roll it out and cut your donut shapes. Start by lightly flouring your workspace and the rolling pin to prevent sticking. Carefully transfer the dough onto the floured surface. Using your rolling pin, roll the dough to about ½ inch thick; this thickness is crucial for achieving that melt-in-your-mouth texture.
To cut the donuts, you can use a donut cutter, which has a larger outer and a smaller inner ring. If you don’t have a donut cutter, a large glass or cookie cutter and a smaller round object, such as a bottle cap, can work just as well. Press down firmly to cut through the dough, ensuring you’re creating clean edges. Once all donuts are cut, gather any scraps, re-roll the dough, and cut out additional donuts. This process may yield around 12-15 donuts, depending on the size.
Tips for Achieving the Perfect Thickness
Consistency in thickness is key to ensuring that your donuts fry evenly. If the dough is too thick, the insides may remain raw while the outsides become overly golden. Conversely, if the dough is too thin, the donuts may turn out overly crisp and lack the fluffy texture we aim for. Aim for a uniform thickness of about ½ inch, and use a ruler or your fingers to gauge this if you feel uncertain.
Frying the Donuts
Frying donuts is where the magic truly happens. To begin, choose a heavy-bottomed pot or a deep fryer for even heat distribution. Fill it with oil to a depth of about 2-3 inches, ensuring enough space for the donuts to float while frying.
Importance of Oil Temperature for Frying
The temperature of the oil is crucial when frying donuts. Ideally, you want the oil to be between 350°F and 375°F. Use a candy or deep-fry thermometer to monitor the temperature accurately. If the oil is too cool, the donuts will absorb excess oil and become greasy. If too hot, they will brown quickly on the outside while remaining raw inside.
How to Know When the Donuts Are Done
Donuts typically take about 1-2 minutes per side to fry, depending on their size. They should be golden brown and puffed up when done. To check for doneness, use a slotted spoon to lift a donut and tap the bottom; it should feel firm and slightly springy. Alternatively, you can insert a toothpick into the center; if it comes out clean, the donut is ready.
Safety Tips for Frying at Home
When frying at home, safety should be a priority to prevent accidents. Here are a few essential tips:
– Keep a Fire Extinguisher Nearby: In case of an oil fire, it is crucial to have a fire extinguisher rated for grease fires.
– Avoid Water: Water and hot oil do not mix. Ensure your hands and any utensils are dry.
– Do Not Overcrowd the Pot: Fry a few donuts at a time to maintain the oil’s temperature. Overcrowding can lower the temperature and lead to greasy donuts.
– Use Long Tongs: This helps keep a safe distance from the hot oil while placing and removing donuts.
Making the Glaze
After frying, the next step is creating the glaze that will elevate your donuts. A classic glaze can be made with powdered sugar, milk, and vanilla extract.
How to Achieve the Perfect Glaze Consistency
Start by sifting 2 cups of powdered sugar into a mixing bowl. Gradually add 2-3 tablespoons of milk, along with 1 teaspoon of vanilla extract. Stir until you achieve a smooth, pourable consistency. If the glaze is too thick, add more milk a teaspoon at a time until you reach your desired thickness. Conversely, if it’s too runny, sift in more powdered sugar to thicken it up.
Adjustments for Personal Preference
For those who prefer a thicker glaze, simply add more powdered sugar until it reaches the desired consistency. Conversely, if you enjoy a thinner glaze, adjust the milk ratio. Customize your glaze according to your taste; a thicker glaze will provide a more substantial coating, while a thinner glaze will allow the donut’s flavor to shine through.
The Art of Glazing
Glazing donuts can be an art form in itself. Here are some techniques to ensure your donuts are perfectly glazed.
Techniques for Dipping Donuts
To coat your donuts, hold them by the edges and dip them into the glaze. Ensure the donut is fully submerged, then gently lift it out. Allow the excess glaze to drip off before placing it on a cooling rack. This method allows for an even coating without oversaturation.
Best Practices for Dipping and Allowing Excess Glaze to Drip Off
After dipping, let the donuts sit on the wire rack for a few minutes. This not only allows the glaze to set but also prevents any pooling at the base. For a more decorative finish, you can dip the donut twice: first in the glaze, let it set, then dip again for a thicker coat.
Setting the Glazed Donuts on a Wire Rack for Proper Cooling
Once glazed, transfer the donuts to a wire rack. This allows air to circulate around them, preventing sogginess and ensuring they maintain their beautiful finish.
Creative Variations on the Glaze
Experimenting with your glaze can lead to exciting flavor twists. Consider adding cocoa powder for a chocolate glaze, or zest from citrus fruits like lemon or orange for a refreshing twist.
Suggestions for Flavor Additions
– Cocoa Powder: For a rich chocolate glaze, mix in ¼ cup of unsweetened cocoa powder with the powdered sugar before adding the milk.
– Citrus Zest: A tablespoon of lemon or orange zest can add a bright note to your glaze, enhancing the overall flavor profile of the donuts.
Optional Toppings
To take your glazed donuts over the top, consider adding additional toppings such as sprinkles, chopped nuts, or shredded coconut. Simply sprinkle them on the donuts while the glaze is still wet to ensure they stick.
Serving Suggestions and Pairings
Now that your melt-in-your-mouth glazed donuts are ready, it’s time to serve them!
Ideal Serving Temperature
Donuts are best enjoyed fresh and warm. Serve them immediately after glazing for the best flavor and texture. However, if you need to store them, ensure they cool completely before placing them in an airtight container.
Best Practices for Enjoying Donuts Fresh
To maintain freshness, avoid stacking the donuts while they are still warm, as this can lead to sogginess. Instead, place them in a single layer in your container.
Beverage Pairings
Pair your homemade donuts with beverages that complement their sweetness. Here are some recommendations:
– Coffee: A rich, dark roast coffee can balance the sweetness of the donuts beautifully.
– Tea: A lightly brewed Earl Grey or a floral chamomile tea can provide a delightful contrast.
– Milk: A classic pairing, a glass of cold milk will enhance the experience, especially for kids and those young at heart.
Storing Leftover Donuts
If you happen to have any donuts left over, here are some tips to keep them fresh:
Tips for Keeping Donuts Fresh for Longer
Store your donuts in an airtight container at room temperature for up to two days. You can also refrigerate them to extend their shelf life, but note that refrigeration may alter the texture slightly.
How to Reheat for the Best Taste Experience
To enjoy leftover donuts, pop them in the microwave for just a few seconds to warm them up. Alternatively, you can place them in a toaster oven at a low setting for a few minutes. This will help restore their soft, fluffy texture.
Conclusion
Making and enjoying homemade glazed donuts is a delightful experience that brings joy to both the baker and those who indulge in them. The process of mixing, rolling, frying, and glazing allows for creativity and personal expression in the kitchen, resulting in a treat that not only tastes fantastic but also evokes memories of comfort and togetherness.
I encourage you to try this melt-in-your-mouth glazed donut recipe at home. Embrace the joy of baking, and share these delicious treats with your family and friends. There’s something incredibly satisfying about creating food from scratch and sharing it with loved ones. As you gather around the table with fresh donuts, you’ll create moments that linger long after the last bite has been taken. Enjoy your culinary adventure!