Introduction
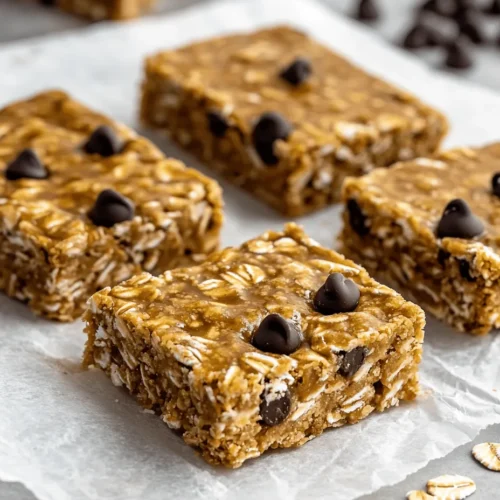
In today’s fast-paced world, the demand for convenient and healthy snacks has never been higher. Homemade snacks are becoming increasingly popular as more people recognize the benefits of preparing their own treats. Not only do they allow for customization, but they also promote healthier eating habits by avoiding the hidden sugars and preservatives often found in store-bought options. Among the myriad of homemade snacks, the Easiest Microwave Chewy Peanut Butter Granola Bars stand out as a perfect solution for busy lifestyles. These bars are not just quick to make; they are also nutritious and incredibly satisfying—ideal for breakfast, an afternoon pick-me-up, or a convenient on-the-go energy boost.
What makes these granola bars particularly appealing is their simplicity. With just a few ingredients and minimal preparation time, you can whip up a batch of these chewy delights in no time. They are also incredibly versatile, allowing you to tailor them to your taste preferences or dietary needs. Whether you prefer a nut-free version, want to add extra protein, or are craving a hint of chocolate, this recipe can easily accommodate your desires. Let’s explore the world of granola bars, their nutritional benefits, and how you can make your very own Easiest Microwave Chewy Peanut Butter Granola Bars.
Understanding Granola Bars
Granola bars have become a staple snack for many, cherished for their portability and satisfying crunch. These bars typically combine rolled oats, nuts, seeds, and sweeteners, all bound together to create a delicious and hearty snack. Their popularity can be attributed to their convenient packaging and the perception that they are a healthier option than traditional snacks.
When it comes to choosing between homemade and store-bought granola bars, the advantages of DIY options are numerous. One of the primary benefits is the control you have over the ingredients. Store-bought granola bars often contain added sugars, artificial flavors, and preservatives, whereas making your own allows you to choose wholesome ingredients that align with your health goals. By making your granola bars at home, you can significantly reduce the sugar content and eliminate any unwanted additives.
Another advantage of homemade granola bars is the ability to customize flavors and textures. Whether you want a nutty taste, fruity hints, or a touch of chocolate, you can easily modify the ingredients to suit your preferences. This flexibility not only enhances the flavor but also makes it easier to cater to dietary restrictions, such as gluten-free or vegan diets.
Ingredient Breakdown
Creating the Easiest Microwave Chewy Peanut Butter Granola Bars requires a handful of simple yet nutritious ingredients. Each component plays a crucial role in not only the flavor and texture of the bars but also in their nutritional profile.
1. Rolled Oats: The foundation of any good granola bar, rolled oats are packed with dietary fiber, which is essential for digestive health. They provide a complex carbohydrate source, offering sustained energy without the sugar crash that often accompanies more processed snacks. The soluble fiber found in oats can help lower cholesterol levels and keep you feeling full longer.
2. Honey or Maple Syrup: As natural sweeteners, honey and maple syrup add not only sweetness but also unique flavors to the granola bars. Honey is known for its antioxidant properties and can provide a quick energy boost. Maple syrup, on the other hand, is rich in minerals like manganese and zinc, offering additional health benefits. Both options are healthier alternatives to refined sugars, allowing you to enjoy your treats without feeling guilty.
3. Peanut Butter: This ingredient is a standout in the recipe, providing a rich, creamy texture and a satisfying nutty flavor. Peanut butter is an excellent source of protein and healthy fats, making these granola bars a great option for those looking to increase their protein intake. Moreover, the healthy fats in peanut butter can help keep you satiated and fuel your body throughout the day.
4. Brown Sugar: While the recipe primarily relies on natural sweeteners, a touch of brown sugar enhances the flavor and adds a slightly chewy texture to the bars. Brown sugar contains molasses, which gives it a unique taste and additional minerals compared to white sugar. It also contributes to the overall chewiness of the granola bars.
5. Vanilla Extract: A dash of vanilla extract elevates the flavor profile of your granola bars, adding warmth and depth to each bite. This simple ingredient can turn an ordinary snack into a delightful indulgence, making it an essential part of the recipe.
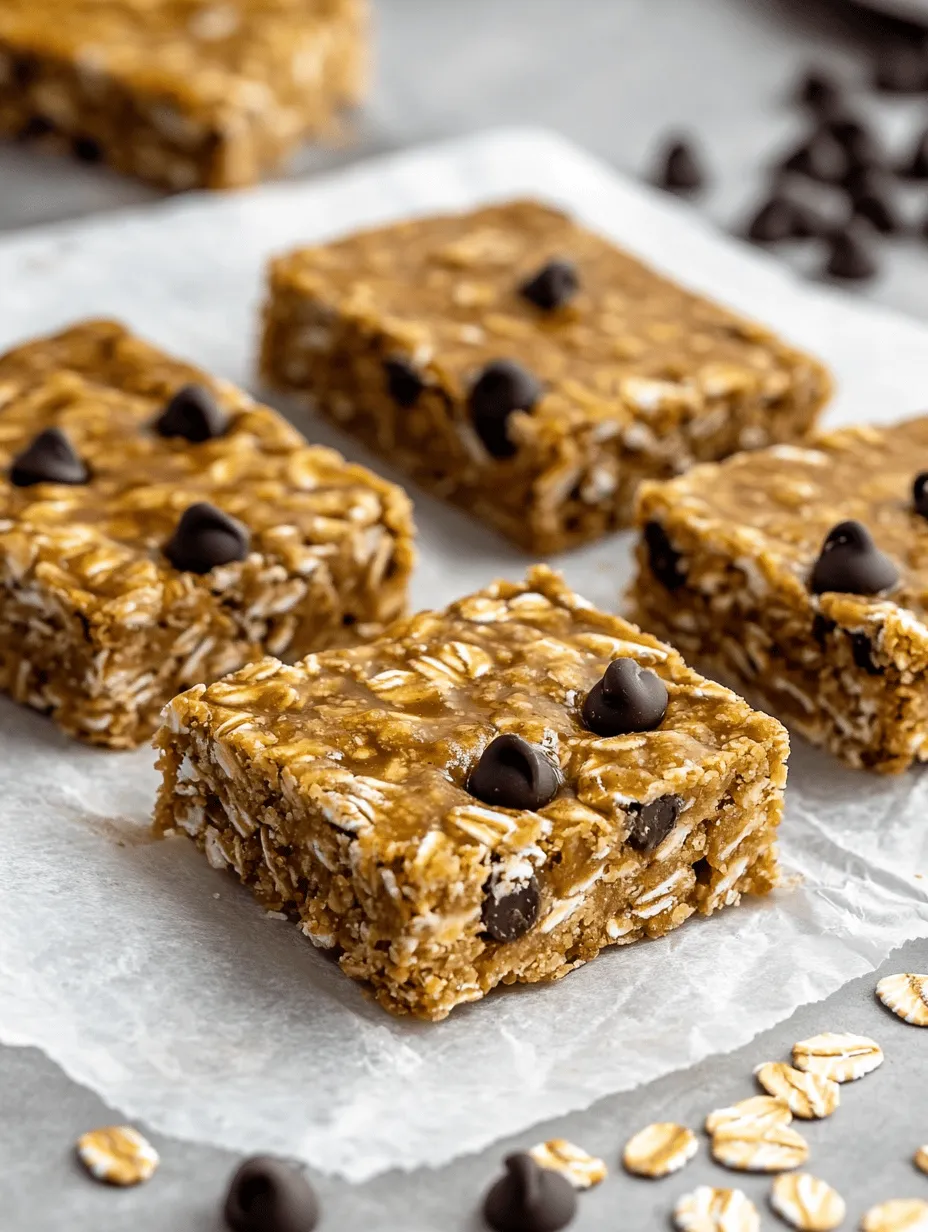
6. Optional Ingredients: To make your granola bars even more special, consider adding optional ingredients like chocolate chips or dried fruits. These additions not only enhance the flavor but also provide additional nutrients and textures. Dark chocolate chips can introduce antioxidants, while dried fruits contribute natural sweetness and vitamins.
Step-by-Step Instructions
Making the Easiest Microwave Chewy Peanut Butter Granola Bars is a straightforward process that anyone can master, even those with minimal cooking experience. Follow these detailed steps to create your batch of delicious homemade granola bars.
Step 1: Prepare the Peanut Butter Mixture
The first step in crafting these granola bars is to prepare the peanut butter mixture. Start by measuring out the peanut butter and placing it in a microwave-safe bowl. To ensure proper mixing and a smooth consistency, it’s essential to warm the peanut butter slightly. Microwave the peanut butter for about 20 to 30 seconds, or until it is just warm. This warming process helps to loosen the peanut butter, making it easier to blend with the other ingredients.
Step 2: Combine the Sweeteners
Once your peanut butter is warmed, add in your chosen sweeteners: honey or maple syrup, along with the brown sugar. Stir the mixture well until all the ingredients are thoroughly combined. It’s important to ensure that the brown sugar has dissolved, as this will contribute to the overall texture and sweetness of the granola bars.
Step 3: Mix in the Oats
Next, it’s time to incorporate the rolled oats into the peanut butter mixture. Carefully add the oats to the bowl and mix them in with a spatula or wooden spoon. It’s crucial to mix thoroughly to ensure that all the oats are evenly coated with the peanut butter mixture. This step is vital for achieving a consistent flavor and texture throughout the bars.
Step 4: Press into the Baking Dish
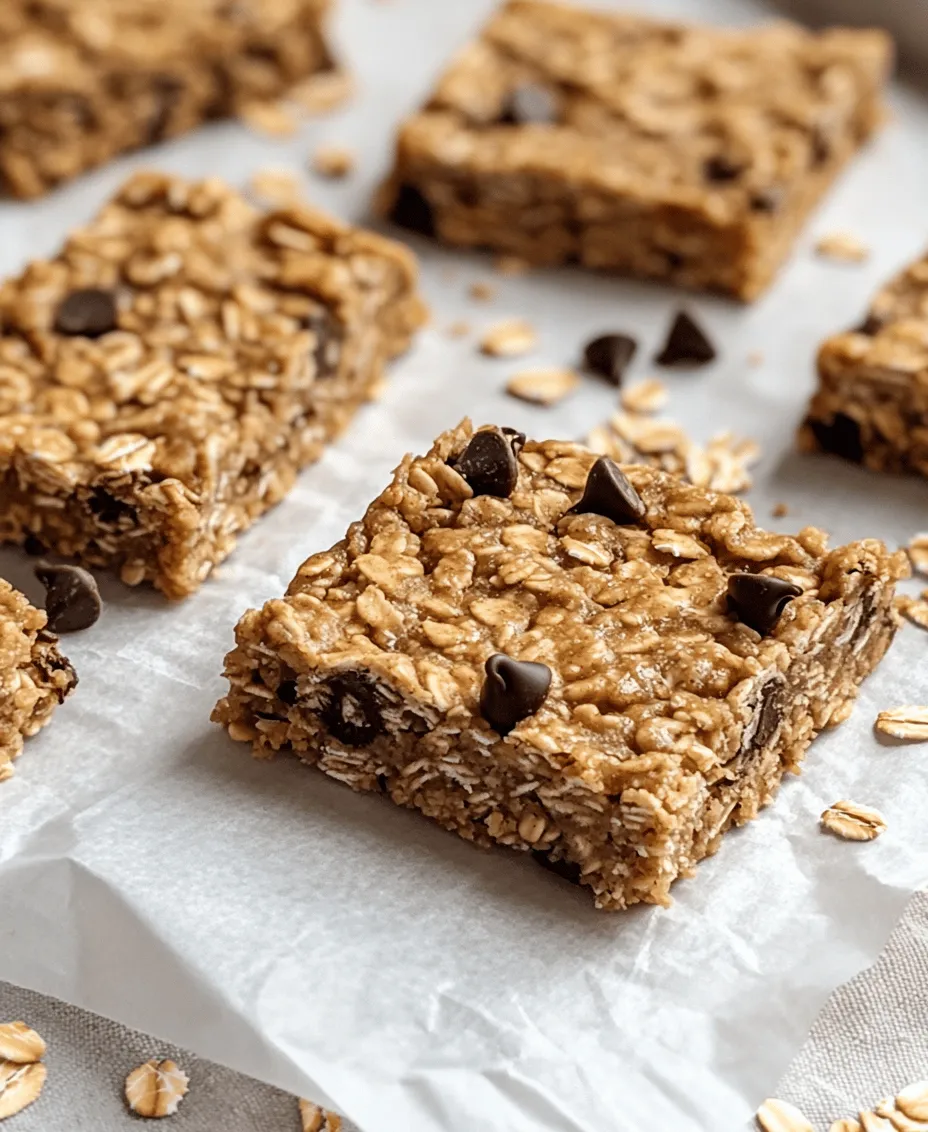
Once the oats are fully combined with the peanut butter mixture, it’s time to transfer the mixture to a baking dish. Line an 8×8 inch baking dish with parchment paper for easy removal later. Pour the oat mixture into the dish and press it down firmly with the back of a spatula or your hands. Ensure that the mixture is packed tightly to achieve the desired chewy texture. The more compressed the mixture is, the better the bars will hold together.
Step 5: Chilling the Mixture
After pressing the mixture into the baking dish, it’s important to chill it in the refrigerator. This step allows the granola bars to set properly, making them easier to slice and handle. Cover the dish with plastic wrap or foil and place it in the refrigerator for at least 30 minutes. While you wait, you can think about how you want to customize your bars with additional ingredients like chocolate chips or dried fruits if you haven’t already included them.
By following these initial steps, you will be well on your way to enjoying your very own Easiest Microwave Chewy Peanut Butter Granola Bars. These bars are not just easy to make; they also provide a nutritious and satisfying option that fits seamlessly into your busy lifestyle. In the next part of the article, we will continue with the final steps to complete this delicious recipe, ensuring you have all the knowledge needed to create perfect granola bars every time.
Customization and Variations
One of the best aspects of making your own granola bars is the ability to customize them to your liking and dietary needs. Here are some suggestions for personalizing your Easiest Microwave Chewy Peanut Butter Granola Bars:
Alternative Nut Butters
While peanut butter is the star of this recipe, you can easily substitute it with other nut butters to create new flavors or cater to dietary restrictions. Consider using:
– Almond Butter: Offers a slightly sweeter and nuttier taste.
– Cashew Butter: Provides a creamy texture and a milder flavor.
– Sunflower Seed Butter: A great nut-free option for those with allergies, it has a unique taste that pairs well with honey.
– Tahini: Made from sesame seeds, tahini adds a distinct flavor and is also nut-free.
Experimenting with different nut butters can completely transform your granola bars, making them uniquely yours.
Mix-Ins for Enhanced Flavor and Nutrition
Adding extra ingredients not only boosts the flavor but also enhances the nutritional profile of your granola bars. Here are some ideas for mix-ins:
– Seeds: Chia seeds, flaxseeds, or pumpkin seeds can add healthy fats and a delightful crunch.
– Nuts: Chopped almonds, walnuts, or pecans can provide additional texture and protein.
– Dried Fruits: Incorporate raisins, cranberries, or apricots for a touch of sweetness and chewiness.
– Spices: A dash of cinnamon, nutmeg, or even cocoa powder can elevate the flavor profile of your bars.
Feel free to mix and match these ingredients according to your taste preferences and nutritional goals. The possibilities are endless!
Adjusting Sweetness Levels
The sweetness of your granola bars can also be tailored to suit your palate or dietary considerations. You can:
– Reduce the Honey: If you prefer a less sweet bar, simply cut back on the honey or maple syrup.
– Use Natural Sweeteners: Consider alternatives like agave syrup, brown rice syrup, or coconut nectar for a unique flavor twist.
– Add a Sweetener Substitute: For those watching their sugar intake, try using stevia or monk fruit extract.
By adjusting the sweetness, you can create a bar that fits perfectly into your dietary restrictions while still being delicious.
Storage and Shelf Life
Proper storage is key to maintaining the freshness of your homemade granola bars. Here are some best practices to ensure they stay delicious:
Airtight Containers
Store your granola bars in an airtight container to keep them fresh. This prevents moisture from making the bars soggy and protects them from exposure to air, which can lead to staleness.
Refrigeration vs. Room Temperature
– Room Temperature: If you plan to eat the granola bars within a week, storing them in a cool, dry place at room temperature is sufficient. Just make sure they are in an airtight container.
– Refrigeration: For longer shelf life, keep the granola bars in the refrigerator. This method can extend their freshness for up to two weeks.
Signs of Spoilage
Homemade granola bars generally have a good shelf life, but it’s essential to know the signs that they have spoiled. If you notice any of the following, it’s best to discard them:
– An off smell or rancid scent, especially if nut butters are used.
– Visible mold or discoloration.
– A change in texture, such as excessive hardness or sogginess.
By following these storage tips, you can enjoy your granola bars for longer periods without compromising on taste or quality.
Nutritional Information
Understanding the nutritional content of your homemade granola bars can help you make informed decisions about your diet. Here’s a general breakdown of the nutritional information per serving (assuming the recipe yields 10 bars):
– Calories: Approximately 200
– Fat: 8g (Saturated Fat: 1.5g)
– Carbohydrates: 28g (Dietary Fiber: 3g, Sugars: 8g)
– Protein: 6g
When compared to store-bought granola bars, which can often contain added sugars, preservatives, and artificial flavors, your homemade version shines as a healthier alternative. Store-bought bars may contain similar calorie counts but can have higher levels of unhealthy fats and sugars. By making your own granola bars, you control the ingredients, ensuring they are wholesome and nourishing.
Serving Suggestions
Your Easiest Microwave Chewy Peanut Butter Granola Bars are not only delicious on their own but also versatile in serving options. Here are some ideas to enhance your granola bar experience:
Breakfast Pairings
Start your day right by pairing the granola bars with yogurt or fresh fruit. A dollop of Greek yogurt and a handful of berries create a balanced breakfast that’s both satisfying and energizing.
Toppings for Smoothie Bowls or Oatmeal
Crush the granola bars and sprinkle them over smoothie bowls or oatmeal for a delightful crunch. This adds texture and flavor, elevating your breakfast or snack.
Wholesome Snacks for Outdoor Activities
These bars make for an ideal on-the-go snack during hikes, road trips, or workouts. They provide sustained energy without the crash that often accompanies sugary snacks.
By incorporating these serving suggestions, you can enjoy your granola bars in different ways, ensuring they remain a staple in your diet.
Conclusion
Making the Easiest Microwave Chewy Peanut Butter Granola Bars is not only simple but also a fun and rewarding endeavor. With endless customization options, you can tailor these bars to fit your taste preferences, dietary needs, and nutritional goals. Their ease of preparation, coupled with the ability to control ingredients, makes them a healthier alternative to many store-bought options.
Whether you enjoy them as a quick breakfast, a mid-afternoon snack, or a post-workout boost, these granola bars are versatile and satisfying. We encourage you to try this recipe, experiment with different flavors and ingredients, and share your creations with family and friends. Homemade granola bars are not just a treat; they are a step toward healthier eating and a more enjoyable cooking experience. Enjoy the process and the delicious results!