Introduction
There’s something undeniably enchanting about the aroma wafting through the house as a batch of freshly baked cookies emerges from the oven. Chocolate chip cookies, in particular, hold a special place in the hearts of many. They are more than just a sweet treat; they evoke fond memories of family gatherings, cozy nights in, and shared moments with loved ones. The classic chocolate chip cookie has become a symbol of comfort and nostalgia, often reminding us of our childhood and the warmth of home.
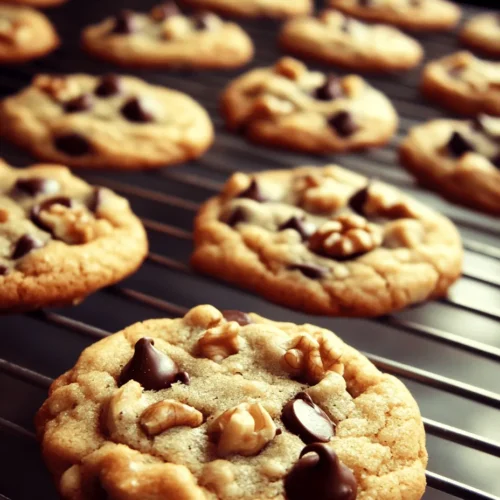
Today, we’re excited to introduce you to our Choco-Love Chip Cookies, a delightful variation on the traditional favorite. These cookies are not only packed with rich semi-sweet chocolate chips but also offer the option to include crunchy walnuts or pecans, adding a delightful texture and flavor contrast. Whether you’re baking for a special occasion or simply indulging in a moment of self-care with a warm cookie and a glass of milk, these Choco-Love Chip Cookies are sure to win hearts and satisfy cravings.
The Origin of Chocolate Chip Cookies
The history of chocolate chip cookies is as rich and layered as the cookies themselves. This beloved treat was born in the 1930s, thanks to the innovative spirit of Ruth Wakefield. While running the Toll House Inn in Whitman, Massachusetts, Wakefield decided to experiment with her traditional butter cookie recipe by adding chunks of semi-sweet chocolate. She hoped the chocolate would melt into the cookie, creating a delightful chocolate flavor throughout. However, much to her surprise, the chocolate held its shape, resulting in the first-ever chocolate chip cookie.
Ruth Wakefield’s creation quickly gained popularity, and in 1938, she published her recipe in a Boston newspaper. This marked the beginning of the chocolate chip cookie’s rise to fame, and soon after, Nestlé struck a deal with Wakefield to feature her recipe on their chocolate packaging—cementing the cookie’s place in American baking culture. Over the decades, the chocolate chip cookie has evolved, with countless variations emerging to cater to different tastes and dietary preferences. Today, these cookies are a staple in households across the globe, celebrated for their perfect balance of sweetness, chewiness, and chocolatey goodness.
Ingredients Breakdown
To create the perfect Choco-Love Chip Cookies, it’s essential to understand the role of each ingredient. This not only ensures a delicious outcome but also allows you to make informed substitutions if needed. Here’s a detailed breakdown of the key ingredients in our recipe:
Butter
Butter is a fundamental ingredient in cookie baking, and for this recipe, we recommend using unsalted butter. Using unsalted butter gives you better control over the cookie’s flavor and allows you to adjust the salt content according to your taste. The fat in butter contributes to the rich flavor and helps create a tender texture in the cookies. When creamed with sugars, the butter also helps to incorporate air into the batter, contributing to the cookies’ overall rise and softness.
Sugars
In our Choco-Love Chip Cookies, we utilize a combination of brown sugar and granulated sugar. Brown sugar adds moisture and a hint of caramel flavor due to its molasses content, which results in a chewy texture. On the other hand, granulated sugar helps the cookies spread, creating a delightful crispiness on the edges. The combination of these two sugars strikes the perfect balance between chewy and crispy, making each bite a delightful experience.
Eggs
Eggs play a vital role in cookie recipes, contributing to the structure, richness, and moisture of the cookies. In our Choco-Love Chip Cookies, one large egg is used, which helps bind the ingredients together and adds to the overall flavor. The proteins in the egg also provide stability, allowing the cookies to maintain their shape while baking.
Flours and Leavening Agents
All-purpose flour is our flour of choice for these cookies. It provides the necessary structure while still allowing for a tender crumb. The addition of baking soda, a key leavening agent, helps the cookies rise during baking, resulting in a soft and chewy texture. A pinch of salt enhances the flavors of the cookies and balances out the sweetness.
Chocolate Chips and Nuts
No chocolate chip cookie would be complete without chocolate chips! For our Choco-Love Chip Cookies, we recommend using semi-sweet chocolate chips, which offer a delightful sweetness that perfectly complements the cookie dough. Additionally, we provide the option to add nuts, such as walnuts or pecans. Chopped nuts not only add a satisfying crunch but also introduce a nutty flavor that pairs beautifully with the chocolate.
Step-by-Step Instructions for Baking Choco-Love Chip Cookies
Now that we’ve covered the essential ingredients, let’s dive into the step-by-step instructions for baking our delectable Choco-Love Chip Cookies. Each step is designed to help you achieve the perfect cookies, so be sure to follow along closely.
Preheating the Oven
Before you start mixing the ingredients, it’s crucial to preheat your oven to 350°F (175°C). Preheating ensures that your cookies bake evenly, allowing for the proper texture and flavor development. An oven that isn’t adequately preheated can lead to uneven baking, resulting in cookies that are either too soft or overly crisp. To check if your oven is ready, you can use an oven thermometer for accuracy.
Creaming Butter and Sugars
Once your oven is preheated, it’s time to cream the butter and sugars together. In a large mixing bowl, combine the softened unsalted butter, granulated sugar, and brown sugar. Using an electric mixer on medium speed, blend the ingredients together until the mixture is light and fluffy. This creaming process typically takes about 2-3 minutes.
The science behind creaming is essential: as you mix the butter and sugars, air is incorporated into the mixture, which contributes to the cookies’ final texture. The goal is to create a light and airy batter, which will yield soft, chewy cookies. Once the butter and sugars are well combined, it’s time to add the egg and mix until just incorporated.
These initial steps lay the foundation for your Choco-Love Chip Cookies, setting you on the path to baking a batch of delicious, chocolatey treats. As we continue, we will guide you through the remaining steps to ensure your cookies turn out perfectly every time. Stay tuned for the next part of this delightful baking journey!
Incorporating Eggs and Vanilla
To create the perfect Choco-Love Chip Cookies, the next step is to incorporate the eggs and vanilla extract. Begin by cracking two large eggs into the mixing bowl containing your creamed butter and sugar mixture. It’s essential to mix these ingredients thoroughly; this ensures proper emulsification. The eggs not only add moisture but also act as a binder, helping to create a cohesive dough. When mixing, aim for a uniform consistency where the eggs and butter are well combined, and the mixture appears light and fluffy.
Adding vanilla extract elevates the flavor profile of your cookies, giving them that classic, comforting taste that pairs so well with chocolate. Use pure vanilla extract for the best results, as it provides a richer flavor compared to imitation vanilla. Mix the eggs and vanilla into the butter-sugar mixture until fully incorporated, ensuring no streaks remain. This thorough blending is crucial for achieving a well-rounded flavor in your cookies.
Combining Dry Ingredients
Once your wet ingredients are well mixed, it’s time to focus on the dry components. In a separate bowl, combine your flour, baking soda, and salt. Whisk these ingredients together to ensure even distribution. This step is vital; if the baking soda or salt is clumped in one section of the dough, you risk uneven rising or flavor in your cookies. Whisking helps to aerate the flour, resulting in lighter cookies, and guarantees that each cookie will have the same flavor and texture.
After whisking, you can optionally sift the dry ingredients into the wet mixture. Sifting further breaks up any lumps and incorporates air, enhancing the final product’s texture. However, this step can be skipped if you don’t have a sifter on hand. Just ensure that the dry ingredients are well mixed before adding them to the wet ingredients.
Mixing the Dough
Now comes the exciting part: combining the wet and dry ingredients. Pour the dry mixture into the bowl with the wet ingredients. Using a spatula, gently fold the two mixtures together until just combined. It’s important to avoid overmixing at this stage; overworking the dough can lead to tough cookies. You want to mix until you no longer see any dry flour, but small lumps are perfectly okay. This gentle folding technique helps retain the light and tender texture of your cookies.
If you notice the dough appears too dry, you can add a tablespoon or two of milk to achieve the desired consistency, but be careful not to make the dough too wet. The final dough should be thick and slightly sticky, perfect for holding the chocolate chips and nuts that will be added next.
Folding in Chocolate Chips and Nuts
With the dough prepared, it’s time to fold in the star ingredients: chocolate chips and, if you choose, nuts. For Choco-Love Chip Cookies, semi-sweet chocolate chips are often preferred, but feel free to use dark, milk, or even white chocolate chips for variations. If you’re adding nuts, chopped walnuts or pecans work wonderfully, providing a delightful crunch that complements the soft chocolate.
To incorporate these ingredients, sprinkle the chocolate chips and nuts over the dough and use a spatula to gently fold them in. The key here is to fold rather than stir; this technique helps keep the dough light and airy while evenly distributing the chocolate and nuts throughout the batter. Be mindful not to overmix, as this can lead to a denser cookie.
Scoop and Bake
Once your dough is ready, preheat your oven to 350°F (175°C) and line a baking sheet with parchment paper. For perfectly shaped cookies, use a cookie scoop or a tablespoon to portion out the dough onto the prepared baking sheet. Make sure to leave enough space between each scoop—about 2 inches apart—to allow for spreading during baking. This spacing is crucial; if the cookies are too close, they will merge into one another, resulting in a messy cookie sheet.
Bake the cookies in the preheated oven for 10-12 minutes, or until they are golden around the edges but still slightly soft in the center. Overbaking can lead to dry cookies, so keep an eye on them, especially during the last few minutes of baking. Remember, cookies continue to cook slightly after being removed from the oven due to residual heat, so it’s better to err on the side of slightly underbaked.
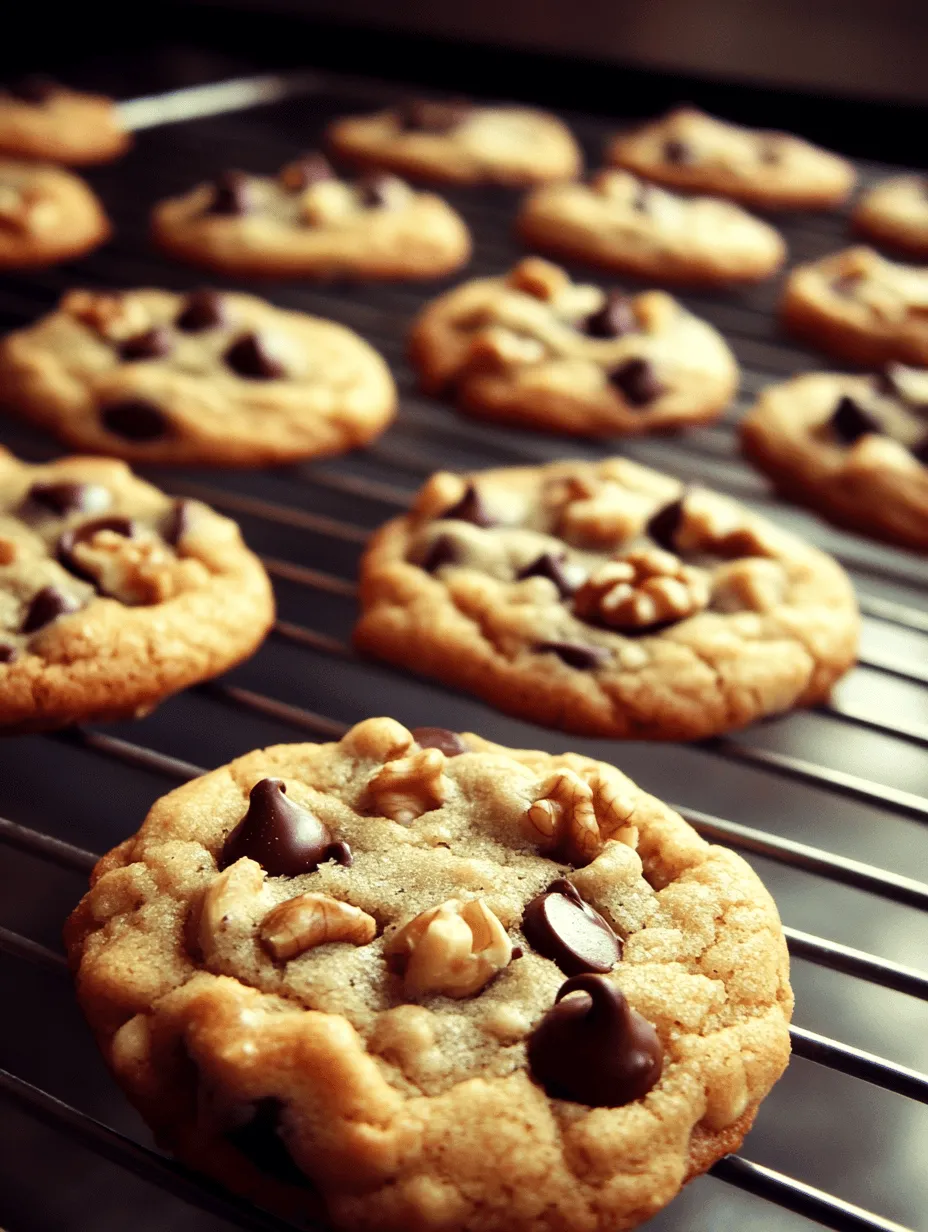
Cooling Techniques
After baking, allow the cookies to cool on the baking sheet for about 5 minutes before transferring them to a wire rack. Cooling on the baking sheet helps them set up a bit more, ensuring they don’t fall apart when you move them. Transferring to a wire rack is essential for allowing air to circulate around the cookies, preventing them from becoming soggy on the bottom.
Cooling cookies properly impacts their texture and flavor. A well-cooled cookie will have a crisp exterior and a soft, chewy center, while a cookie that is not allowed to cool will be too soft and may fall apart.
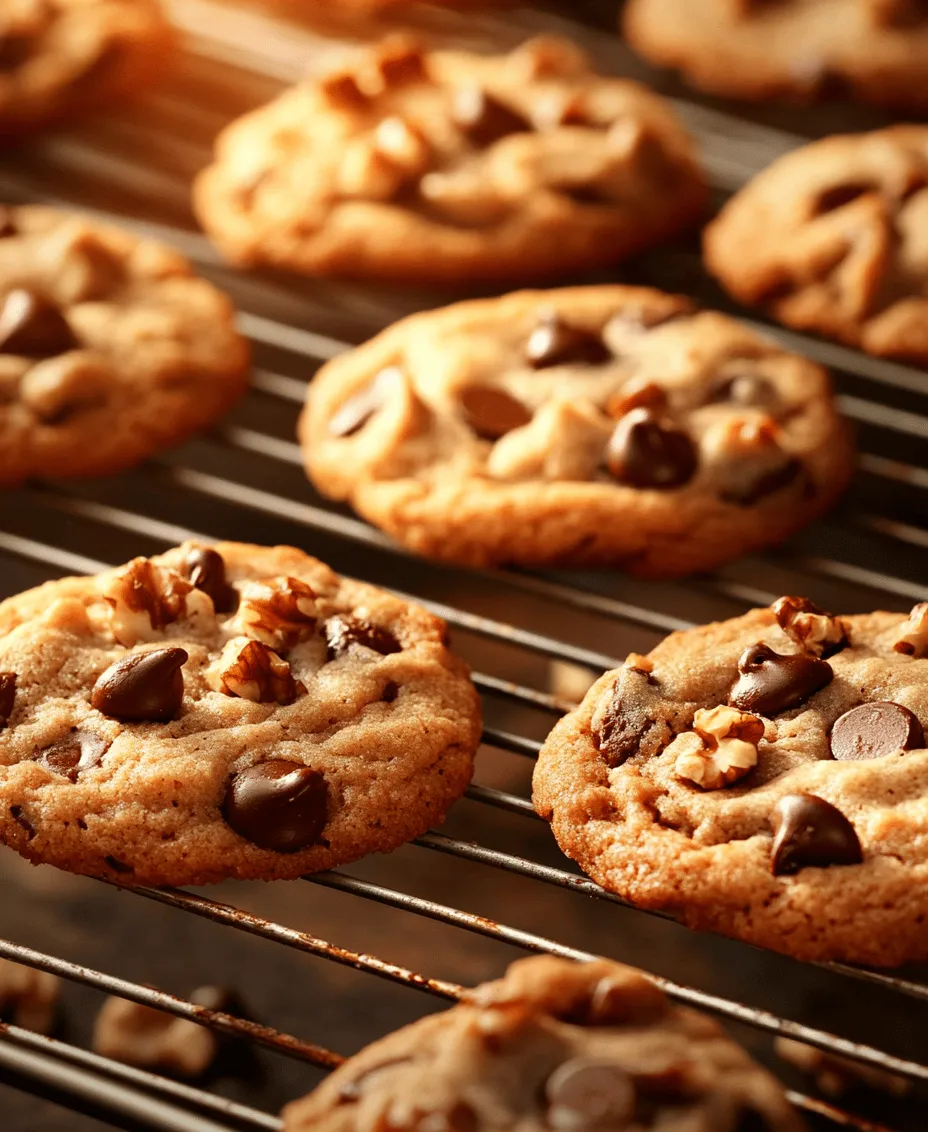
The Perfect Cookie Texture: What to Look For
When it comes to identifying perfectly baked cookies, look for golden-brown edges and a soft, slightly puffy center. The edges should be firm but not hard, while the center should retain a slight jiggle. If the cookies look underdone, they are likely perfect, as they will continue to firm up while cooling.
Baking times can vary based on the type of oven and the baking sheets used, so it’s crucial to check your cookies a couple of minutes before the recommended time. If you have a convection oven, you may find your cookies bake faster than in a conventional oven. Keep a close eye on them, and adjust the baking time as necessary to achieve that perfect balance.
Serving Suggestions and Pairings
Choco-Love Chip Cookies are incredibly versatile and can be enjoyed in numerous delightful ways. One classic pairing is to serve them warm with a glass of cold milk. The combination of melted chocolate and chilled milk creates a comforting treat that is hard to resist. For coffee lovers, consider pairing these cookies with your favorite brew; the rich chocolate flavor complements the bitter notes of coffee beautifully.
If you’re feeling adventurous, you might want to try crumbling leftover cookies over a scoop of ice cream for a decadent dessert. You can also incorporate crushed cookies into milkshakes or use them as a topping for cakes and cupcakes, adding both texture and a touch of chocolatey goodness. The possibilities are endless when it comes to enjoying these delightful cookies.
Storing Your Cookies
Proper storage is key to maintaining the freshness of your Choco-Love Chip Cookies. Allow them to cool completely before storing them in an airtight container. This prevents moisture buildup, which can make the cookies soft and chewy when they should be crisp.
For optimal freshness, store the cookies at room temperature; they should stay delicious for about 5-7 days. If you want to keep them longer, consider freezing the cookies. Place them in a single layer on a baking sheet to freeze them individually before transferring them to an airtight freezer container. When stored this way, they can last for up to three months. To enjoy, simply let them thaw at room temperature or warm them in the oven for a few minutes.
Conclusion
Baking Choco-Love Chip Cookies is more than just a culinary activity; it’s an opportunity to create joyful memories with friends and family. The warmth of freshly baked cookies wafting through your kitchen adds a sense of comfort that is hard to replicate. Each bite delivers a delightful mix of textures and flavors—soft dough, gooey chocolate, and a hint of vanilla—that brings smiles to faces young and old.
We encourage you to try this recipe for yourself and share the delicious results with those you love. Whether enjoyed as a nostalgic treat or a modern-day indulgence, chocolate chip cookies have a timeless appeal that continues to delight cookie lovers across generations. So roll up your sleeves, gather your ingredients, and embark on this baking adventure to create your own batch of Choco-Love Chip Cookies!