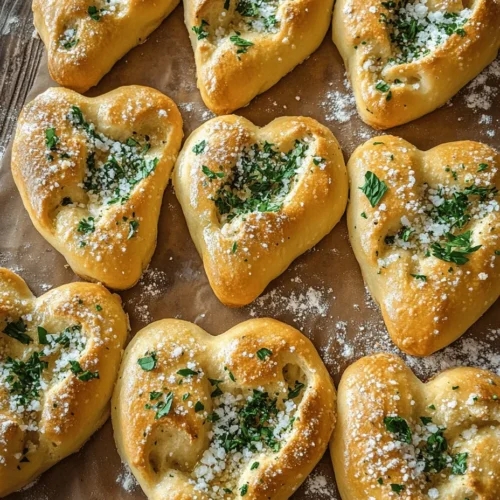
As Valentine’s Day approaches, the air fills with love, joy, and the sweet anticipation of celebrating relationships. While traditional gifts like flowers and chocolates are always cherished, nothing expresses affection quite like a homemade treat prepared with care and thoughtfulness. This year, why not surprise your loved ones with a batch of delightful heart-shaped breadsticks? These charming and flavorful breadsticks not only look appealing but also add a personal touch to your special occasion. The warm, inviting aroma that wafts through your kitchen while baking them is sure to create a loving atmosphere, making your Valentine’s celebration even more memorable.
In this article, we will guide you through the process of making heart-shaped breadsticks, providing detailed insights into the ingredients and techniques used to ensure your breadsticks turn out perfectly every time. Whether you plan to serve them alongside a romantic dinner, pack them in a gift basket, or enjoy them during a cozy movie night at home, these breadsticks are sure to impress.
Understanding the Ingredients
Before diving into the recipe, let’s explore the essential ingredients that come together to create these delectable heart-shaped breadsticks. Each ingredient plays a vital role in achieving the perfect flavor and texture, contributing to the overall success of your baking endeavor.
Exploring the Base Ingredients
All-Purpose Flour
The foundation of your heart-shaped breadsticks is all-purpose flour. This versatile ingredient provides the necessary structure and texture for the breadsticks. When combined with water and yeast, the flour forms gluten, which gives the breadsticks their chewy texture. For the best results, consider using unbleached all-purpose flour, as it helps create a more robust flavor.
Warm Water
Warm water is crucial for activating the yeast, allowing it to ferment and produce carbon dioxide. This process is what makes your breadsticks rise, resulting in a light and fluffy texture. The ideal temperature for warm water is between 100°F to 110°F (37°C to 43°C). Using water that is too hot can kill the yeast, while water that is too cold may not activate it properly.
Instant Yeast
Instant yeast, also known as rapid-rise yeast, is a key ingredient that contributes to the light and airy quality of your breadsticks. It requires no pre-activation and can be mixed directly into the dry ingredients. This type of yeast is efficient and reliable, making it a favorite among home bakers.
Sugar
While it may seem counterintuitive, sugar is essential in breadmaking, even in savory recipes. It acts as food for the yeast, helping it to grow and multiply. Additionally, the subtle sweetness of sugar enhances the overall flavor of the breadsticks, providing a delightful balance.
Salt
Salt is more than just a seasoning; it plays a critical role in enhancing the flavor of your breadsticks. It also helps to strengthen the gluten structure and control yeast fermentation, ensuring that your dough rises properly. Use kosher or sea salt for the best results, as they dissolve easily and provide a clean taste.
Olive Oil
Adding olive oil to your dough introduces richness and moisture, creating a tender texture that elevates the overall quality of your breadsticks. It also contributes to a golden-brown crust when baked. Using high-quality extra virgin olive oil can add a wonderful depth of flavor, making your breadsticks even more enticing.
Optional Flavor Enhancements
To take your heart-shaped breadsticks to the next level, consider incorporating some optional flavor enhancements. These ingredients can add a savory twist or elevate the overall taste profile.
Garlic Powder
For those who love the aromatic flavor of garlic, adding garlic powder to the dough infuses it with a delicious savory note. This ingredient pairs beautifully with the breadsticks, making them a perfect accompaniment to pasta dishes or salads.
Dried Italian Herbs
Infusing your breadsticks with dried Italian herbs, such as oregano, basil, or thyme, can introduce a delightful Mediterranean flair. These herbs complement the flavor of the olive oil and enhance the overall taste, making your breadsticks even more irresistible.
Freshly Grated Parmesan
For a cheesy topping that elevates the taste of your breadsticks, consider sprinkling freshly grated Parmesan cheese on top before baking. The cheese adds a rich flavor and a crispy texture, making every bite a savory delight.
Step-by-Step Guide to Making Heart-Shaped Breadsticks
Now that you understand the key ingredients, let’s move on to the step-by-step process of making heart-shaped breadsticks. This guide will walk you through each stage, ensuring that you achieve the best results.
Activating the Yeast
The first step in your breadstick-making journey is activating the yeast. The success of your breadsticks hinges on this crucial step, so pay close attention.
1. Warm the Water: Start by heating water to the appropriate temperature (100°F to 110°F). If you don’t have a thermometer, you can test the water with your wrist; it should feel warm but not hot.
2. Mix with Sugar and Yeast: In a small bowl, combine the warm water, sugar, and instant yeast. Stir gently to dissolve the yeast. Let the mixture sit for about 5-10 minutes until it becomes frothy. This froth indicates that the yeast is active and ready to use.
Mixing the Dough
Once your yeast is activated, it’s time to mix the dough.
1. Combine Dry Ingredients: In a large mixing bowl, whisk together the all-purpose flour and salt. If you’re using optional ingredients like garlic powder or dried herbs, add them to the flour mixture as well.
2. Add Wet Ingredients: Create a well in the center of the flour mixture and pour in the activated yeast and olive oil.
3. Stir to Combine: Use a wooden spoon or a spatula to mix the ingredients together until they begin to form a shaggy dough. The dough should be slightly sticky but manageable.
Kneading the Dough
Kneading is an essential step that helps develop gluten, giving the breadsticks their chewy texture.
1. Flour Your Surface: Lightly flour your work surface to prevent the dough from sticking.
2. Knead the Dough: Turn the dough out onto the floured surface and begin kneading. Use the heel of your hand to push the dough away from you, then fold it back over itself. Rotate the dough a quarter turn and repeat the process. Knead for about 8-10 minutes until the dough is smooth and elastic.
3. Check for Readiness: To know if your dough is properly kneaded, perform the “windowpane test.” Take a small piece of dough and stretch it between your fingers. If it stretches into a thin, translucent membrane without tearing, it’s ready for the next step.
First Rise: Transforming the Dough
After kneading, it’s time for your dough to rise. This step is crucial for developing flavor and texture.
1. Prepare for Rising: Lightly grease a large bowl with olive oil. Place the kneaded dough in the bowl, turning it to coat it with oil.
2. Cover and Create Warmth: Cover the bowl with a clean kitchen towel or plastic wrap. Place it in a warm, draft-free area, such as an oven with the light on or near a warm stovetop.
3. Allow to Rise: Let the dough rise for about 1 to 2 hours, or until it has doubled in size. This rising time allows the yeast to work its magic, creating air pockets that will make your breadsticks light and fluffy.
As you wait for your dough to rise, you can prepare for the next steps, such as shaping the dough into heart shapes and baking them to perfection. Stay tuned for the next part of this article, where we will guide you through the shaping and baking process, ensuring your heart-shaped breadsticks are a hit this Valentine’s Day.
Time Management for the Rising Process
When preparing your heart-shaped breadsticks, effective time management during the rising process is crucial to achieving the perfect texture and flavor. The first rise, or fermentation, typically takes about 1 to 1.5 hours, depending on your kitchen’s temperature. A warm environment will speed up this process while a cooler space may extend it.
To ensure your dough rises effectively, place it in a lightly greased bowl and cover it with a damp cloth or plastic wrap. You can also turn on your oven to the lowest setting for a few minutes, then turn it off and place the dough inside. This warm environment will help activate the yeast and promote a good rise.
After the first rise, you’ll want to punch down the dough to release any air bubbles before shaping. This process not only helps develop the gluten structure but also prepares the dough for the next phase: shaping into heart forms.
Shaping the Breadsticks
Detailed Instructions for Forming Heart Shapes
Shaping your breadsticks into hearts is not only fun but also adds a personal touch that’s perfect for Valentine’s Day. Follow these simple steps for creating heart-shaped breadsticks:
1. Divide the Dough: After the first rise, turn your dough onto a floured surface and divide it into equal portions, about 10-12 pieces, depending on how large you want your breadsticks.
2. Roll the Dough: Take one piece of dough and roll it into a long rope, approximately 12 to 14 inches in length. Aim for a uniform thickness throughout to ensure even baking.
3. Creating the Heart Shape:
– Start by forming the dough rope into a “V” shape.
– Then, take the ends of the rope and curve them inward, crossing them over each other at the top of the “V” to create the heart shape.
– Pinch the ends together to secure the shape and ensure it holds during baking.
4. Repeat: Continue this process with the remaining pieces of dough, placing each shaped breadstick on a parchment-lined baking sheet.
Visual Aids for Shaping Techniques
Visual aids can greatly enhance your shaping skills. Consider watching short tutorial videos or checking out step-by-step photos on cooking blogs. These resources can provide clarity on how your dough should look at various stages of shaping, making the process smoother and more enjoyable.
Second Rise: Preparing for Baking
Importance of a Second Rise for Texture
The second rise is a fundamental step in the bread-making process that enhances the breadsticks’ texture and flavor. This rise allows the gluten to relax after shaping, which results in softer and airier breadsticks. After shaping your heart breadsticks, cover them loosely with a kitchen towel and allow them to rise for another 30-45 minutes.
Best Practices for Placing Dough on a Baking Sheet
When placing your shaped dough on the baking sheet, ensure there is enough space between each breadstick. This spacing allows for adequate expansion during the second rise and while baking. A good rule of thumb is to leave about 1-2 inches between each shaped breadstick.
Baking the Breadsticks to Perfection
Preheating the Oven
A well-preheated oven is essential for achieving that perfect breadstick texture. Preheat your oven to 375°F (190°C) at least 20 minutes before baking. This ensures that the heat is evenly distributed and helps the breadsticks rise beautifully as they bake.
Significance of Proper Oven Temperature
Baking your heart-shaped breadsticks at the right temperature is crucial. An oven that is too hot can cause the breadsticks to brown too quickly on the outside while leaving the inside undercooked. Conversely, an oven that is not hot enough can result in a dense, doughy texture.
Tips for Achieving Even Baking
To promote even baking, consider rotating your baking sheet halfway through the baking time. This simple step can help prevent uneven cooking, especially if your oven has hot spots.
Preparing for Baking
Brushing Techniques for Olive Oil
Before placing your breadsticks in the oven, brush them lightly with olive oil. This not only gives them a beautiful golden color but also enhances their flavor. Use a pastry brush to apply a thin layer, being careful not to soak the dough.
The Role of Cheese and Sea Salt in Flavor Enhancement
For an extra burst of flavor, sprinkle your olive oil-brushed breadsticks with grated cheese and a pinch of sea salt. Parmesan, mozzarella, or even a blend of Italian cheeses work wonderfully to complement the breadsticks’ taste. The cheese will melt and create a delightful crust, while the sea salt adds a savory touch.
Baking Process
Timing and Visual Indicators for Doneness
Bake your heart-shaped breadsticks for about 15-20 minutes or until they are golden brown. Keep an eye on them during the last few minutes of baking. The right doneness can be assessed by their color and by tapping the bottom of one breadstick: a hollow sound indicates that they are fully baked.
How to Achieve That Golden-Brown Finish
To achieve the desired golden-brown finish, you can turn on the broiler for the last minute of baking. Be cautious, as broiling can quickly lead to over-browning. Keep the oven door slightly ajar and watch closely to ensure your breadsticks reach perfection without burning.
Garnishing and Serving Suggestions
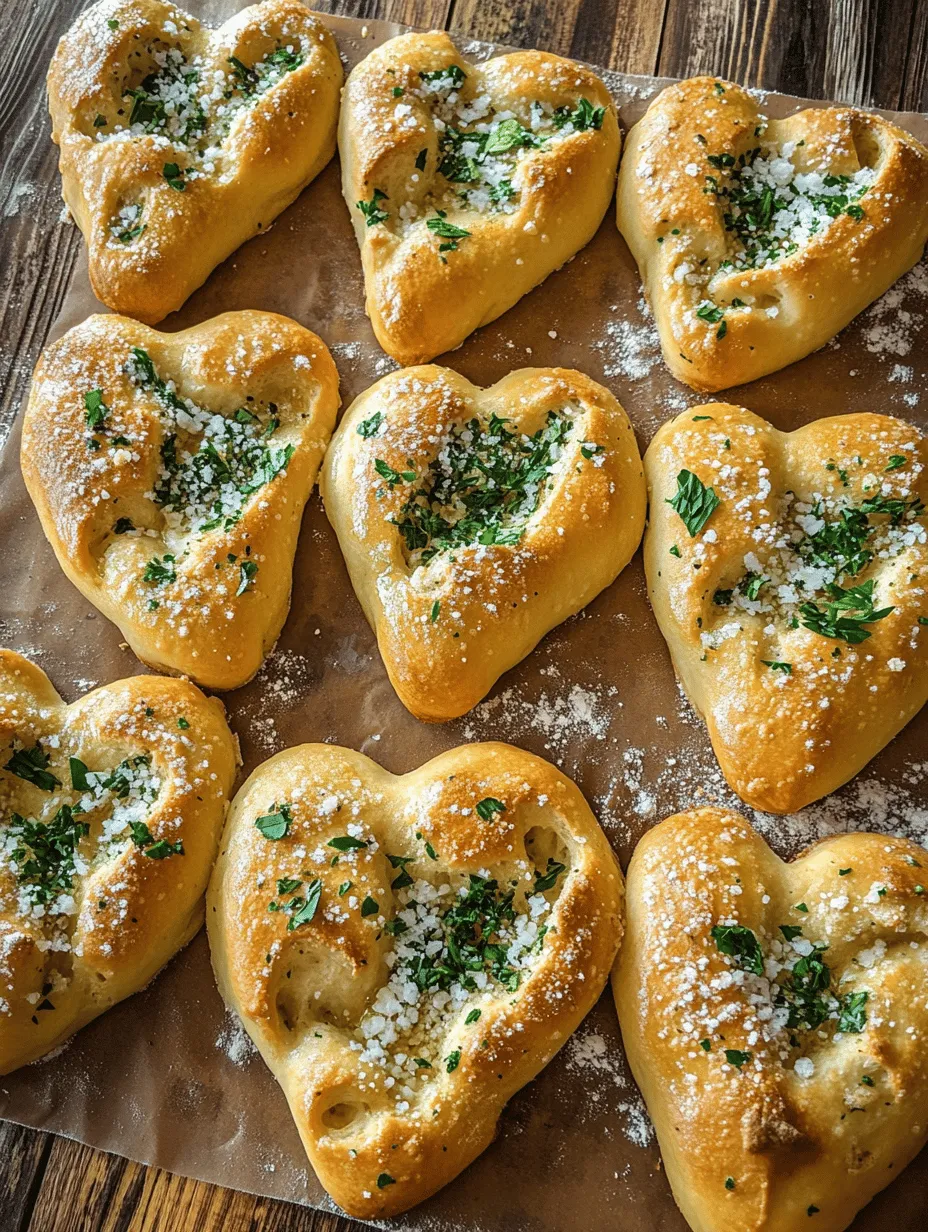
Fresh Herb Garnish
After removing the breadsticks from the oven, elevate their presentation by garnishing with fresh herbs. Chopped parsley, basil, or even a sprinkle of fresh oregano can add a vibrant touch, enhancing both the visual appeal and flavor profile.
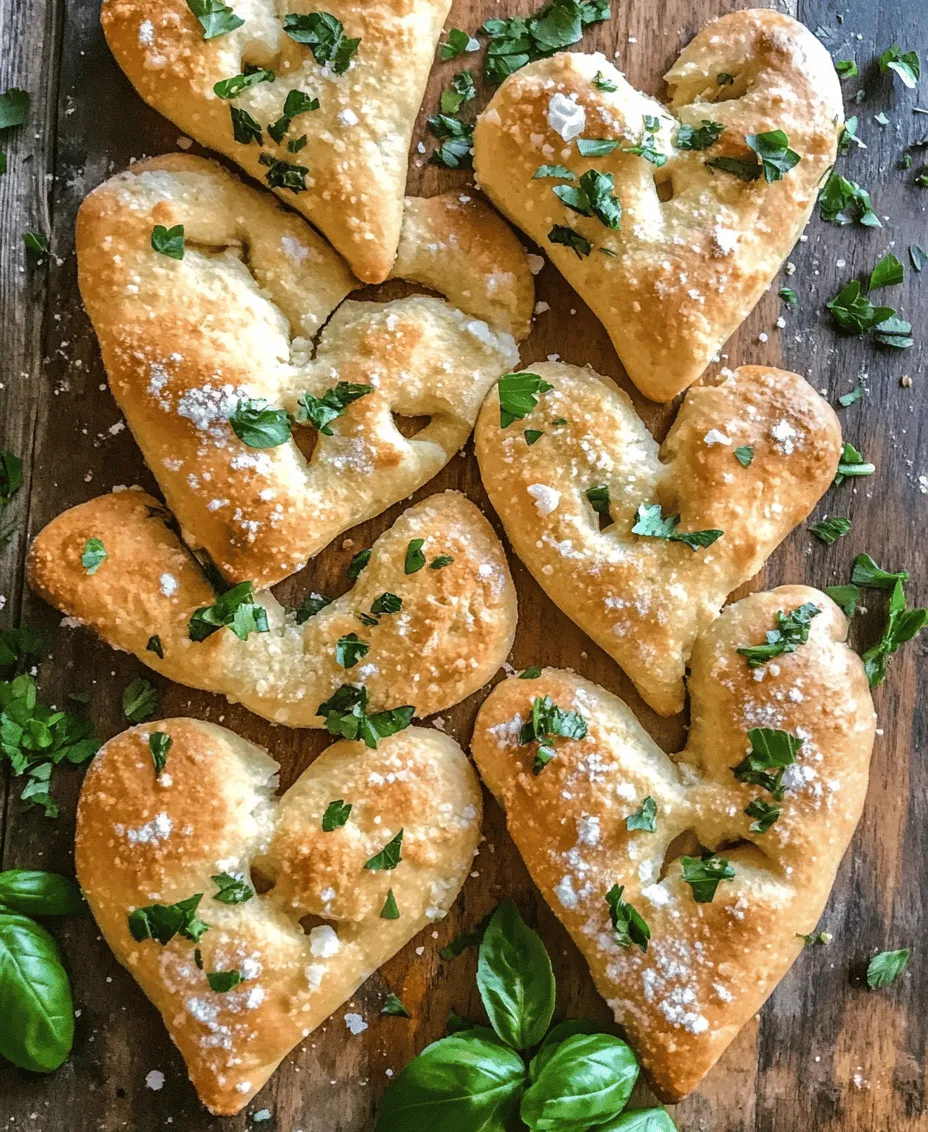
Presentation Ideas for Serving
For a romantic presentation, consider arranging the heart-shaped breadsticks in a decorative basket lined with a soft cloth. You can also place them in a mason jar tied with a ribbon, adding an extra layer of charm to your Valentine’s Day dinner table.
Pairing Options
Suggested Dips that Complement the Breadsticks
These heart-shaped breadsticks pair beautifully with a variety of dips. Here are some delightful options to consider:
– Marinara Sauce: A classic pairing that offers a tangy contrast to the warm breadsticks.
– Garlic Butter Dip: Melted butter infused with garlic and herbs creates a rich and decadent dipping experience.
– Hummus: For a lighter option, serve your breadsticks with a flavorful hummus. Roasted red pepper or garlic hummus are particularly delicious choices.
Beverage Pairings for a Romantic Touch
To complete your Valentine’s Day feast, consider pairing your heart-shaped breadsticks with a lovely beverage. A glass of red wine, such as a light Merlot or a crisp Pinot Noir, can complement the savory flavors beautifully. Alternatively, if you prefer non-alcoholic options, a sparkling water with a splash of fresh lemon or a fruity mocktail can add a refreshing touch.
Conclusion: A Heartfelt Treat for Your Loved Ones
These heart-shaped breadsticks are more than just a delicious addition to your Valentine’s Day meal; they are a heartfelt gesture that expresses love and affection. Their warm, homemade charm is sure to impress and create lasting memories at any romantic celebration or family gathering. By following this comprehensive guide, you can easily whip up a batch of these delectable breadsticks, impressing your loved ones with both their presentation and taste. Enjoy the process, savor the flavors, and share the love with every bite. These heart-shaped breadsticks are bound to become a cherished tradition in your home, celebrating love and togetherness for years to come.