Introduction
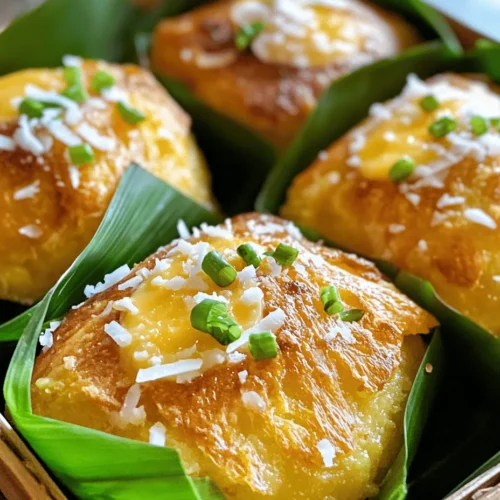
Bibingka, a traditional Filipino rice cake, stands as a beloved symbol of Filipino culture, particularly during the Christmas season. This delectable dessert, characterized by its soft, fluffy texture and unique flavor profile, is more than just a treat; it embodies the warmth of family gatherings and festive celebrations. Its origins trace back to the rich heritage of the Philippines, where it is often prepared during the early morning hours and enjoyed hot from the oven, often accompanied by the aroma of freshly brewed coffee or hot chocolate.
What makes Bibingka truly appealing is its versatility. This dish can be enjoyed as a breakfast item, a snack, or a dessert, making it suitable for any time of day. The combination of glutinous rice flour and coconut milk not only gives the cake its moistness but also infuses it with a natural sweetness that is both comforting and indulgent. Topped with a sprinkle of cheese or a slice of salted egg, Bibingka transcends the boundaries of a simple rice cake, offering a delightful contrast between sweet and savory flavors.
In this article, we aim to provide you with a comprehensive recipe for Bibingka Bliss, ensuring that you can recreate this Filipino classic in your own kitchen. We will delve into the key ingredients that contribute to its signature taste and texture, followed by a step-by-step guide to perfecting your Bibingka. Whether you are a seasoned cook or a novice in the kitchen, you will find valuable insights and tips to help you make the perfect Bibingka, one that honors its cultural roots while satisfying your taste buds.
Understanding the Ingredients
To create a delightful Bibingka, understanding the ingredients is key. Each component plays a vital role in achieving the authentic flavors and textures that define this beloved dish. Here’s a closer look at the essential ingredients that will help you master the art of making Bibingka Bliss:
Glutinous Rice Flour
At the heart of every Bibingka is glutinous rice flour, which is crucial for achieving the dish’s characteristic chewy texture. Unlike regular rice flour, glutinous rice flour is made from sticky rice, giving the cake its moistness and the ability to hold together beautifully. This ingredient is essential for maintaining the authenticity of the dish, as it contributes to the traditional taste and feel of Bibingka. When selecting glutinous rice flour, look for finely milled varieties, as they yield the best results in terms of texture.
Coconut Milk
Coconut milk is another cornerstone of Bibingka, lending a rich creaminess that enhances the overall flavor. It not only adds depth but also imparts a subtle sweetness that pairs harmoniously with the other ingredients. The use of fresh coconut milk can elevate the dish, but canned varieties work well for convenience. When incorporating coconut milk into your batter, ensure that it is well-mixed to achieve a uniform distribution of flavor throughout the cake.
Sugar
Sweetness is a defining characteristic of Bibingka, and sugar is the primary source. The amount of sugar can be adjusted according to personal preference, but it’s important to strike a balance to ensure that the cake isn’t overly sweet. Traditionally, granulated sugar is used, but you can experiment with alternatives like coconut sugar for a unique touch. Sugar not only enhances the flavor but also contributes to the browning of the cake during baking, resulting in a deliciously golden crust.
Eggs
Eggs play a crucial role in binding the ingredients together while providing structure to the cake. They also contribute to the richness and flavor of Bibingka. When using eggs, ensure they are at room temperature for better blending with the other ingredients. Beating the eggs well before adding them to the mixture can help incorporate air, resulting in a lighter, fluffier texture.
Cheese
In many variations of Bibingka, cheese is added as a topping, creating a delightful contrast to the sweetness of the cake. The melted cheese, often a sharp cheddar or a local variety known as “edam,” adds a savory note that elevates the dessert to new heights. The combination of sweet and savory is one of the hallmarks of Filipino cuisine, and the inclusion of cheese in Bibingka exemplifies this beautifully.
Optional Ingredients
For those looking to enhance their Bibingka, there are optional ingredients that can add depth and richness. Grated salted egg is a popular choice, providing a unique flavor that complements the sweetness of the cake. Additionally, garnishing with fresh grated coconut can add texture and a burst of coconut flavor, making the dish even more indulgent. These optional ingredients allow for personalization and creativity in your Bibingka preparation.
Step-by-Step Preparation
Now that we’ve explored the essential ingredients, it’s time to dive into the preparation of Bibingka. Following these steps will help you achieve the perfect cake, ensuring an authentic flavor and texture that will impress your family and friends.
Preheating the Oven and Preparing Molds
Begin by preheating your oven to 375°F (190°C). This step is crucial for ensuring even baking and achieving that sought-after golden crust. While the oven heats up, prepare your molds. Traditionally, Bibingka is baked in round, shallow pans lined with banana leaves, which impart a subtle aroma to the cake. If banana leaves are unavailable, you can opt for parchment paper as an alternative. Ensure that the molds are well-greased to allow for easy removal after baking.
Mixing Dry Ingredients
In a mixing bowl, combine your dry ingredients: glutinous rice flour, sugar, and any additional flavorings, such as baking powder or salt. The key to a successful Bibingka is ensuring that these dry ingredients are well-blended. Use a whisk or a sifter to mix them thoroughly, breaking up any clumps of flour. This step is essential for achieving a uniform texture in your batter, preventing any pockets of undissolved sugar or flour that could affect the final product.
Combining Wet Ingredients
In a separate bowl, combine the wet ingredients: coconut milk, eggs, and any melted butter or oil you plan to use. Whisk these ingredients together until you achieve a smooth mixture. The coconut milk should be fully incorporated to ensure that the batter is consistent and free of lumps. This step is important, as the wet ingredients will help to hydrate the dry ingredients, resulting in a cohesive batter.
Merging Wet and Dry Mixtures
Once both the dry and wet mixtures are prepared, it’s time to combine them. Gradually pour the wet ingredients into the bowl of dry ingredients, stirring gently with a spatula or wooden spoon. Be careful not to overmix, as this can lead to a dense texture. The goal is to combine the two mixtures until just incorporated. You should see a thick batter that is slightly lumpy, which is perfectly fine for Bibingka.
As you merge the mixtures, consider adding any optional ingredients such as grated cheese or salted egg, which can be folded into the batter for added flavor. This step will ensure that each bite of your Bibingka is bursting with deliciousness.
With the batter ready, you’re well on your way to creating a delightful Bibingka that pays homage to its rich cultural heritage, while also catering to modern tastes.
—
This is the first part of the detailed recipe article on Bibingka Bliss. The subsequent sections will explore baking techniques, tips for achieving the best results, and common questions regarding this beloved Filipino dessert. Stay tuned for the continuation of this culinary journey!
Techniques for Combining to Avoid Lumps
When preparing the batter for your Bibingka Bliss, achieving a smooth, lump-free consistency is essential. To avoid lumps, start by sifting your dry ingredients—such as rice flour, all-purpose flour, baking powder, and sugar—together in a large mixing bowl. This process aerates the flour and helps combine the ingredients evenly.
Next, when adding your wet ingredients, do so gradually. Begin by whisking together the coconut milk, eggs, and melted butter in a separate bowl until the mixture is well blended. Slowly pour this wet mixture into the bowl containing the dry ingredients while continuously stirring. This gradual incorporation minimizes the risk of lumps forming. If you notice any stubborn lumps, use a whisk or an immersion blender to break them up, ensuring a smooth batter that will rise evenly during baking.
Importance of Folding in Melted Butter and Shredded Coconut
Once your batter is lump-free, it’s time to incorporate the melted butter and shredded coconut. The folding technique is crucial here. Gently fold the melted butter into the batter using a spatula, which helps maintain the airy texture achieved by whisking earlier.
Incorporating shredded coconut is not just about flavor; it adds texture to the Bibingka that complements its soft and moist crumb. When folding in the coconut, be careful not to over-mix the batter. You want to preserve the lightness while evenly distributing the coconut throughout the mixture.
Filling the Molds
Filling your molds correctly is pivotal for achieving uniform baking and perfect portion sizes. Using a ladle or a measuring cup, pour the batter into your pre-greased molds. Aim to fill each mold about two-thirds full. This allows space for the batter to rise without overflowing.
Keep in mind that Bibingka can be made in various shapes and sizes. Traditional molds include round and oval shapes made from clay or metal. If you don’t have these, consider using a muffin tin or even a cupcake pan. Each mold will yield a slightly different texture and presentation but will still deliver the signature flavor of Bibingka.
Adding Toppings
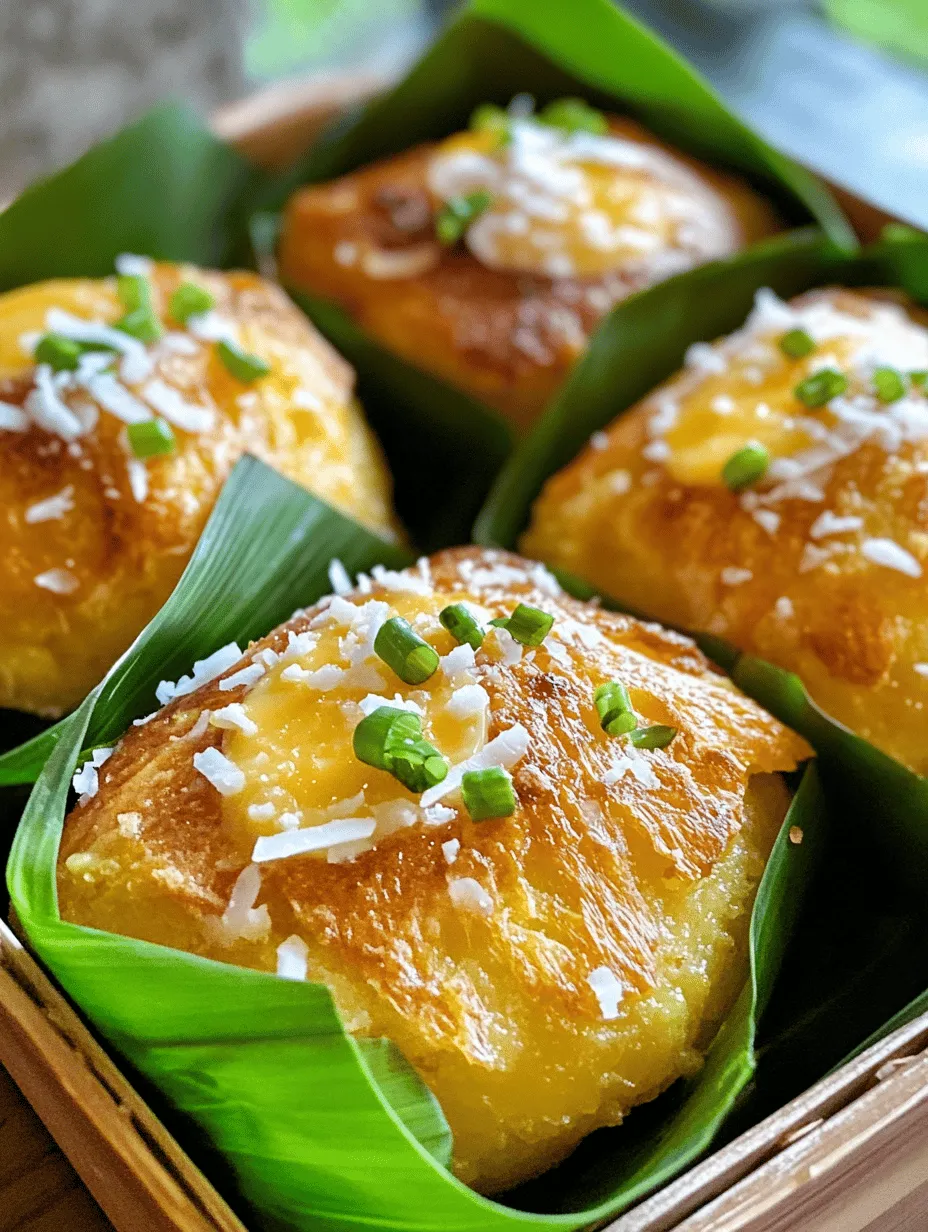
Toppings are where you can truly customize your Bibingka. Traditional toppings include slices of salted egg and cheese, which add a savory contrast to the sweet batter. You can also sprinkle additional shredded coconut on top for an extra hint of texture and flavor.
For a creative twist, consider adding toppings like fresh fruits, nuts, or even a drizzle of sweetened condensed milk after baking. These options not only enhance the visual appeal of your Bibingka but also layer in additional flavors that can delight your taste buds. The interplay of textures from the toppings adds another dimension to the already delightful Bibingka Bliss.
Baking the Bibingka
Preheat your oven to 375°F (190°C) to ensure even baking. Place your filled molds on a baking sheet for easier handling. Depending on the size of your molds, the baking time will vary. For standard-sized molds, you can expect a baking duration of about 25 to 30 minutes.
To check for doneness, insert a toothpick into the center of a Bibingka. If it comes out clean or with a few moist crumbs attached, your Bibingka is ready. Overbaking can lead to a dry texture, so keep an eye on them as they approach the end of the baking time.
Cooling and Serving Suggestions
Once baked, allow the Bibingka to cool in the molds for about 10 minutes before transferring them to a wire rack. This cooling period is essential for the texture to set properly. If served too warm, the Bibingka may be overly soft and delicate, making it difficult to slice and serve.
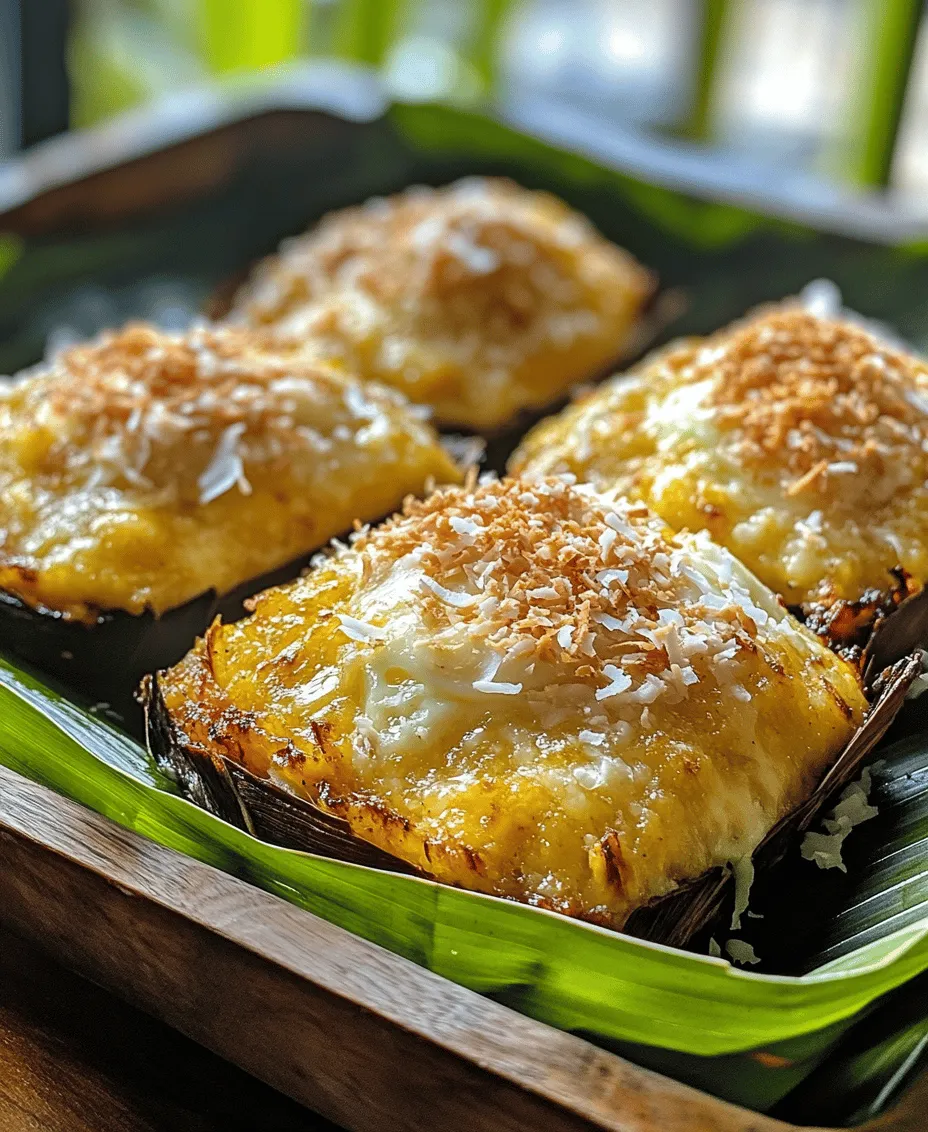
For presentation, consider serving the Bibingka on a banana leaf or a decorative plate. You can also dust them lightly with powdered sugar for an elegant touch. Pairing them with a cup of hot chocolate or coffee can elevate the experience, making it perfect for breakfast or as a delightful snack.
Cultural Context and Variations of Bibingka
Bibingka has deep roots in Filipino culture, traditionally enjoyed during the Christmas season and other festive occasions. Historically, it was cooked in clay pots lined with banana leaves, giving it a distinct flavor and aroma. Its preparation often involves the community gathering, making it a symbol of celebration and togetherness.
Regional variations of Bibingka can be found throughout the Philippines. In some areas, you might encounter Bibingka with a thicker batter, while others may include local flavors like ube or pandan. Some modern adaptations cater to dietary preferences, leading to vegan versions made with plant-based milk and egg substitutes, expanding the reach of this beloved dish.
Nutritional Information
Bibingka Bliss is not just a delightful treat; it also offers some nutritional benefits. A typical serving contains carbohydrates from the rice flour, providing energy, while the coconut milk adds healthy fats and a dose of fiber. The inclusion of eggs also contributes protein, making it a well-rounded snack when enjoyed in moderation.
However, it’s important to consider dietary needs. For those watching their sugar intake, adjusting the amount of sugar or substituting with natural sweeteners can make this recipe more suitable. Additionally, experimenting with gluten-free flours can cater to those with gluten sensitivities while still enjoying the rich flavors of Bibingka.
Conclusion
Creating Bibingka Bliss is not just about following a recipe; it’s about embracing a cultural tradition that brings joy and togetherness to the table. The delightful aroma that fills your kitchen as it bakes is a precursor to the satisfaction that comes from enjoying this comforting dish. Whether you’re celebrating a special occasion or simply indulging in a cherished comfort food, Bibingka offers a taste of home.
Encouragement to experiment with the recipe can lead to the creation of new family traditions. As you explore different toppings and variations, you will not only personalize your Bibingka but also create lasting memories in the process. So gather your loved ones, whip up a batch of Bibingka Bliss, and let the flavors take you on a delightful journey.