Introduction
Baking cookies is a delightful experience that brings joy to both the baker and those who indulge in the final product. The aroma of freshly baked cookies wafting through the home is a comforting reminder of family gatherings, holiday celebrations, and special occasions. Among the myriad of cookie options, Sweetly Decorated Cut-Out Sugar Cookies hold a special place in many hearts. Their versatility makes them suitable for a wide range of events, from birthdays and holidays to simple get-togethers.
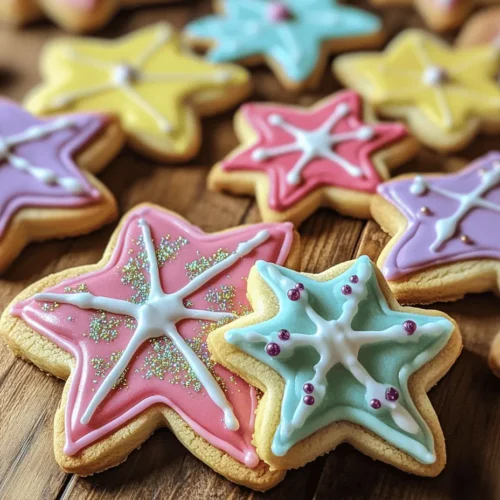
What truly sets these cookies apart is their potential for decoration. With vibrant icing and a sprinkle of creativity, these cookies become edible art that appeals to both children and adults alike. Whether you’re crafting them for a festive occasion or just because, the joy of decorating these cookies can be as fulfilling as baking them. This recipe will guide you through creating beautifully decorated cut-out sugar cookies that will not only please the palate but also delight the eyes.
Understanding the Ingredients
To make the perfect Sweetly Decorated Cut-Out Sugar Cookies, understanding the role of each ingredient is crucial. Each component contributes to the texture, flavor, and overall success of the cookies.
All-Purpose Flour
The foundation of any cookie recipe is the flour, and all-purpose flour is the most commonly used type in baking. It provides the necessary structure and texture for our sugar cookies. The protein content in all-purpose flour helps develop gluten, which gives the cookies their shape and chewiness. For cut-out cookies, the right amount of flour is essential to ensure that they hold their shape during baking while remaining tender and soft.
Baking Powder
Baking powder is a leavening agent that plays a vital role in achieving the desired texture of the cookies. It helps the cookies rise during baking, creating a light and airy texture. The right amount of baking powder ensures that the cookies do not become dense or flat. It is essential to measure accurately, as too much or too little can drastically change the outcome.
Salt
While it may seem minor, salt is a key ingredient that enhances the overall flavor of the cookies. It balances the sweetness of the granulated sugar and complements the other flavors in the dough. A pinch of salt can significantly elevate the taste of your cookies, ensuring they are not overly sweet and have a well-rounded flavor profile.
Unsalted Butter
Butter is the star ingredient in many cookie recipes, and for good reason. Unsalted butter provides richness and creaminess that adds depth to the flavor of the cookies. It also contributes to the texture by providing tenderness. Using unsalted butter allows for better control over the salt content in the recipe, ensuring that the cookies are perfectly balanced in flavor.
Granulated Sugar
Granulated sugar is the primary sweetener in this recipe. It not only adds sweetness but also contributes to the texture of the cookies. When creamed with butter, sugar helps to incorporate air into the mixture, resulting in a lighter cookie. Additionally, granulated sugar caramelizes during baking, giving the cookies a lovely golden color.
Egg
The egg serves as a binding agent in the dough, helping to combine all the ingredients and providing moisture. It also contributes to the structure of the cookies, ensuring they hold together well. The protein in the egg helps set the cookies as they bake, while the fat in the egg yolk adds richness.
Vanilla and Almond Extracts
Flavor is key in any cookie recipe, and vanilla and almond extracts play an essential role in enhancing the overall taste of the cookies. Vanilla extract adds a warm, sweet flavor that complements the sugar and butter, while almond extract brings a subtle nuttiness that elevates the flavor profile. Together, they create a delicious aroma and taste that makes these cookies irresistible.
Colored Icing and Sprinkles
No cut-out sugar cookie is complete without decoration! Colored icing and sprinkles allow for endless creativity and personalization. They not only make the cookies visually appealing but also add an extra layer of sweetness. The icing serves as a canvas for your artistic designs, whether you’re creating festive holiday themes or whimsical designs for a birthday party.
Preparation Process
Creating Sweetly Decorated Cut-Out Sugar Cookies involves several steps, each important to achieving the perfect cookie. Here is a step-by-step guide to help you through the preparation process.
Step 1: Preheating and Preparing the Baking Environment
Before diving into the recipe, preheating the oven is essential. Set your oven to 350°F (175°C) to ensure it reaches the proper temperature for baking. While the oven is preheating, prepare your baking sheets with parchment paper. This not only prevents the cookies from sticking but also makes for easy cleanup. Having your baking environment ready before starting to mix the dough allows for a smoother workflow.
Step 2: Mixing Dry Ingredients
In a medium mixing bowl, combine the all-purpose flour, baking powder, and salt. Whisk the dry ingredients together until they are well blended. This step is crucial because it ensures that the baking powder and salt are evenly distributed throughout the flour, which will lead to consistent baking results. The right consistency of the dry mix will contribute to the texture of the cookies, so be sure to sift the flour if it appears lumpy.
Step 3: Creaming Butter and Sugar
In a large mixing bowl, begin the process of creaming the unsalted butter and granulated sugar together. Use an electric mixer on medium speed to beat the butter until it is light and fluffy, which usually takes about 2 to 3 minutes. This step is vital as it incorporates air into the mixture, resulting in a lighter texture for the cookies. Ensure that the butter is at room temperature; this aids in achieving the fluffy consistency needed for the best results.
Once the butter is creamed, gradually add in the granulated sugar while continuing to mix. Beat the mixture until it is well combined and fluffy, which will create a lovely base for your cookie dough. The color should lighten as the sugar and butter blend together.
Step 4: Incorporating the Egg and Extracts
Next, add the egg to the butter and sugar mixture, mixing until it is fully incorporated. This step binds the ingredients together, ensuring a cohesive dough. After the egg is mixed in, add the vanilla and almond extracts. These extracts will infuse the dough with flavor, making the cookies taste delightful. Mix until the ingredients are well combined and the mixture appears smooth.
Step 5: Combining Wet and Dry Ingredients
Now it’s time to combine the wet and dry ingredients. Gradually add the flour mixture to the butter mixture, mixing on low speed. This helps to prevent flour from flying everywhere and ensures that the dough comes together without over-mixing. Stop mixing as soon as the flour is incorporated; overworking the dough can lead to tougher cookies.
Step 6: Chilling the Dough
Once the dough is well mixed, divide it into two equal portions and shape each into a disk. Wrap the disks in plastic wrap and refrigerate them for at least one hour. Chilling the dough is a crucial step in the cut-out cookie process, as it firms up the dough, making it easier to roll out and cut into desired shapes. It also helps prevent the cookies from spreading too much during baking, ensuring they retain their decorative shapes.
With these initial steps complete, you are well on your way to creating sweetly decorated cut-out sugar cookies that will impress everyone at your next gathering. The following sections will detail the rolling, cutting, baking, and decorating processes, ensuring that you achieve the perfect cookies every time. Stay tuned for the next part of this exciting baking journey!
Incorporating Egg and Extracts
To start the journey of creating your Sweetly Decorated Cut-Out Sugar Cookies, it’s crucial to ensure even distribution of flavors. Begin by incorporating your eggs and extracts into the mixture. Using room temperature eggs is ideal, as they blend more easily with the other ingredients. Crack the eggs into a bowl and lightly whisk them before adding them to the sugar and butter mixture. This step allows for smoother integration.
When it comes to extracts, vanilla is a classic choice, providing a rich, warm flavor that complements the sweetness of the cookies. You might also consider almond extract for a slightly different twist. Add about one teaspoon of your chosen extract(s) to the mixture, ensuring that you don’t overpower the base flavor. Mix until just combined, being careful not to overwork the dough at this stage, as this can lead to tougher cookies.
Combining Mixtures
Once you have successfully incorporated the eggs and extracts, it’s time to combine the dry and wet mixtures. Gradually add your previously prepared dry ingredients—flour, baking powder, and salt—into the wet ingredients. The key here is to mix gently. Overmixing is a common mistake that can result in dense cookies rather than the tender, melt-in-your-mouth delights we seek. Aim for a dough that comes together without visible flour. If you notice some dry bits remaining, a few gentle folds with a spatula or wooden spoon should suffice.
Chilling the Dough
After combining the mixtures, the next crucial step is chilling the dough. This isn’t just a suggestion; it’s essential for cut-out cookies. Chilling the dough helps the fats solidify, which subsequently prevents the cookies from spreading too much during baking. A chilled dough retains its shape better, giving you those perfect edges so desirable in decorated cookies.
Once your dough is mixed, shape it into a disc or rectangle, wrap it tightly in plastic wrap, and refrigerate for at least one hour. If time permits, allowing it to chill overnight can enhance the flavors even more. Just remember to take it out of the fridge about 10-15 minutes before rolling to make it easier to work with.
Rolling, Cutting, and Baking
Rolling Out the Dough
Now that your dough is chilled and ready, it’s time to roll it out. Lightly flour your clean work surface and your rolling pin to prevent sticking. Place your dough on the surface and sprinkle a bit of flour on top before beginning to roll. Aim for a uniform thickness of about 1/4 inch; this will help ensure even baking.
It’s helpful to rotate the dough as you roll it to achieve an even thickness. If the dough sticks to the surface or rolling pin, sprinkle a little more flour as needed. The goal is to have a smooth, flat surface ready for cutting.
Tips for Preventing Sticking and Maintaining Shape
To further prevent sticking, consider rolling the dough between two sheets of parchment paper. This method not only makes for easier rolling but also simplifies the transfer of cut cookies to the baking sheet. Once you have your dough rolled out, use cookie cutters to create your desired shapes.
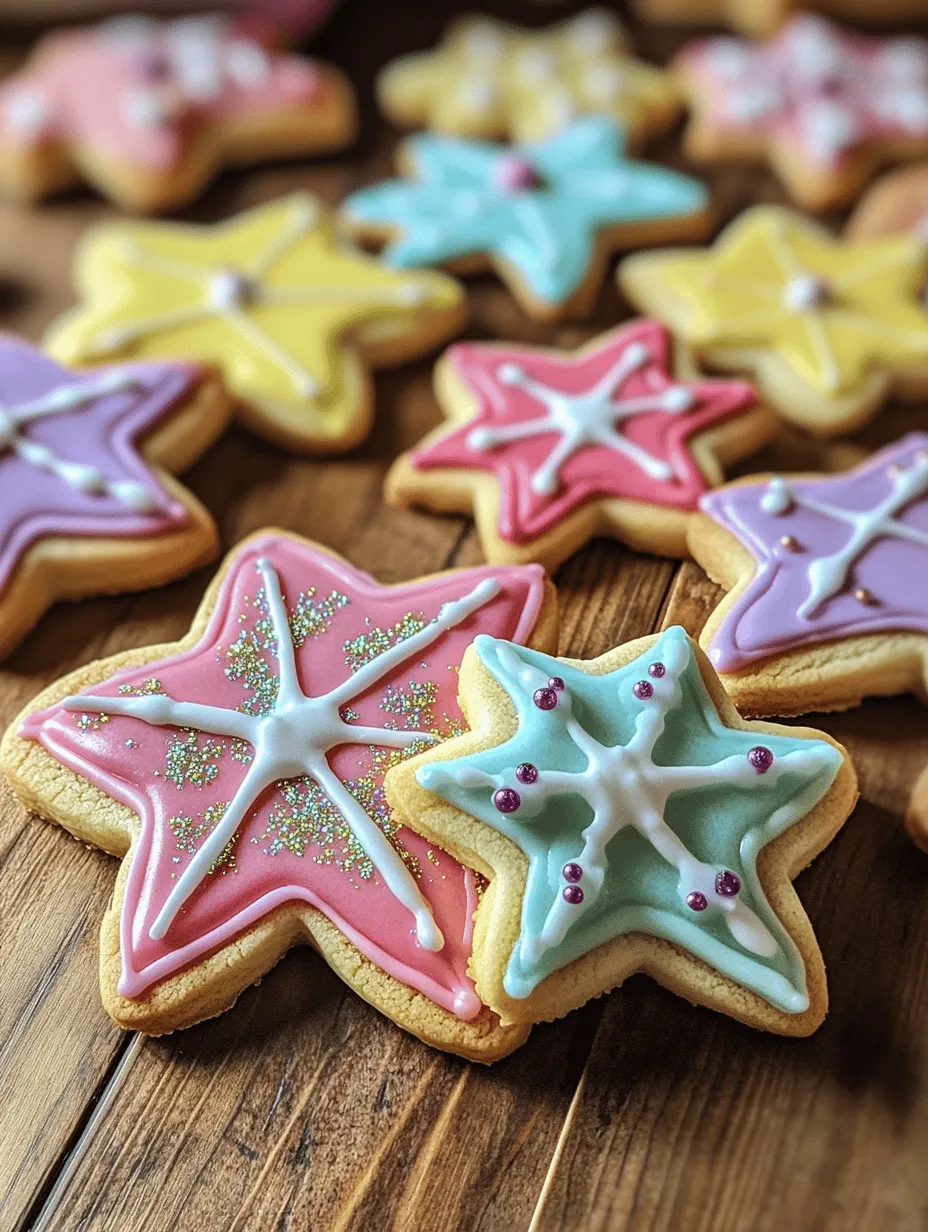
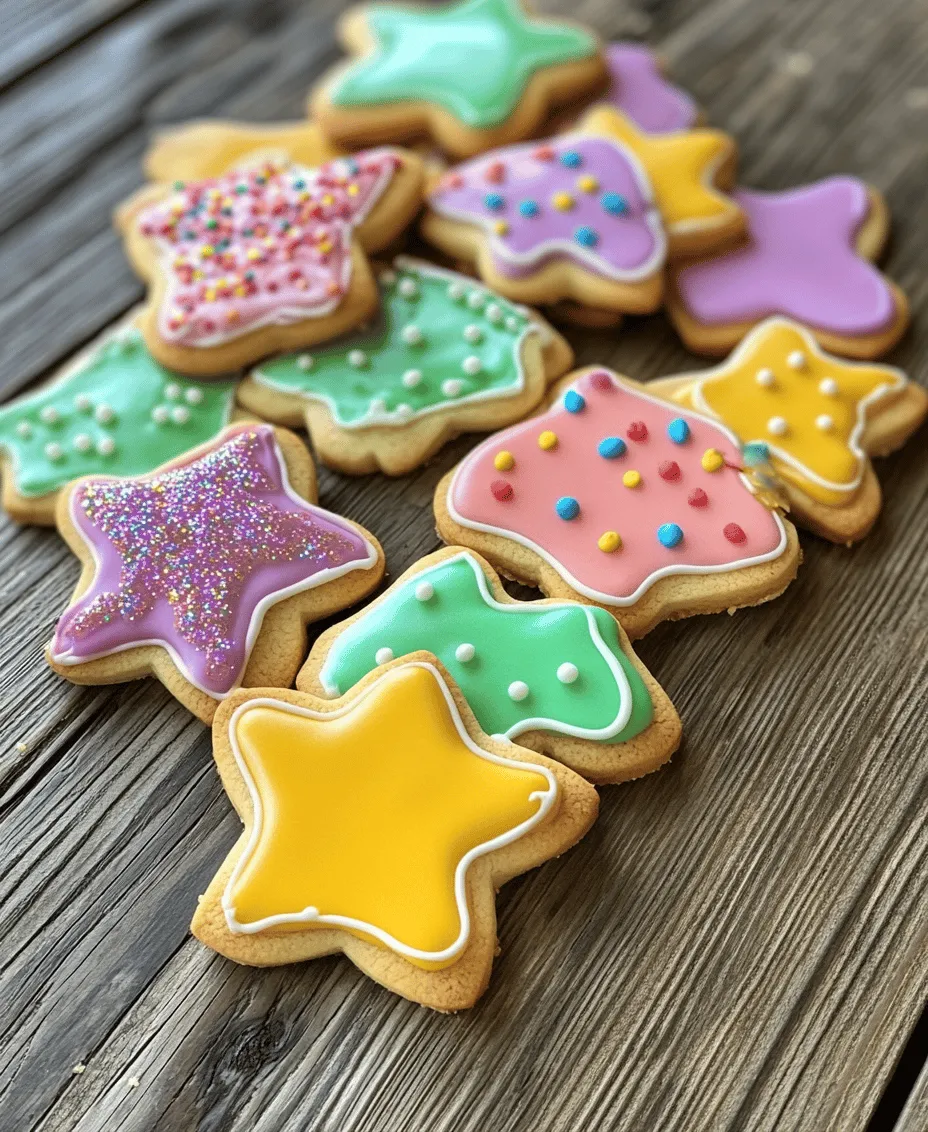
Choosing cookie cutters can be as fun as decorating the cookies themselves. Opt for classic shapes like stars, hearts, or circles, or embrace seasonal themes with pumpkin or snowflake cutters for holidays.
Baking Instructions
Preheat your oven to 350°F (175°C) before you cut your cookies. Line your baking sheets with parchment paper to ensure easy removal post-baking. Place your cut-out cookies on the sheets, leaving enough space between each cookie for expansion. Bake for 8-10 minutes, or until the edges are lightly golden. Keep a close eye on them, as baking times may vary depending on your oven and the thickness of your cookies.
Once baked, allow the cookies to cool on the baking sheet for a few minutes before transferring them to a wire rack. This step prevents them from breaking apart. Let the cookies cool completely before decorating, as warm cookies can cause icing to melt and lose its shape.
Decorating Your Cookies
Now comes the most enjoyable part: decorating your cookies! There are countless creative ideas for using colored icing, and your imagination is the limit. Royal icing is a popular choice for decorating sugar cookies as it dries to a hard finish, making it ideal for intricate designs.
Techniques for Icing Application
When it comes to applying icing, you can use various techniques. Piping involves using a piping bag fitted with a small round tip to outline your cookies first, creating a barrier for flooding, which is the process of filling in the outlined areas with thinned icing. This technique allows for beautiful, even designs.
Alternatively, for simpler decorations, you can use a paintbrush to apply the icing. This method is great for covering larger areas quickly and can be a fun way to create a watercolor effect on your cookies.
The Role of Sprinkles and Edible Glitter
Don’t forget the sprinkles! They can add a burst of color and texture to your cookies. After applying the icing, sprinkle them generously while the icing is still wet, ensuring they adhere well. Edible glitter can also enhance the visual appeal of your cookies, making them sparkle and stand out.
Consider themes for your decorations to resonate with specific occasions. For birthdays, bright colors and fun shapes can be used, while for Christmas, think about red and green icing with snowflake or candy cane designs.
Serving and Enjoying
The presentation can elevate the cookie-eating experience. Arrange your cookies on a festive platter or in a decorative tin to share with friends and family. If you want to enhance enjoyment further, think about pairing your cookies with beverages. A glass of cold milk is a classic pairing, while warm tea or coffee can complement the sweetness of your sugar cookies beautifully.
It’s important to allow the icing to set completely before serving your cookies. Depending on the thickness of your icing, this could take a few hours or even overnight. This waiting period not only ensures the cookies maintain their beautiful designs but also allows the flavors to develop fully.
Conclusion
Baking Sweetly Decorated Cut-Out Sugar Cookies is not just a culinary activity; it’s a delightful experience that brings joy and creativity to the kitchen. Each step, from mixing the dough to the final touches of decoration, offers an opportunity for personal expression and connection with loved ones. We encourage you to try this recipe and share your creations with family and friends.
Baking cookies has a way of creating lasting memories, whether it’s during festive holidays, birthday celebrations, or just a cozy afternoon at home. So, gather your ingredients, unleash your creativity, and enjoy the sweet rewards of your efforts. Happy baking!