Introduction
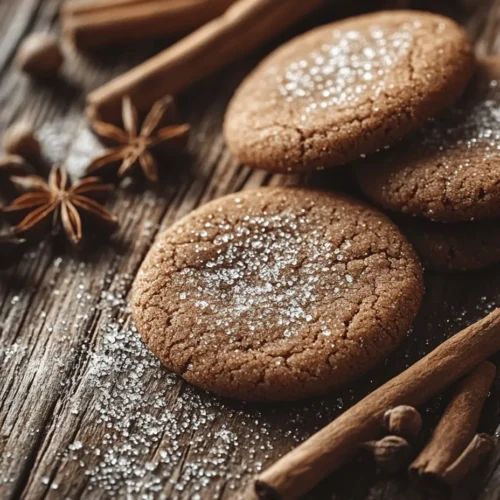
As the leaves turn golden and the air grows crisp, there is nothing quite like the warmth of freshly baked cookies wafting through your home. The fall and winter seasons beckon for cozy moments, and what better way to embrace that than with a batch of warm, chewy molasses cookies? These delightful treats are not only a classic staple of holiday baking but also a comforting indulgence that brings a smile to anyone who bites into them.
Molasses cookies have a rich history, often associated with the comfort of home and the joy of sharing treats with loved ones. Their unique flavor profile—a perfect blend of sweetness and spice—combined with a soft, chewy texture, makes them an irresistible choice for cookie lovers. Whether you’re enjoying them with a cup of tea or sharing them at a festive gathering, these cookies offer a nostalgic taste of tradition.
In this article, we will explore the magic behind molasses cookies, delve into their ingredients, and walk you through the steps to create the perfect batch at home. Baking can be an incredibly rewarding experience, and with this recipe, you’ll find that it is simple and joyful, allowing the warmth of the oven to fill your kitchen with delicious aromas.
The Magic of Molasses in Baking
At the heart of molasses cookies lies one key ingredient: molasses itself. But what exactly is molasses? Molasses is a thick, dark syrup produced during the sugar extraction process from sugarcane or sugar beets. It has a distinctive rich flavor that can range from sweet to slightly bitter, making it a versatile ingredient in both baking and cooking.
Molasses is not just prized for its taste; it also brings a wealth of nutritional benefits. It is packed with essential vitamins and minerals, including iron, calcium, magnesium, and potassium. These nutrients contribute not only to the flavor but also to the healthful aspect of the cookies. When included in your baking, molasses provides a deeper, more complex sweetness, which is a fantastic contrast to the spices used in this recipe.
One of the most notable qualities of molasses is its ability to create that desired chewy texture in cookies. The sugars in molasses hold moisture, preventing the cookies from drying out and giving them a delightful softness that is hard to resist. This moisture retention is key to achieving the perfect texture—one that is both chewy and soft in the center while slightly crisp on the edges.
Ingredient Breakdown
To create the perfect warm and chewy molasses cookies, let’s break down each ingredient and its crucial role in the recipe:
All-Purpose Flour
All-purpose flour serves as the backbone of this recipe, providing the necessary structure for the cookies. It acts as a binding agent, helping to hold all the ingredients together. The right amount of flour ensures that the cookies don’t spread too much while baking, allowing them to maintain their shape and chewy texture.
Baking Soda
Baking soda is a key leavening agent in this recipe, responsible for giving the cookies their rise. When combined with the acidic molasses, baking soda produces carbon dioxide, which helps create a light and airy texture. It’s essential to measure this ingredient accurately; too much can cause the cookies to spread excessively, while too little may result in dense cookies.
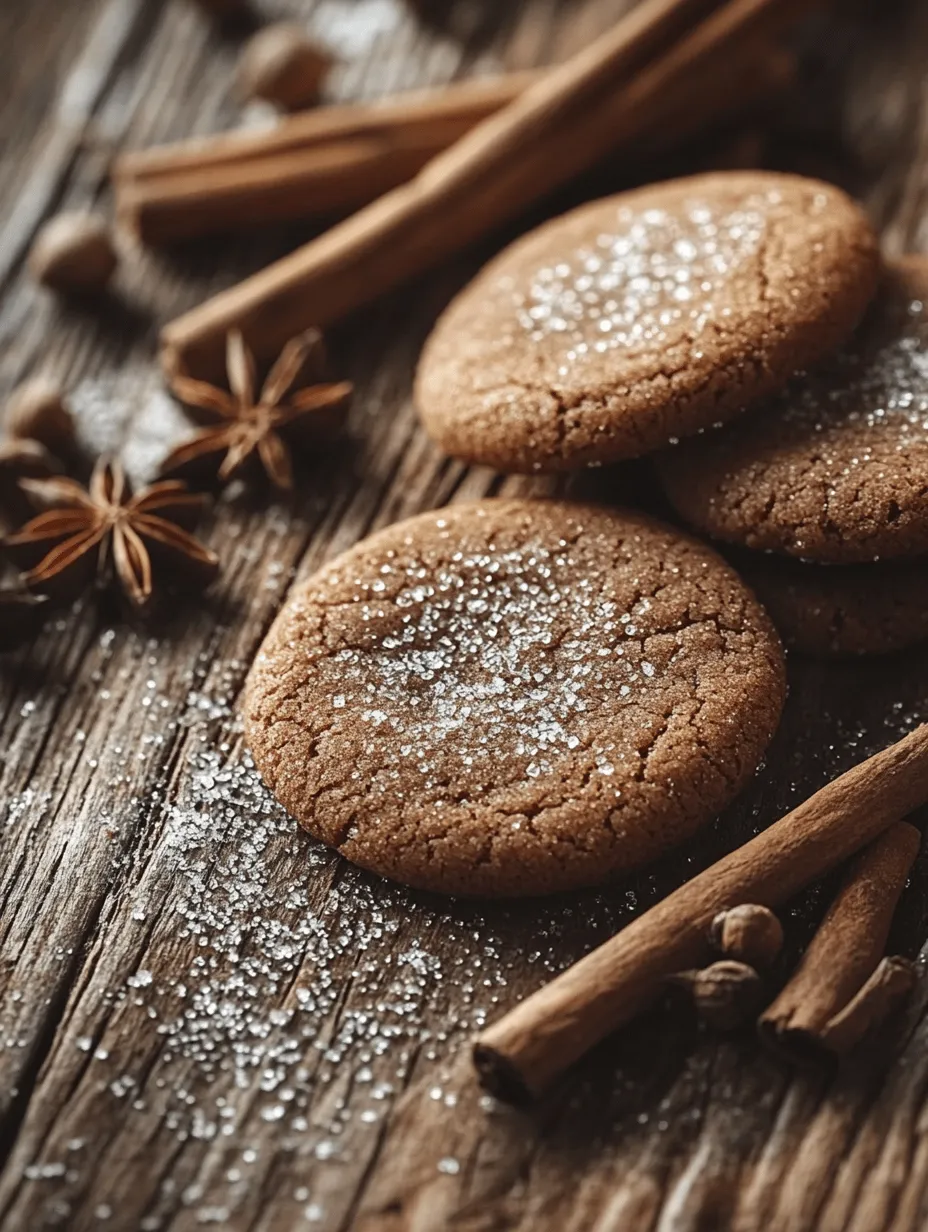
Spices (Ginger, Cinnamon, Cloves)
The combination of spices—ginger, cinnamon, and cloves—adds depth and warmth to the flavor profile of the cookies. Ginger brings a slight heat and zing, cinnamon contributes a sweet and aromatic quality, and cloves add an earthy richness. Together, these spices evoke the comforting essence of fall and winter, making each bite a delightful experience.
Unsalted Butter
Butter is a fundamental ingredient in cookie baking, and using unsalted butter allows for better control over the overall saltiness of the cookies. Softened butter is crucial, as it incorporates air during the creaming process, contributing to a light and fluffy texture. The fat from the butter also adds richness and flavor, ensuring each cookie is melt-in-your-mouth delicious.
Brown Sugar vs. Granulated Sugar
In this recipe, both brown sugar and granulated sugar play important roles. Brown sugar, with its molasses content, adds moisture and depth of flavor, while granulated sugar helps to create a slight crispness on the outside of the cookies. The combination of both sugars leads to a perfect balance of sweetness and texture.
Molasses
As discussed earlier, molasses is the star of this recipe. Its unique flavor and moisture retention properties are vital for achieving the chewy texture that makes these cookies so beloved. Additionally, the dark color of molasses gives the cookies a beautiful, rich hue that is visually appealing.
Egg and Vanilla Extract
The egg in this recipe acts as a binding agent, helping to hold all the ingredients together while also adding richness. Vanilla extract is the final touch that enhances the overall flavor, providing a sweet and aromatic note that complements the spices and molasses perfectly.
Granulated Sugar for Rolling
Coating the dough balls in granulated sugar before baking not only adds a touch of sweetness but also creates a lovely, sparkling appearance on the cookies. This simple step elevates the visual appeal and adds an extra layer of texture, making each cookie even more delightful.
Step-by-Step Instructions for Perfect Molasses Cookies
Now that we’ve covered the ingredients, let’s move on to the first steps in creating your warm and chewy molasses cookies. Following these detailed instructions will set you up for success in the kitchen.
Preheating the Oven
Before you begin mixing your ingredients, it’s essential to preheat your oven to 350°F (175°C). Preheating allows for even baking, ensuring that the cookies rise properly and develop that delightful chewy texture. A properly heated oven also helps to set the cookies quickly, preventing them from spreading too much.
Mixing Dry Ingredients
In a mixing bowl, combine the all-purpose flour, baking soda, and spices (ginger, cinnamon, and cloves). Whisk together these dry ingredients until they are well combined. This step is crucial because it ensures that the leavening agent (baking soda) and spices are evenly distributed throughout the flour. Proper mixing at this stage will lead to uniform flavor and texture in your final cookies.
Creaming Butter and Sugar
In a separate large mixing bowl, use an electric mixer to cream together the softened unsalted butter, brown sugar, and granulated sugar. Beat the mixture on medium speed until it becomes light and fluffy, which should take about 2-3 minutes. This process incorporates air into the mixture, resulting in a lighter cookie texture.
Once the butter and sugar are creamed together, add the molasses, egg, and vanilla extract to the bowl. Mix on low speed until all ingredients are fully incorporated. The molasses will add a beautiful dark color to your mixture, signaling that you’re on the right track to creating those rich, chewy cookies.
As you continue with the recipe, keep in mind the importance of following each step carefully. Every detail contributes to the overall success of your molasses cookies, allowing you to share a delicious homemade treat that embodies the warmth and joy of the season.
In the next part of this article, we will delve into the remaining steps of the recipe, ensuring that you have all the knowledge you need to bake these delightful cookies to perfection. Stay tuned for the completion of the baking process!
Incorporating Wet Ingredients: Tips for Seamless Blending
When it comes to baking warm and chewy molasses cookies, the incorporation of wet ingredients is crucial for achieving that rich, gooey texture we all crave. Begin by ensuring that your butter is at room temperature; this allows it to cream perfectly with the sugars. In a mixing bowl, combine the softened butter, brown sugar, and granulated sugar, beating them together until the mixture is light and fluffy. This process should take about 2-3 minutes using an electric mixer on medium speed.
Next, add in the molasses and an egg. If you want an extra layer of flavor, consider adding a teaspoon of vanilla extract at this stage. Mixing these wet ingredients thoroughly ensures that the molasses fully integrates, preventing any lumps that could disrupt the texture of your cookies. Remember, the key is to mix just until combined; overmixing can lead to dense cookies, which we want to avoid.
Combining Mixtures: Best Practices to Avoid Overmixing
Once your wet ingredients are blended, it’s time to incorporate the dry ingredients. In a separate bowl, whisk together your flour, baking soda, salt, cinnamon, ginger, and cloves. This step is essential for evenly distributing the leavening agents and spices throughout the flour.
Gradually add the dry mixture to the wet ingredients in your mixing bowl. Use a spatula or wooden spoon for this part. Fold the flour mixture into the wet ingredients gently, stopping as soon as you no longer see streaks of flour. Overmixing at this stage can lead to tough cookies, so aim for a dough that is just combined and slightly sticky.
Forming and Rolling Cookies: Techniques for Uniform Size and Shape
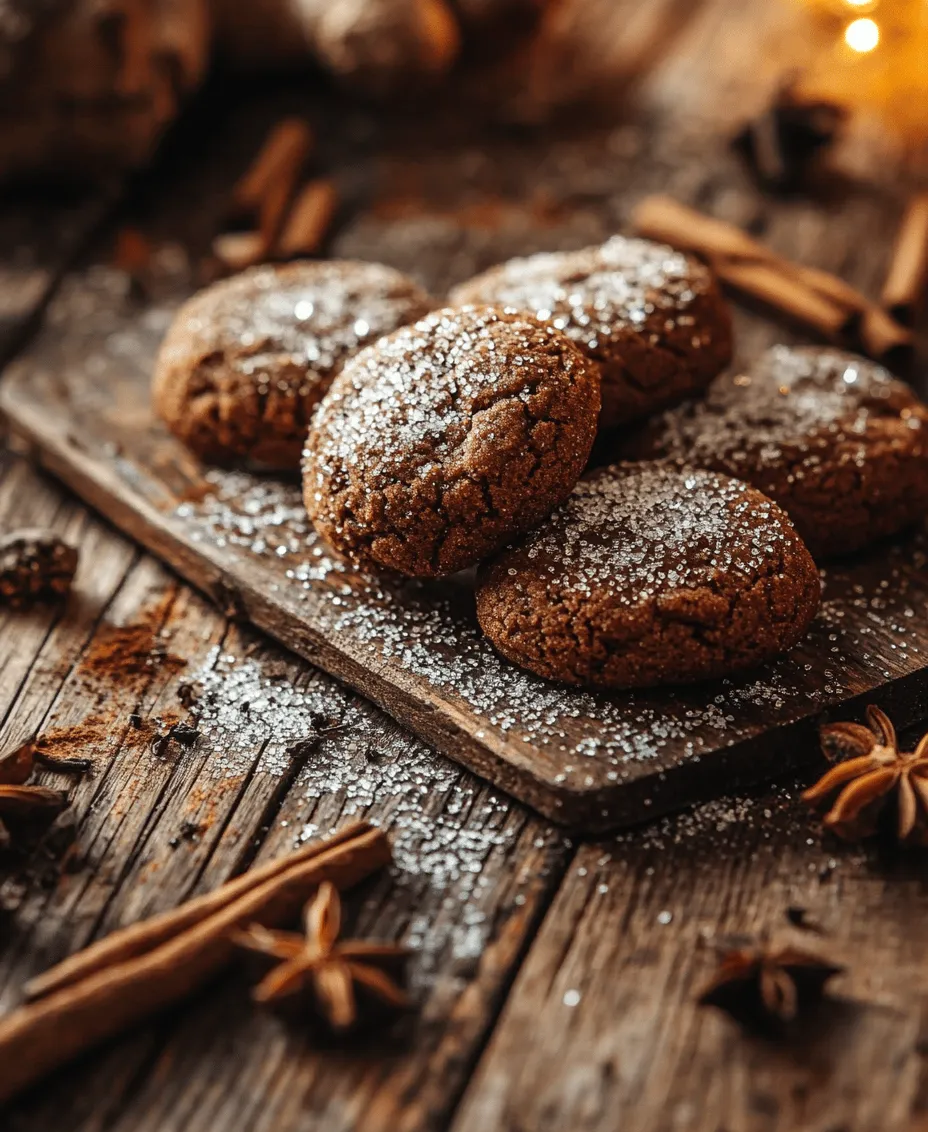
With your dough ready, it’s time to shape those cookies! To ensure uniform size, consider using a cookie scoop or a measuring spoon. A standard tablespoon will yield perfectly sized cookies that bake evenly. Once you have your scoop of dough, roll it between your palms to form a smooth ball.
After forming each cookie, roll them in granulated sugar before placing them on a parchment-lined baking sheet. This not only adds sweetness but also gives your cookies that signature crackled top. Space the cookies about 2 inches apart on the baking sheet to allow for spreading during baking.
Baking: Optimal Baking Time and Temperature for Chewy Centers
Preheat your oven to 350°F (175°C), ensuring it reaches the desired temperature before baking. This is important for achieving the perfect chewy texture. Place your baking sheets in the oven and bake the cookies for about 10-12 minutes, keeping a close eye on them as they approach the end of the baking time.
You’ll know your cookies are done when they have puffed up and the edges are set, but the centers still look slightly soft and underbaked. This is a crucial step for chewy cookies; they will continue to firm up as they cool on the baking sheet.
Cooling Process: Importance of Cooling to Achieve the Perfect Texture
Once baked, remove the cookies from the oven and allow them to cool on the baking sheet for about 5 minutes. This resting period is essential as it allows the cookies to set, making them easier to transfer to a wire rack without breaking. After 5 minutes, carefully move the cookies to a wire rack to cool completely. This step is vital for maintaining that chewy center, as it prevents steam from making the cookies soggy.
Baking Tips for Success
Common Baking Mistakes to Avoid
1. Overmixing the Dough: As previously mentioned, overmixing can lead to tough cookies. Always mix just until combined.
2. Not Measuring Ingredients Accurately: Use a kitchen scale for the most accurate measurements, especially for flour, which can vary greatly in weight based on how it’s packed.
3. Incorrect Oven Temperature: Always preheat your oven, and if you’re unsure about its accuracy, consider using an oven thermometer.
How to Adjust Baking Times for Different Ovens
Every oven is a bit different, so keep in mind that baking times may vary. If you find your cookies are consistently underbaked, try increasing the baking time by a minute or two. Conversely, if they are browning too quickly, reduce the time or lower the temperature slightly.
Understanding Cookie Doneness: Visual Cues to Look For
Visual cues are your best friend when determining doneness. Look for cookies that are golden around the edges but still appear soft in the center. They will continue to cook after being removed from the oven due to residual heat.
Serving and Enjoying Your Cookies
Warm molasses cookies are delightful on their own, but there are many ways to elevate your experience. Serve them warm with a cold glass of milk; the contrast is simply divine. For coffee lovers, these cookies pair exceptionally well with a robust cup of coffee. The spices in the cookies complement the bitterness of the coffee beautifully.
If you’re planning a gathering or holiday event, consider creative serving ideas such as creating a cookie platter with different types of cookies or presenting them in a festive tin. They also make wonderful gifts when packaged in decorative boxes, allowing you to share the joy of baking with loved ones.
Storing Your Molasses Cookies
To maintain the freshness of your molasses cookies, store them in an airtight container at room temperature. They can last for up to a week, although we doubt they’ll stick around that long!
For longer storage, you can freeze your cookies. Simply let them cool completely, then place them in a single layer on a baking sheet and freeze until solid. Once frozen, transfer them to a freezer-safe bag or container, separating layers with parchment paper to prevent sticking. They can be stored in the freezer for up to three months. When you’re ready to enjoy them, simply thaw at room temperature or warm them briefly in the oven.
Variations on the Classic Recipe
Feel free to get creative with your molasses cookies! Here are a few variations to consider:
1. Chocolate Chips: Add half a cup of semi-sweet or dark chocolate chips to the dough for a decadent twist.
2. Nuts: Chopped walnuts or pecans can add a delightful crunch and enhance the flavor.
3. Dried Fruits: Consider mixing in dried cranberries or raisins for a chewy texture and added sweetness.
4. Spice Levels: If you prefer a spicier cookie, increase the amount of ginger or add a pinch of nutmeg for a warm flavor profile.
Conclusion
Baking warm molasses cookies is not just about creating a delicious treat; it’s about the joy of sharing and the comfort of home. Each batch brings with it a wave of nostalgia, reminding us of simpler times spent in the kitchen with loved ones. We encourage you to try this recipe, savor the warm, chewy results, and share them with friends and family. There’s nothing quite like the aroma of freshly baked cookies wafting through your home, inviting everyone to gather and enjoy the sweet moments together. So roll up your sleeves, preheat your oven, and create some wonderful memories with these delightful molasses cookies!