Cookies are a beloved dessert that transcends cultures and occasions, making them a staple in baking traditions around the world. From classic chocolate chip to more adventurous flavors, cookies serve as a canvas for creativity and a source of comfort for many. Among the myriad of cookie variations, Pink Velvet Cookies have emerged as a delightful choice that not only satisfies your sweet tooth but also adds a splash of color to any dessert table.
Introduction to Pink Velvet Cookies and Their Unique Appeal
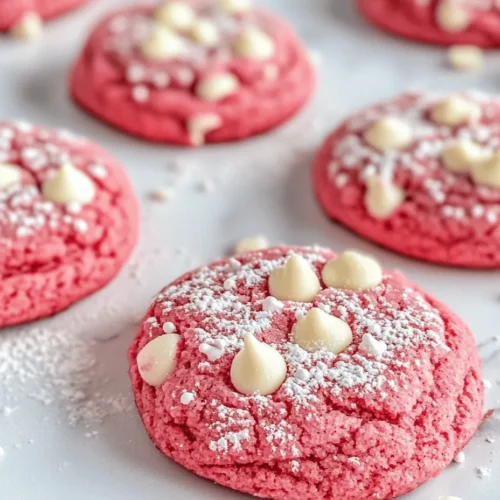
Pink Velvet Cookies are a whimsical twist on the traditional velvet cake, known for its soft, tender crumb and distinctively vibrant hue. These cookies capture the essence of that beloved cake in a more portable and casual form, making them ideal for a variety of occasions—from birthday parties and baby showers to cozy family gatherings.
What sets Pink Velvet Cookies apart is not just their stunning appearance, but also their unique texture and flavor profile. Biting into one reveals a soft, chewy center that melts in your mouth, while the subtle flavors of vanilla and butter dance on your palate. The addition of white chocolate chips brings creaminess and a touch of sweetness that perfectly complements the cookie’s overall flavor, elevating it from ordinary to extraordinary.
These cookies are not just for special celebrations; their versatility makes them suitable for everyday enjoyment as well. Whether you want to brighten up your afternoon tea or surprise your loved ones with a sweet treat, Pink Velvet Cookies are sure to impress.
Understanding the Ingredients for Pink Velvet Cookies
To create the perfect Pink Velvet Cookies, it’s essential to understand the role each ingredient plays in the recipe. This knowledge not only ensures successful baking but also allows for adjustments based on personal preferences or dietary needs.
All-Purpose Flour: The Foundation of Structure and Texture
All-purpose flour is the backbone of most cookie recipes, including Pink Velvet Cookies. It provides the necessary structure and texture, allowing the cookies to hold their shape while baking. The protein content in all-purpose flour is crucial for gluten development, which gives the cookies their chewy texture. For the best results, it’s advisable to measure your flour correctly—spoon it into your measuring cup and level it off, rather than scooping directly from the bag, which can lead to excess flour and dry cookies.
Baking Soda and Baking Powder: The Dynamic Duo for Leavening
Baking soda and baking powder are essential leavening agents that help Pink Velvet Cookies achieve their light and airy texture. Baking soda, a base, reacts with acidic components in the dough, while baking powder provides a dual-action leavening effect, releasing gas bubbles during mixing and again when exposed to heat. Together, these agents work to ensure that the cookies rise beautifully without becoming overly dense.
Unsalted Butter: Enhancing Flavor and Texture
Unsalted butter plays a pivotal role in the flavor and texture of Pink Velvet Cookies. It contributes to the rich, buttery taste that is synonymous with high-quality baked goods. Using unsalted butter allows for better control over the overall saltiness of the cookies, as you can adjust the salt content separately. The butter should ideally be softened to room temperature to achieve the perfect creaminess when creamed with sugar.
Granulated Sugar: Sweetness and Moisture Retention
Granulated sugar not only adds sweetness to Pink Velvet Cookies but also helps with moisture retention. This results in a softer, chewier cookie. When sugar is creamed with butter, it incorporates air into the mixture, which aids in creating a light texture. The balance of sugar is crucial; too much can make the cookies overly sweet and too little can lead to a bland flavor.
Egg: The Binding Agent and Moisture Contributor
Eggs are a vital ingredient in cookie recipes, serving as a binding agent that holds the ingredients together. In addition to providing structure, eggs add moisture, contributing to the cookies’ soft and chewy consistency. For those with dietary restrictions, flax eggs or applesauce can be used as substitutes, although they may slightly alter the texture and flavor.
Vanilla Extract: The Flavor Enhancer
Vanilla extract is often considered the soul of many baked goods. In Pink Velvet Cookies, it enhances the overall flavor profile, complementing the sweetness of the sugar and the richness of the butter. Using pure vanilla extract rather than imitation can make a noticeable difference in taste, elevating your cookies to gourmet levels.
Liquid Red Food Coloring: Creating the Signature Pink Color
The vibrant pink color is what makes these cookies visually striking and unique. Liquid red food coloring is used to achieve this hue, and it also lends a fun, festive element to the cookies. When adding food coloring, it’s important to start with a small amount and gradually increase until you reach the desired shade. This way, you can control the intensity of the color without overwhelming the other flavors.
White Chocolate Chips: Sweetness and Creaminess
White chocolate chips add a delightful creaminess and burst of sweetness to Pink Velvet Cookies. Their smooth texture complements the soft cookie base, creating a wonderful contrast that enhances the overall eating experience. If you prefer a less sweet cookie, consider using semi-sweet chocolate chips or dark chocolate chunks as an alternative.
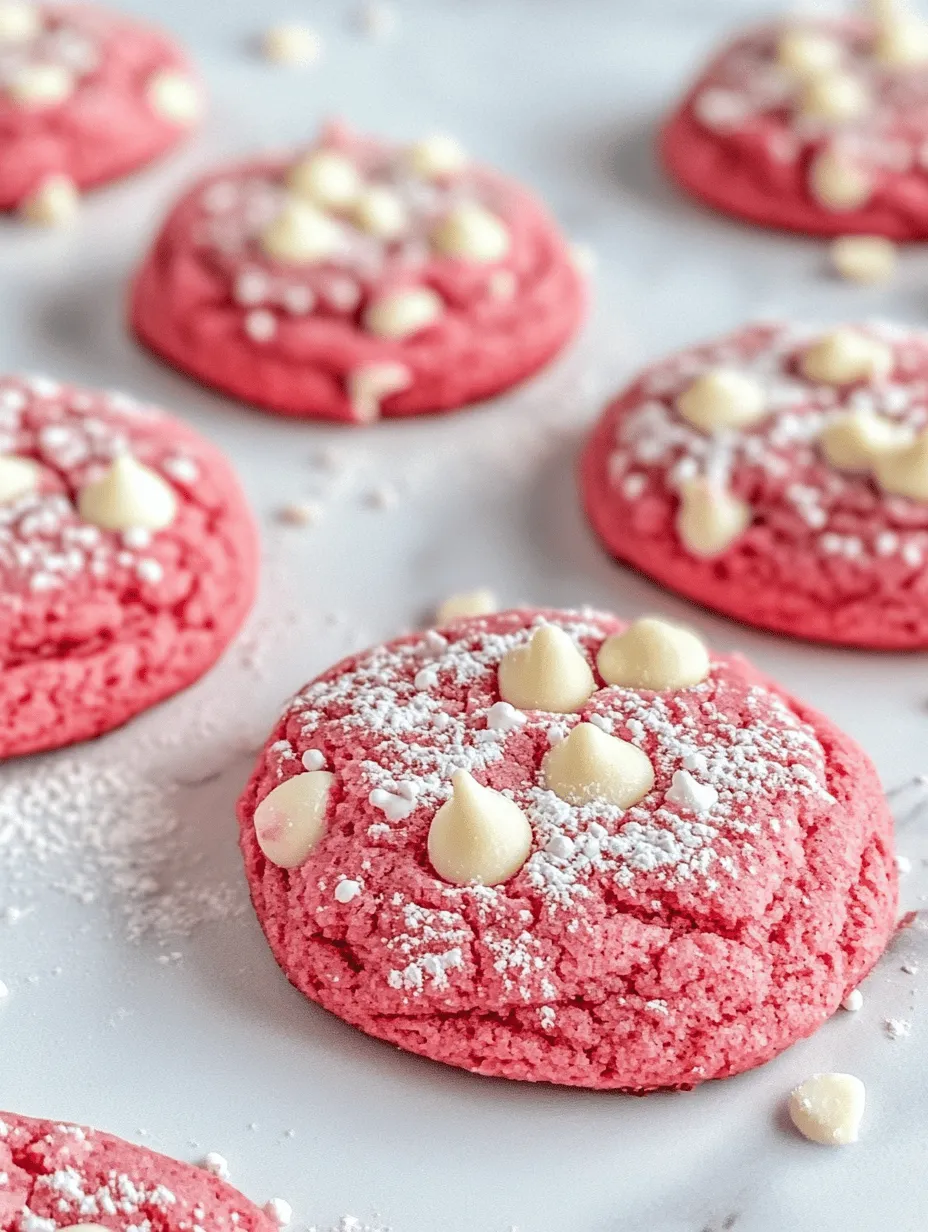
Powdered Sugar: The Finishing Touch for Presentation
Finally, a light dusting of powdered sugar adds the perfect finishing touch to your Pink Velvet Cookies. Not only does it enhance their visual appeal, but it also provides a subtle sweetness that balances the flavors beautifully. This step is optional, but it can elevate the presentation of your cookies, making them even more enticing.
Step-by-Step Instructions for Crafting Pink Velvet Cookies
Now that you have a comprehensive understanding of the ingredients, let’s dive into the step-by-step instructions for crafting these delightful Pink Velvet Cookies. Follow these directions carefully to ensure a successful baking experience.
Prepping the Baking Environment
Before you start mixing your ingredients, it’s essential to prep your baking environment. Begin by preheating your oven to 350°F (175°C). This ensures that the cookies bake evenly and achieve the desired texture. While the oven is heating, prepare your baking sheets by lining them with parchment paper. This not only helps prevent sticking but also makes cleanup a breeze.
Mixing Dry Ingredients
Once your baking environment is ready, it’s time to tackle the dry ingredients. In a medium-sized bowl, combine the all-purpose flour, baking soda, baking powder, and a pinch of salt. Sifting or whisking these dry ingredients together is crucial; it ensures even distribution and helps eliminate lumps. Proper mixing at this stage sets the foundation for a well-textured cookie.
Creaming Butter and Sugar
Next, you’ll want to cream together the softened unsalted butter and granulated sugar. Using an electric mixer on medium speed, beat the butter until it becomes light and fluffy. This process incorporates air into the mixture, which is vital for achieving that chewy texture. Aim for a pale yellow color, which typically takes about 2-3 minutes of mixing. Be sure to scrape down the sides of the bowl occasionally to ensure even mixing.
Incorporating Wet Ingredients
With the butter and sugar creamed to perfection, it’s time to add the wet ingredients. Begin by cracking in the egg and adding the vanilla extract. Mix these in until they are fully incorporated. Next, add the liquid red food coloring. Depending on the intensity of the color you desire, start with a few drops and gradually add more until you achieve the perfect shade of pink. The key here is to mix until the batter is smooth, ensuring that all the ingredients are well combined.
Combining Wet and Dry Ingredients
Now that you have your wet mixture ready, it’s time to bring everything together. Gradually add the dry ingredient mixture to the wet ingredients, mixing on low speed to avoid a flour explosion. It’s essential to combine the mixtures until just incorporated; overmixing can lead to tough cookies. As you mix, you will notice the batter taking shape, becoming thicker and more cohesive.
In the next section, we will continue with the remaining steps to complete the Pink Velvet Cookies, including adding the white chocolate chips and the baking process that results in the perfect cookie. Stay tuned for more delicious details on how to achieve cookie perfection!
Techniques for Merging the Mixtures Without Overmixing
When it comes to baking Pink Velvet Cookies, achieving the perfect dough consistency is key. After creaming the butter and sugar together and incorporating the eggs, the next step is to combine the dry ingredients with the wet ingredients. The technique you use for merging these mixtures can significantly impact the final texture of your cookies.
To avoid overmixing, which can lead to tough cookies, start by adding the dry ingredients gradually. Instead of dumping all the flour mixture into the wet mixture at once, add it in three parts. Use a spatula or wooden spoon to fold the dry ingredients into the wet. The folding technique involves gently scooping from the bottom and folding over the top, turning the bowl as you go. This method helps incorporate the ingredients without activating too much gluten, which is crucial for maintaining a soft and chewy texture.
Signs of a Well-Mixed Dough
A well-mixed cookie dough should be smooth and cohesive, with no visible streaks of flour. However, it should not be overly smooth to the point of being glossy. The key is to mix until the dry ingredients are just incorporated; a few small lumps are perfectly acceptable. You can also check for the right consistency by scooping a small amount of dough with your spatula – it should hold its shape without being too crumbly or too wet.
Adding White Chocolate Chips
White chocolate chips are the perfect addition to Pink Velvet Cookies, providing a creamy sweetness that complements the subtle flavor of the red velvet base. When adding chocolate chips, it’s essential to do so after the dough is mixed to ensure even distribution.
Tips for Folding in Chocolate Chips for Even Distribution
When folding in the white chocolate chips, use a gentle hand to prevent breaking the chips. Sprinkle the chips over the surface of the dough and use the same folding technique mentioned earlier. This will help ensure that every cookie has a delightful burst of white chocolate in every bite, without overworking the dough.
Variations: Suggestions on Using Different Mix-Ins if Desired
While white chocolate chips are an excellent choice for Pink Velvet Cookies, feel free to experiment with other mix-ins to tailor the cookies to your taste. Here are some creative variations:
– Dark Chocolate Chips: For a richer flavor contrast, substitute white chocolate chips with dark or semi-sweet chocolate chips.
– Nuts: Chopped pecans or walnuts can add a delightful crunch. Fold in about ½ cup of nuts along with the chocolate chips.
– Dried Fruits: Consider adding dried cherries or cranberries for a fruity twist that complements the velvety texture.
– Sprinkles: For a festive touch, add colorful sprinkles after the dough is mixed for a fun visual appeal.
Shaping and Baking the Cookies
Once your dough is ready, it’s time to shape and bake your Pink Velvet Cookies. Proper shaping and spacing are crucial for achieving the perfect cookie.
Techniques for Portioning Dough
Using a cookie scoop is one of the most efficient ways to portion dough evenly. A medium-sized cookie scoop, typically about 1.5 tablespoons, will give you uniformly sized cookies that bake evenly. If you don’t have a cookie scoop, you can use two spoons to shape the dough into balls.
Using a Cookie Scoop vs. Spoon for Even Cookie Sizes
A cookie scoop ensures that each cookie is the same size, which helps them bake evenly. If using spoons, make sure to measure a consistent amount of dough for each cookie. This will help you avoid some cookies being overdone while others are still undercooked.
Importance of Spacing on the Baking Sheet for Even Baking
When placing the cookie dough on the baking sheet, leave enough space between each ball of dough. Cookies spread as they bake, so spacing them about 2 inches apart will prevent them from merging into one another. A standard baking sheet can hold about 12 cookies, depending on their size.
Baking Process
The baking temperature and time are critical for creating the perfect Pink Velvet Cookies.
Ideal Baking Time and Temperature for Achieving Soft Centers and Golden Edges
Preheat your oven to 350°F (175°C). Bake the cookies for about 10-12 minutes. You want to pull them out when the edges are set, but the centers still look soft and slightly underbaked. This will ensure a chewy texture, as the cookies will continue to firm up while cooling on the baking sheet.
Signs to Look for When Determining Doneness
Look for a slight golden color around the edges and a soft, puffy center. The cookies may appear slightly glossy in the middle, which is normal. If the edges are brown but the centers are still pale, it’s a sign they need more time. Conversely, if the cookies are browning too quickly, consider lowering the oven temperature slightly.
Cooling and Finishing Touches
Once your cookies are baked to perfection, it’s essential to cool them correctly to maintain their texture.
Importance of Letting Cookies Cool Properly on the Baking Sheet
Let the cookies sit on the baking sheet for about 5 minutes before transferring them to a wire rack. This allows them to set and firm up slightly, making them easier to move without breaking. If you transfer them too soon, they may crumble or lose their shape.
How to Dust with Powdered Sugar for an Elegant Presentation
For an elegant finish, dust the cooled cookies with powdered sugar. Use a fine mesh sieve or a sifter to sprinkle a light layer over the tops. This not only adds a beautiful touch but also enhances the sweetness without overpowering the delicate flavor of the cookies.
Flavor Profile and Texture of Pink Velvet Cookies
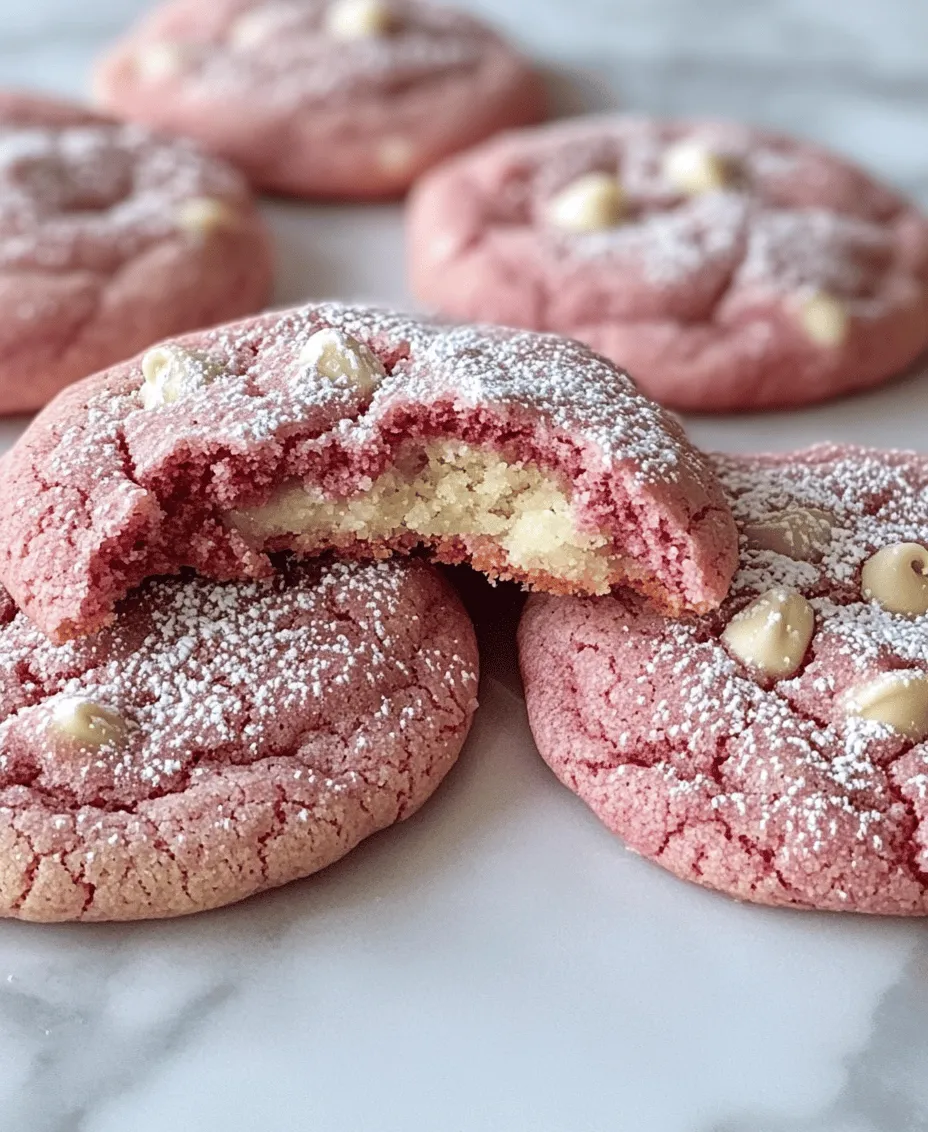
The final texture of Pink Velvet Cookies is soft, chewy, and velvety, making them a delightful treat. As you take a bite, you’ll experience a tender crumb that melts in your mouth, complemented by the creamy sweetness of the white chocolate chips.
Discussion on the Subtle Flavor Profile Enhanced by White Chocolate
The flavor profile of Pink Velvet Cookies is subtly sweet with hints of vanilla and cocoa, reminiscent of traditional red velvet cookies. However, the addition of white chocolate chips elevates the flavor, adding a creamy richness that balances the slight cocoa taste. The pink hue also adds a whimsical touch, making them a perfect choice for celebrations.
Comparison with Traditional Red Velvet Cookies
Compared to traditional red velvet cookies, Pink Velvet Cookies offer a lighter flavor and a softer texture. While red velvet is often rich and dense, the pink version provides a more delicate treat that is equally indulgent yet approachable.
Serving Suggestions and Pairing Ideas
Pink Velvet Cookies are not just a delightful treat; they can also be creatively served for special occasions.
Creative Ways to Serve Pink Velvet Cookies for Special Occasions
Consider stacking the cookies into a tiered display for parties or events. They can also be served alongside a glass of milk or as part of a dessert platter with other sweet treats. For a charming touch, package them in clear bags with colorful ribbons for gifts or party favors.
Pairing Options: Best Beverages and Desserts to Complement the Cookies
To complement the sweetness of Pink Velvet Cookies, pair them with beverages like:
– Milk: A classic pairing that enhances the creamy texture.
– Earl Grey Tea: The floral notes in the tea balance the sweetness of the cookies.
– Coffee: A rich brew can provide a delightful contrast to the cookie’s sweetness.
For dessert pairings, consider serving them with a scoop of vanilla ice cream or a dollop of whipped cream to create an indulgent treat.
Suggestions for Packaging Cookies as Gifts or Treats
If you plan to give these cookies as gifts, consider using decorative tins or boxes. Line the bottom with colorful tissue paper, and layer the cookies with parchment paper to keep them from sticking together. Adding a handwritten note or a recipe card can also add a personal touch.
Nutritional Information and Dietary Considerations
When enjoying Pink Velvet Cookies, it’s helpful to be aware of their nutritional aspects.
Brief Overview of Nutritional Aspects Per Cookie
Each cookie is approximately 120 calories, depending on the size and the amount of white chocolate chips used. They contain carbohydrates, fats, and sugars, which provide a delightful treat but should be enjoyed in moderation.
Discussion on Potential Dietary Modifications (e.g., Gluten-Free Options, Vegan Substitutes)
For those with dietary restrictions, there are several ways to modify this recipe:
– Gluten-Free: Substitute all-purpose flour with a gluten-free flour blend. Ensure that the blend contains xanthan gum to help mimic the structure of gluten.
– Vegan Substitutes: Use vegan butter and a flaxseed egg (1 tablespoon ground flaxseed mixed with 2.5 tablespoons water) instead of regular eggs. Also, opt for dairy-free white chocolate chips.
Conclusion: The Joy of Baking Pink Velvet Cookies
Baking Pink Velvet Cookies is not just about the end result; it’s about the joy of the process and the happiness they bring. From the vibrant color to the deliciously soft and chewy texture, these cookies are perfect for any occasion, whether you’re celebrating a birthday, hosting a tea party, or simply treating yourself.
We encourage you to try this recipe, share it with friends and family, and enjoy the delight of creating something beautiful and delicious. The joy of baking is not just in the eating but also in the experience of making and sharing these sweet treats with your loved ones. Embrace the fun in the kitchen and create lasting memories with each batch of Pink Velvet Cookies.