Introduction
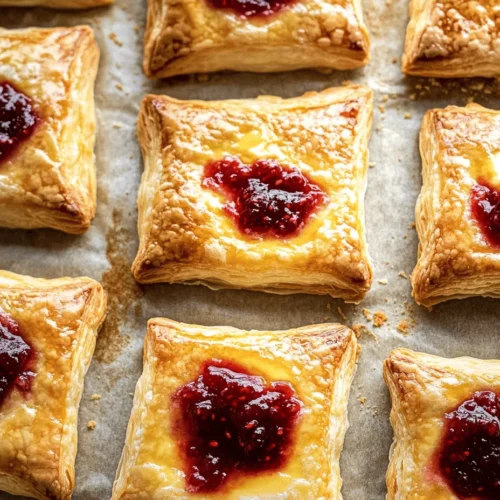
If you’re searching for a quick and delicious breakfast option that feels indulgent yet is surprisingly easy to prepare, the Easy Breakfast Cheese Danish is your answer. This delightful pastry combines the flaky goodness of puff pastry with a creamy, sweet filling that is sure to brighten your morning. Perfect for busy weekdays or leisurely brunches, this recipe not only satisfies your taste buds but also offers a touch of elegance to your breakfast table.
Breakfast is often hailed as the most important meal of the day, and for good reason. It kickstarts your metabolism, fuels your body for the day ahead, and can set the tone for your mood. However, finding time to whip up a gourmet breakfast can be a challenge. That’s where this Easy Breakfast Cheese Danish comes in. With minimal effort and a handful of ingredients, you can create a pastry that rivals those from your favorite bakery.
What makes this recipe particularly appealing is its simplicity and versatility. You can customize it to suit your tastes or dietary preferences, making it easy to switch up the flavors whenever you like. Whether you prefer a classic cream cheese filling or want to incorporate fruit preserves for an extra burst of flavor, this recipe adapts beautifully, allowing you to unleash your creativity in the kitchen.
The Allure of Cheese Danish
Cheese Danish pastries have a rich history, originating from the Danish pastry tradition that dates back to the 19th century. The concept of “Danish” itself is rooted in the introduction of layered dough techniques by Austrian bakers in Denmark. Over time, these pastries evolved, incorporating a variety of fillings, with cream cheese becoming a popular choice. The allure of a cheese Danish lies in its flaky texture combined with a rich filling, making it a favorite not just in Denmark but around the world.
Today, cheese Danish pastries have found their way onto breakfast and brunch menus globally. They are cherished for their delightful combination of textures and flavors—crisp on the outside, creamy on the inside. Whether enjoyed plain or adorned with fresh fruit, they appeal to both the sweet and savory palates alike.
Variations of cheese Danish can be found in many cultures, each adding its unique twist to the classic pastry. From the Swedish “ostkaka” to the Greek “tiropita,” the concept of encasing a delicious filling in flaky pastry is a beloved culinary tradition. In the United States, the cheese Danish has become a staple in coffee shops and bakeries, often enjoyed alongside a hot cup of coffee.
Ingredients Breakdown
To create the Easy Breakfast Cheese Danish, you will need a few key ingredients that work together harmoniously to deliver a delightful pastry experience. Here’s a breakdown of the essential components:
– Puff Pastry: The star of this recipe, puff pastry is known for its flaky layers that create a light and airy texture. Using store-bought puff pastry makes this recipe accessible for beginners, as it eliminates the time-consuming process of making pastry from scratch. It’s important to choose high-quality puff pastry for the best results, as it will significantly enhance the overall texture and taste of your cheese Danish.
– Cream Cheese: This rich and creamy ingredient serves as the base for the filling. Cream cheese adds a smooth texture and a mildly tangy flavor that complements the sweetness of the pastry. It’s essential to use softened cream cheese to ensure it mixes well and creates a smooth filling.
– Sour Cream: Adding sour cream to the filling not only enhances its creaminess but also introduces a slight tang that balances the sweetness of the cream cheese. This ingredient contributes to a light and airy texture, making the filling even more enjoyable.
– Sugar: A touch of granulated sugar sweetens the cream cheese filling, allowing it to shine without overpowering the other flavors. The sugar also helps achieve a golden-brown color on the pastry during baking.
– Vanilla Extract: This flavorful addition elevates the filling, imparting a warm, sweet aroma that enhances the overall taste of the cheese Danish.
– Optional Fruit Preserves: While the classic cheese filling is delicious on its own, you can elevate your Easy Breakfast Cheese Danish by adding fruit preserves. Options such as raspberry, apricot, or blueberry jam provide a fruity contrast that adds visual appeal and additional flavor depth.
Understanding the role of each ingredient is crucial to achieving the perfect cheese Danish. The combination of puff pastry, cream cheese, sour cream, and sugar creates a balance of flavors and textures that will impress anyone who takes a bite.
Preparing the Easy Breakfast Cheese Danish
Now that we’ve covered the ingredients, let’s dive into the preparation of your Easy Breakfast Cheese Danish. Follow these step-by-step instructions to create a pastry that will have your family and friends asking for seconds.
Step 1: Thawing and Handling Puff Pastry
1. Thaw the Puff Pastry: If you’re using frozen puff pastry, begin by removing it from the freezer and placing it in the refrigerator to thaw overnight. If you’re short on time, you can leave it at room temperature for about 30-40 minutes until it becomes pliable. Avoid microwaving the pastry, as this can alter its texture.
2. Roll Out the Puff Pastry: Once thawed, gently unfold the puff pastry on a lightly floured surface. Use a rolling pin to roll it out into a larger rectangle, about 1/8 inch thick. This step helps to create even layers and ensures a flaky texture when baked. Be careful not to overwork the dough, as this could hinder its ability to puff up nicely in the oven.
Step 2: Preparing the Cream Cheese Filling
1. Combine Ingredients: In a mixing bowl, add the softened cream cheese, sour cream, granulated sugar, and vanilla extract. Using an electric mixer or a whisk, beat the ingredients together until you achieve a smooth and creamy consistency. Make sure there are no lumps for the best texture in your filling.
2. Taste and Adjust: After mixing, taste the filling to ensure it has the right balance of sweetness and tanginess. You can adjust the sugar or add more vanilla extract based on your personal preference.
Step 3: Assembling the Cheese Danish
1. Cut the Puff Pastry: Using a sharp knife or a pizza cutter, slice the rolled-out puff pastry into squares or rectangles, approximately 4 inches by 4 inches. This will be the base for your cheese Danish.
2. Fill the Pastry: Place a generous spoonful of the cream cheese filling in the center of each pastry square. If you’re using fruit preserves, add a small dollop on top of the cream cheese filling. Be careful not to overfill, as this can cause the filling to spill out during baking.
3. Fold and Seal: Gently fold the corners of each pastry square towards the center, creating a pocket for the filling. Pinch the edges to seal the pastry, ensuring that the filling stays secure inside. For a decorative touch, you can also twist the corners or shape them into a pinwheel.
4. Prepare for Baking: Preheat your oven to 400°F (200°C) while you finalize the pastries. Line a baking sheet with parchment paper to prevent sticking and make cleanup easier.
Step 4: Baking the Cheese Danish
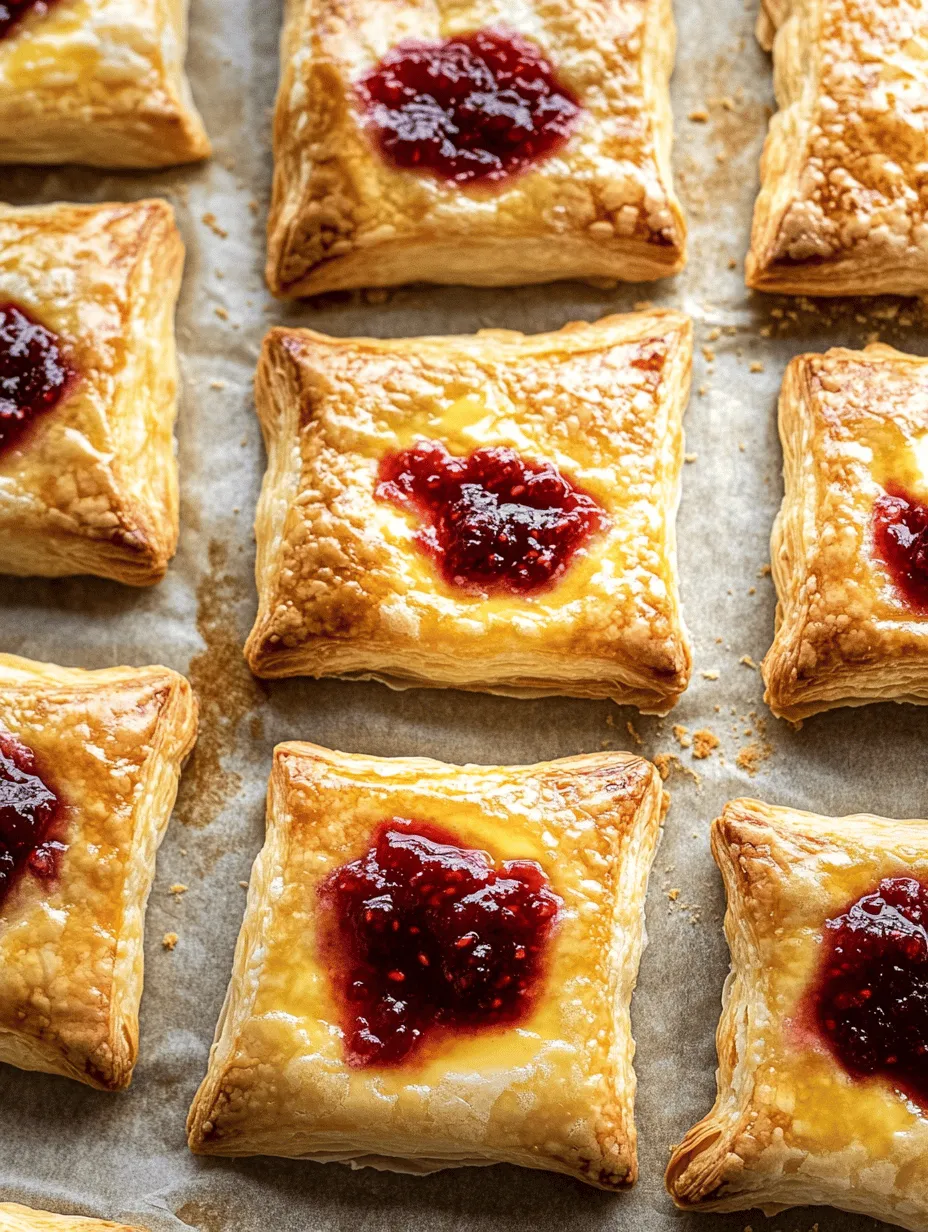
1. Bake: Once your pastries are assembled, place them on the prepared baking sheet, leaving space between each one to allow for puffing. Bake in the preheated oven for 15-20 minutes, or until they are golden brown and puffed up.
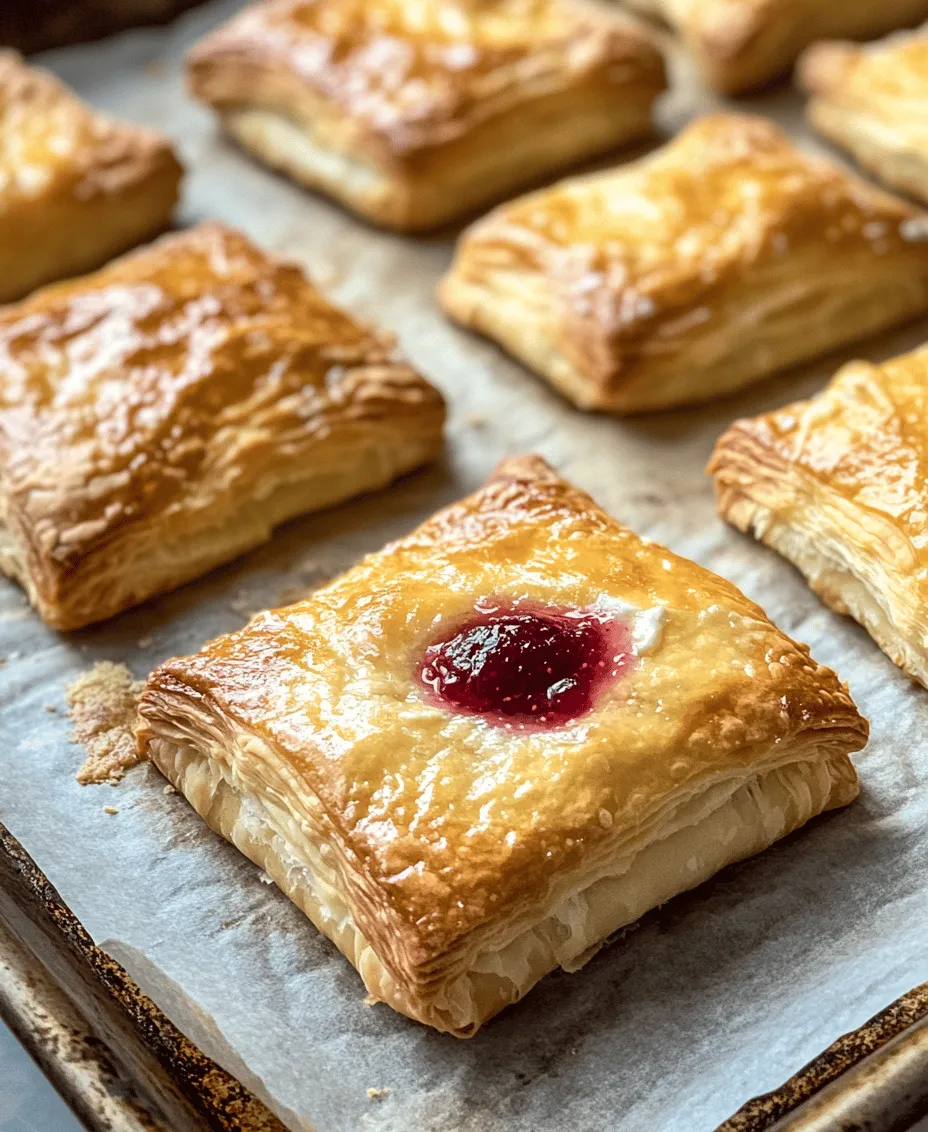
2. Cool and Serve: After removing them from the oven, let the pastries cool on a wire rack for a few minutes. They are best served warm, but can also be enjoyed at room temperature.
By following these steps, you will create a batch of Easy Breakfast Cheese Danish that is sure to impress. The combination of flaky pastry and creamy filling is irresistible, making them a perfect breakfast treat or afternoon snack. As you continue to prepare these pastries, don’t hesitate to experiment with different fillings and toppings to find your favorite combination.
Assembling the Danish
To create the perfect Easy Breakfast Cheese Danish, begin by preparing your pastry. Once your dough is ready, roll it out on a lightly floured surface to about a 12×12 inch square. Cut the dough into four equal squares, ensuring each side measures approximately 3 inches. This size allows for ample filling while maintaining a balanced pastry-to-filling ratio.
Filling the Pastry:
For each square, place a generous tablespoon of your cheese filling in the center. The filling, typically made from a blend of cream cheese, sugar, and vanilla, provides a rich, creamy base for your Danish. If you want to incorporate a fruit preserve, now is the time. Spoon a teaspoon of fruit jam or compote—such as raspberry, apricot, or cherry—over the cheese filling. This adds a delightful burst of flavor and color.
Folding Technique:
To fold the Danish, take two opposite corners of the pastry square and bring them together over the filling, pinching the edges to create a triangle shape. The remaining corners can be brought up to the top, creating a pinwheel effect, or they can be left open for a more rustic look. The key here is to ensure that the edges are tightly sealed to prevent any filling from leaking out during baking. You can use a fork to crimp the edges for an added touch and a guaranteed seal.
Personalizing the Filling:
Feel free to customize your filling to match your taste preferences. Instead of traditional cheese, consider using flavored cream cheeses, such as lemon or almond. You can also experiment with other fillings such as Nutella, chocolate ganache, or even savory options like spinach and feta. The possibilities are endless, making this recipe versatile and adaptable to your cravings.
Baking to Perfection
With your Cheese Danish assembled, it’s time to bake. Preheating your oven to 375°F (190°C) is crucial. A properly preheated oven ensures even baking and helps achieve that golden, flaky exterior we all love. Line a baking sheet with parchment paper, which prevents sticking, allows for easy cleanup, and promotes even browning.
Baking Times and Indicators:
Place your assembled Danish on the parchment-lined baking sheet, spacing them at least two inches apart to allow for expansion. Bake them for about 20-25 minutes, or until they are puffed and golden brown. Keep an eye on them towards the end of the baking time; you’re looking for a beautifully browned top and a slight wobble in the filling, indicating it is set but still creamy.
Achieving a Golden Finish:
For an extra touch of shine and color, apply an egg wash before baking. Beat one egg with a tablespoon of water, and using a pastry brush, gently coat the top of each Danish. This step not only enhances the aesthetic appeal but also contributes to a delightful crunch as the pastries bake.
Serving Suggestions
Once your Easy Breakfast Cheese Danish has cooled slightly, it’s time to serve. Pair your warm pastries with a hot cup of coffee, tea, or even a refreshing glass of orange juice. The rich, creamy filling complements the bitterness of coffee beautifully, making it a perfect breakfast duo.
Garnishing Options:
Consider garnishing your Danish with a light dusting of powdered sugar for an elegant finish. Fresh fruit, such as sliced strawberries, blueberries, or raspberries, can also be served alongside for a pop of color and freshness. If you’re feeling indulgent, a dollop of whipped cream or a drizzle of icing can elevate your presentation and flavor profile.
Presentation Matters:
Remember that presentation plays a significant role in enhancing the breakfast experience. Arrange your Cheese Danish on a serving platter, accompanied by fresh fruit and beverages, to create an inviting breakfast spread. Such thoughtful arrangements not only make your breakfast visually appealing but also create an atmosphere of joy and celebration, perfect for enjoying with family and friends.
Nutritional Information
While the Easy Breakfast Cheese Danish is a delightful treat, it’s essential to consider its nutritional aspects. Each Danish contains approximately 250-300 calories, depending on the filling and size. They are rich in carbohydrates from the pastry and provide a source of protein from the cheese filling.
Caloric Breakdown:
– Calories: 250-300 per serving
– Total Fat: 12-15 grams
– Carbohydrates: 30-35 grams
– Protein: 5-7 grams
When indulging in this recipe, consider balancing it with healthier options throughout the day. Pair your Danish with a side of fresh fruit or a yogurt parfait to increase your fiber intake and add some vitamins to your breakfast.
Balancing Indulgence with Health:
If you’re looking for a lighter version, consider using reduced-fat cream cheese or whole grain pastry dough. You can also reduce the sugar in the filling or swap out some of the cream cheese for Greek yogurt. These modifications can help you enjoy the flavors of the Cheese Danish while being more mindful of your dietary goals.
Conclusion
The Easy Breakfast Cheese Danish is not just a recipe; it’s a celebration of homemade morning delights. With its flaky pastry, creamy filling, and customizable flavors, this treat is perfect for lazy weekends or special occasions. The joy of creating something delicious in your own kitchen is unmatched, bringing warmth and happiness to your breakfast table.
Whether you choose to stick with the classic cream cheese filling or get creative with your favorite flavors, this recipe invites you to explore your culinary creativity. Gather your loved ones around the table, share your freshly baked Danish, and relish the deliciousness of homemade breakfasts together. Don’t hesitate to experiment with variations and make this recipe your own, ensuring that every bite is a reflection of your unique taste. Enjoy the journey of baking and the delight it brings to your mornings!