Introduction
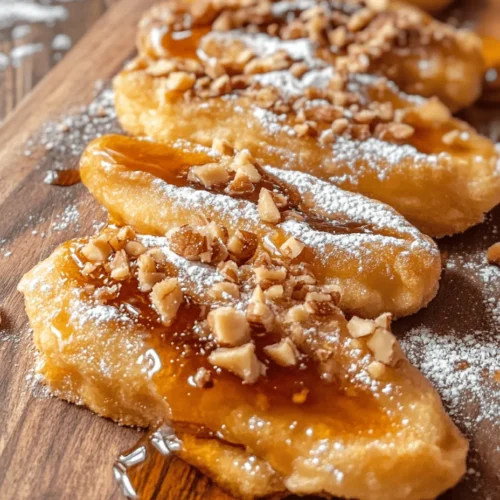
Maple Beaver Tails are a cherished Canadian delicacy that has captivated the taste buds of residents and visitors alike. This sweet treat, shaped like the tail of a beaver, is a delightful indulgence that is particularly popular at fairs, festivals, and winter markets across Canada. Known for their crispy exterior and soft, chewy interior, these deep-fried pastries are often topped with a variety of sweet ingredients, making them a versatile dessert that can be enjoyed year-round.
The cultural significance of Beaver Tails extends beyond their delicious taste. As a symbol of Canadian culinary heritage, they evoke a sense of nostalgia and community, often bringing friends and families together to share in the experience of enjoying this treat. Whether enjoyed at the iconic Beaver Tails stands or made fresh at home, they have become synonymous with Canadian culture and are a must-try for anyone looking to indulge in a true taste of Canada.
In this article, we will guide you through the step-by-step process of making your own Maple Beaver Tails at home. This recipe is not only easy to follow but also allows you to customize your toppings to suit your personal preferences. With just a few simple ingredients and a little bit of time, you can create these delightful pastries that are sure to impress your family and friends. Let’s dive into the origins of Beaver Tails and explore the ingredients that make this treat so special.
The Origin of Beaver Tails
Beaver Tails have a rich history that dates back to the late 1970s in Ottawa, Canada, where the first official Beaver Tails stand was opened. The creation of this iconic pastry is credited to the entrepreneurial spirit of Pam and Grant Hooker, who wanted to offer something unique to the local fairgoers. The name “Beaver Tails” was inspired by the shape of the pastries, which resemble the flat, wide tail of a beaver—an animal that is a national symbol of Canada.
Since their inception, Beaver Tails have evolved from a simple doughnut-like pastry into a beloved treat that showcases the diverse flavors of Canada. Regional variations have emerged, with different toppings and flavor combinations reflecting the local palate. For example, in Quebec, Beaver Tails are often topped with maple butter, while in British Columbia, they might be drizzled with chocolate and sprinkled with nuts. These variations highlight the creativity of Canadian cuisine and the adaptability of this delicious dessert.
Traditionally, Beaver Tails are served piping hot, straight from the fryer, and are often enjoyed alongside a warm beverage, making them a perfect treat during the colder months. Whether at a bustling fair or a cozy kitchen, the experience of biting into a freshly made Beaver Tail is one that leaves a lasting impression.
Understanding the Ingredients
To make your very own Maple Beaver Tails, it’s essential to understand the key ingredients that contribute to their flavor and texture. Each component plays a crucial role in creating the perfect pastry.
All-Purpose Flour
All-purpose flour is the foundation of the dough used to make Beaver Tails. It provides the necessary structure and stability, allowing the pastries to hold their shape while frying. The gluten content in all-purpose flour is ideal for creating a soft and chewy texture, which is characteristic of this treat. When measuring flour, it is important to spoon it into your measuring cup and level it off to ensure accuracy, as too much flour can result in a dense pastry.
Active Dry Yeast
Yeast is a crucial ingredient in this recipe, as it is responsible for the dough’s rising. Active dry yeast works by fermenting the sugars in the dough, producing carbon dioxide gas that causes the dough to expand and become light and airy. It’s important to activate the yeast before mixing it with other ingredients. This is done by dissolving it in warm water (around 110°F) with a bit of sugar, allowing it to froth and bubble. This process ensures that the yeast is alive and ready to work its magic in the dough.
Granulated Sugar and Brown Sugar
Both granulated sugar and brown sugar are used in this recipe, each contributing to the overall sweetness and flavor profile of the Beaver Tails. Granulated sugar adds a clean sweetness, while brown sugar, with its molasses content, provides a deeper, more complex flavor. Together, they enhance the taste of the dough and contribute to the caramelization process during frying, resulting in a beautifully golden and crispy exterior.
Maple Syrup
As a quintessential Canadian ingredient, maple syrup is the star of this recipe. Its rich, sweet flavor not only serves as a delicious topping but also adds a distinct taste to the dough itself. Maple syrup is made from the sap of sugar maple trees and is a beloved staple in Canadian cuisine, often used to drizzle over pancakes, waffles, and, of course, Beaver Tails. When making your own Beaver Tails, opt for pure maple syrup to fully capture the essence of this Canadian classic.
Optional Toppings
While the classic Maple Beaver Tail is delicious on its own, one of the great joys of this treat is the ability to personalize it with a variety of toppings. Some popular options include:
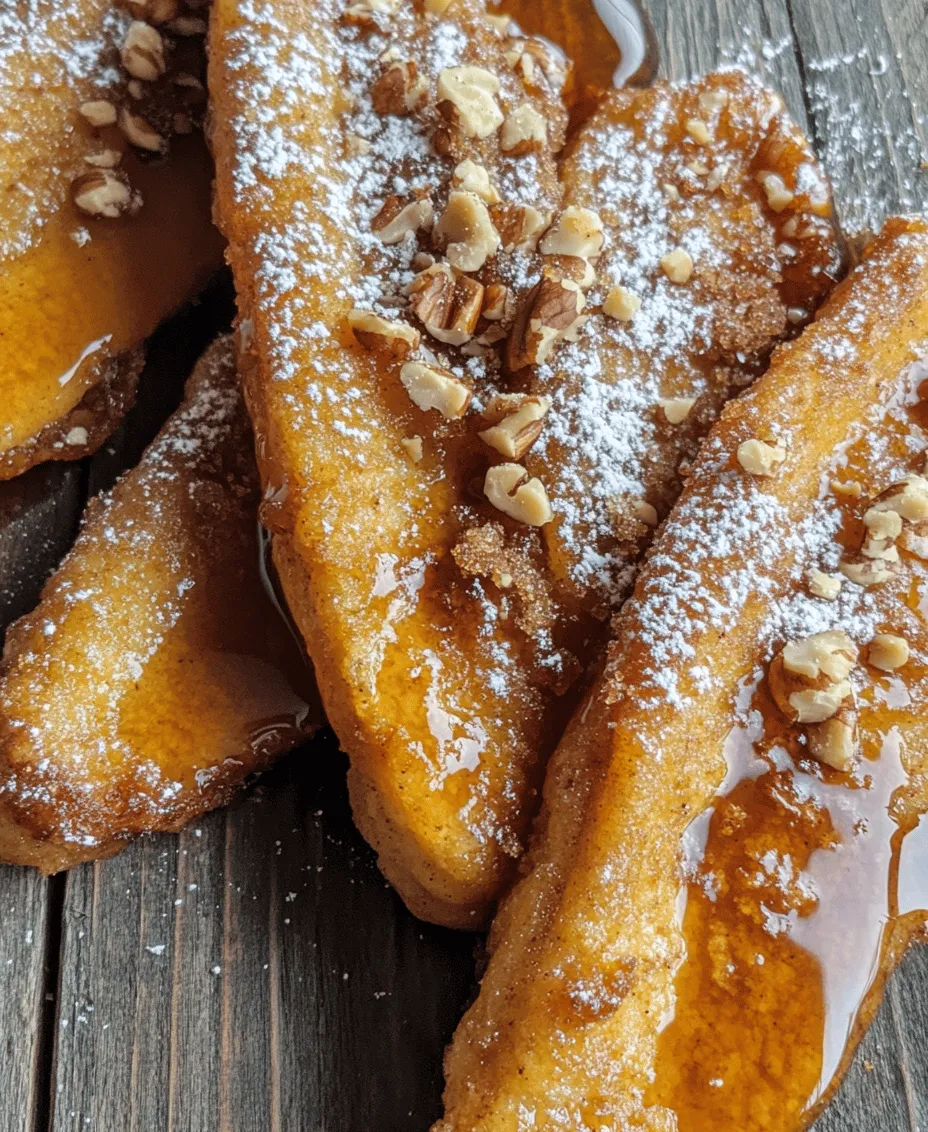
– Cinnamon sugar: A simple mixture of cinnamon and granulated sugar that adds warmth and sweetness.
– Chocolate hazelnut spread: A creamy, indulgent topping that pairs beautifully with the soft pastry.
– Fresh fruit: Sliced strawberries, bananas, or apples add a refreshing touch to the dish.
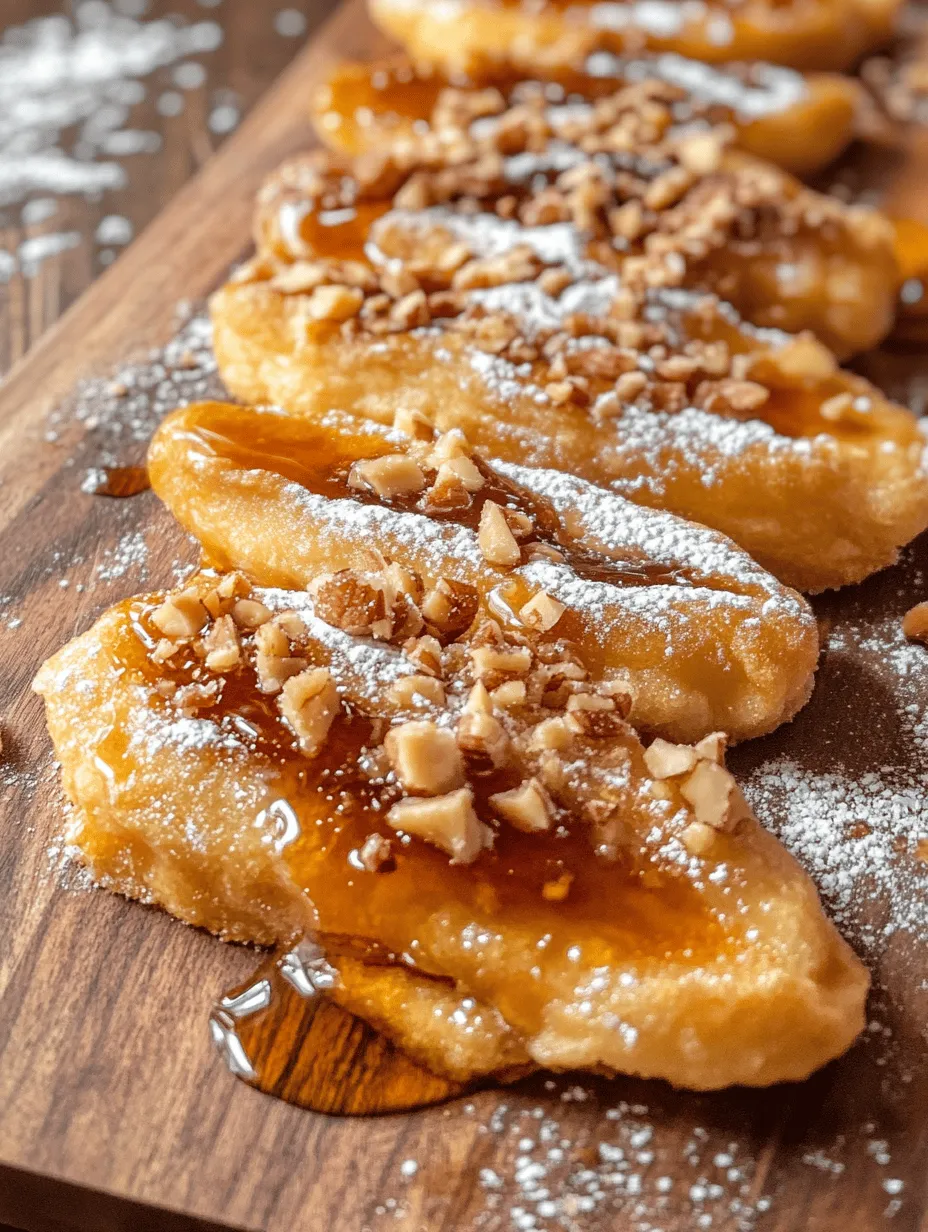
– Crushed nuts: Chopped pecans, walnuts, or almonds provide a satisfying crunch.
– Whipped cream: A dollop of whipped cream can make for an extra decadent dessert.
Feel free to get creative with your toppings, mixing and matching to find your perfect combination!
Step-by-Step Instructions for Maple Beaver Tails
Now that we have covered the essential ingredients, let’s move on to the step-by-step preparation of your Maple Beaver Tails. This process is straightforward and rewarding, perfect for both novice bakers and seasoned chefs.
Preparing the Yeast Mixture
1. Activate the Yeast: In a small bowl, combine 1 packet (2 1/4 teaspoons) of active dry yeast with 1/4 cup of warm water (110°F) and 1 tablespoon of granulated sugar. Stir gently to combine. Let it sit for about 5-10 minutes, or until the mixture becomes frothy. This indicates that the yeast is alive and ready to be used.
Mixing and Kneading the Dough
2. Combine Dry Ingredients: In a large mixing bowl, whisk together 3 cups of all-purpose flour, 1/4 cup of granulated sugar, and 1/4 cup of brown sugar. This will ensure that the sugars are evenly distributed throughout the flour.
3. Add Wet Ingredients: Once the yeast mixture is ready, pour it into the bowl with the dry ingredients. Add 1/4 cup of pure maple syrup and 1/4 cup of milk (warmed to room temperature). Mix the ingredients together using a wooden spoon or spatula until a shaggy dough begins to form.
4. Knead the Dough: Transfer the dough onto a floured surface. Knead the dough for about 5-7 minutes until it becomes smooth and elastic. If the dough is too sticky, sprinkle a bit more flour as needed. Proper kneading is essential for developing the gluten structure that will give the Beaver Tails their chewy texture.
5. Let the Dough Rise: Once kneaded, form the dough into a ball and place it in a lightly greased bowl. Cover the bowl with a clean kitchen towel or plastic wrap and let it rise in a warm, draft-free area for about 1 hour, or until it has doubled in size. This rising time is crucial for achieving the fluffy texture of the Beaver Tails.
Through these initial steps, you’re setting the stage for a delightful baking experience. The combination of yeast activation and proper kneading will ensure that your Beaver Tails turn out perfectly crispy on the outside and soft on the inside, ready to be topped with the delicious maple syrup and your choice of toppings.
As we continue, we will delve deeper into the frying process, topping ideas, and serving suggestions to elevate your homemade Maple Beaver Tails experience. Stay tuned for the next steps as we guide you to create this iconic Canadian treat right in your own kitchen!
The Importance of Letting the Dough Rise
One of the most crucial steps in creating the perfect Maple Beaver Tails is allowing the dough to rise adequately. This process is essential for developing a light and airy texture that characterizes these delicious treats. The yeast in your dough needs time to ferment and produce carbon dioxide, which causes the dough to expand.
To know when your dough is ready, look for a few key indicators:
1. Doubled in Size: The dough should have expanded to at least double its original size. This typically takes about 1 to 2 hours, depending on the ambient temperature. A warmer environment speeds up the rising time, while a cooler space slows it down.
2. Puffy and Soft: Gently press your finger into the dough; if the indentation remains and the dough feels soft and puffy, it’s ready for shaping. If it springs back immediately, give it more time.
3. Bubbles on the Surface: You may notice small bubbles forming on the surface of the dough, which is another sign that the yeast is active and your dough is ready to be transformed into Beaver Tails.
Shaping the Beaver Tails: Techniques for the Perfect Oval Shape
Once the dough has risen, it’s time to shape your Beaver Tails into their iconic oval form. Here are some techniques to ensure you achieve the perfect shape:
1. Divide the Dough: Start by gently punching down the dough to release any air bubbles, then divide it into equal portions. Each piece should weigh about 2-3 ounces, which helps maintain uniformity in size.
2. Pre-Shaping: Roll each piece into a small ball. Allow them to rest for about 10 minutes. This resting period relaxes the gluten, making it easier to shape the dough.
3. Flattening: On a lightly floured surface, take each dough ball and flatten it gently with your hands or a rolling pin. Aim for an oval shape, about 1/4 inch thick. The edges can be slightly thinner than the center to create a nice, puffy texture when fried.
4. Create the Beaver Tail Shape: Using your hands, gently stretch the dough into the desired oval shape. Don’t worry if they’re not perfect; each Beaver Tail has its unique character!
Frying Tips: Achieving the Perfect Golden-Brown Color and Texture
Frying is where the magic happens, transforming your shaped dough into crispy, golden Beaver Tails. Here are some tips to ensure they fry to perfection:
1. Oil Temperature: The oil should be heated to around 350°F (175°C). Use a candy thermometer to check the temperature. If the oil is too hot, the outside will burn before the inside cooks; too cold, and your Beaver Tails will absorb excess oil and become greasy.
2. Fry in Batches: Avoid overcrowding the fryer or pan. Fry 2-3 Beaver Tails at a time to ensure even cooking and to maintain oil temperature.
3. Turning the Beaver Tails: Fry for about 1-2 minutes on each side, or until they are golden brown. Use a slotted spoon to turn them gently. This method ensures they cook evenly and develop a perfect crispy texture.
4. Draining: Once fried, transfer your Beaver Tails to a plate lined with paper towels to drain any excess oil. This step is essential to keep them light and not overly greasy.
Serving Suggestions: How to Present and Enjoy Your Beaver Tails
When it comes to serving your Maple Beaver Tails, presentation is key to enhancing the overall experience. Here are some delightful serving suggestions:
1. Classic Maple Topping: Drizzle each Beaver Tail generously with warm maple syrup. You can also sprinkle powdered sugar on top for an extra touch of sweetness.
2. Add Toppings: Get creative with toppings! Consider adding a dollop of whipped cream, fresh fruit like strawberries or bananas, or a scoop of vanilla ice cream for a decadent treat.
3. Flavor Variations: For a unique twist, try incorporating flavored sauces. A chocolate drizzle or caramel sauce can elevate the flavor profile, making your Beaver Tails a true indulgence.
4. Pair with Beverages: Serve your Beaver Tails alongside a hot cup of coffee, tea, or even hot chocolate. The warm beverages complement the sweet, rich flavors of the treat beautifully.
Nutritional Information
Understanding the nutritional content of your Maple Beaver Tails can help you enjoy them mindfully. Here’s a breakdown of the nutritional information per serving (1 Beaver Tail):
– Calories: Approximately 250-300 calories
– Total Fat: 12g
– Saturated Fat: 3g
– Cholesterol: 25mg
– Sodium: 150mg
– Total Carbohydrates: 35g
– Dietary Fiber: 1g
– Sugars: 10g
– Protein: 4g
While Beaver Tails are undeniably indulgent, they can be enjoyed as part of a balanced diet. The key is moderation. Savoring these treats during special occasions or gatherings can enhance the joy of eating them without overindulging.
Variations on the Classic Recipe
While the classic Maple Beaver Tail is a beloved favorite, there are numerous ways to adapt this recipe to suit different tastes and dietary preferences. Here are some exciting variations:
1. Flavor Profiles: Consider trying different toppings such as a chocolate drizzle, crushed nuts, or even a sprinkle of cinnamon and sugar. Fresh fruit like blueberries or raspberries can add a refreshing twist.
2. Dietary Alternatives: For those with dietary restrictions, gluten-free flour can be used to create a gluten-free version. Additionally, vegan substitutes such as almond milk and coconut oil can replace dairy products, making it accessible to those following a plant-based diet.
3. Pairing Suggestions: Beaver Tails pair wonderfully with various beverages. A crisp apple cider or a robust stout can complement the sweetness of the dough. Alternatively, serve them alongside other desserts like fruit tarts or pastries for an indulgent dessert platter.
Cultural Significance and Enjoyment
Maple Beaver Tails are more than just a tasty treat; they are a staple of Canadian culture. Often found at fairs, festivals, and family gatherings, they evoke a sense of nostalgia and togetherness. Many Canadians have fond memories of enjoying Beaver Tails during winter festivals or summer fairs, making them a cherished part of their culinary heritage.
Sharing stories of enjoying Beaver Tails can enhance their appeal. Perhaps you remember the first time you tried one at a local fair, or the excitement of bringing home a box of freshly made Beaver Tails to share with family. These anecdotes create a connection to the recipe, inspiring others to create their own memories with this delightful treat.
Conclusion
Maple Beaver Tails are not just a delicious dessert; they embody the warmth and joy of sharing sweet moments with loved ones. Their rich flavors and cultural significance make them a beloved treat that transcends generations. Whether you enjoy them at a festival or in the comfort of your kitchen, making and sharing Beaver Tails is an experience filled with joy and delight.
So gather your ingredients, follow this recipe, and invite friends and family to join in on the fun. With each bite, you’ll savor the flavors of Canada and create lasting memories. Enjoy the process, and don’t forget to share your Beaver Tail creations with the world!