Introduction
Chocolate chip cookies are more than just a sweet indulgence; they are a timeless classic that evokes warm memories and fills our homes with the comforting aroma of freshly baked treats. Whether it’s the scent wafting through the air on a lazy Sunday afternoon or the joy of sharing a batch with friends, these cookies hold a special place in the hearts of many. In this article, we will explore the artistry behind making heavenly homemade chocolate chip cookies. From selecting the finest ingredients to following detailed step-by-step instructions, this recipe is tailored to guide both novice bakers and seasoned chefs toward creating the perfect batch of cookies—one that boasts a crisp exterior and a gooey, chocolate-filled center.
The Allure of Chocolate Chip Cookies
To truly appreciate the art of baking chocolate chip cookies, it’s essential to understand their history and cultural significance. Created by Ruth Wakefield in the late 1930s, the chocolate chip cookie was born out of a happy accident when Wakefield decided to add chunks of semi-sweet chocolate to her butter cookie recipe. Little did she know that this simple addition would revolutionize the dessert world.
The original recipe was published in the “Toll House Cookbook,” and it quickly gained popularity across the United States. Since then, chocolate chip cookies have become a staple in American households, often associated with childhood memories, family gatherings, and holiday celebrations. Their universal appeal lies in their perfect balance of flavors and textures—the rich, buttery dough paired with melted chocolate creates a delightful contrast that keeps people coming back for more.
In addition to their delicious taste, chocolate chip cookies also carry a sense of nostalgia. For many, they are a symbol of home and comfort. Whether it was a parent baking a fresh batch after school or friends gathering to create cookie dough together, these cookies represent shared moments and cherished traditions. This emotional connection enhances the baking experience, making it not just about creating a treat but also about honoring the memories that come with it.
Essential Ingredients for Chocolate Chip Cookies
The magic of chocolate chip cookies lies in their ingredients. Each component plays a crucial role in achieving the desired flavor and texture. Understanding the purpose of each ingredient can elevate your baking experience and help you create the perfect cookie.
Unsalted Butter
Butter is the foundation of a great chocolate chip cookie, influencing both flavor and texture. Using unsalted butter allows you to control the salt content in your cookies. The fat in butter adds richness and moisture to the dough, which helps achieve that coveted chewy interior. It’s important to use room temperature butter, as this allows for better incorporation with the sugars, resulting in a fluffy batter.
Sugars
The combination of different types of sugar can significantly impact the final product. Granulated sugar provides sweetness and promotes spread, while brown sugar adds moisture and chewiness due to its molasses content. A balance between these two sugars is essential for achieving the perfect texture—crisp on the edges and soft in the center. Experimenting with the ratios can lead to a cookie that suits your personal taste.
Vanilla Extract
Quality vanilla extract is another essential ingredient that enhances the overall flavor of your cookies. It adds depth and complexity, elevating the simple flavors of butter and sugar. Opt for pure vanilla extract whenever possible, as it offers a richer taste compared to artificial alternatives. A splash of vanilla can transform an ordinary cookie into an extraordinary one.
Eggs
Eggs serve multiple purposes in cookie recipes. They provide structure to the dough and contribute to the overall moisture content. The proteins in eggs help bind the ingredients together and create a tender texture. For chocolate chip cookies, one large egg is typically sufficient, but some bakers may choose to add an extra yolk to enhance richness and chewiness.
Flour and Baking Soda
The choice of flour is crucial when making chocolate chip cookies. All-purpose flour is the most common choice, but variations such as cake flour or whole wheat flour can alter the texture. The gluten content in flour affects how the cookies rise and spread, so selecting the right type is key. Additionally, baking soda acts as a leavening agent, helping the cookies rise and creating a light, airy texture. It also contributes to the cookies’ browning, resulting in a beautiful golden color.
Chocolate Chips and Optional Nuts
The star of the show is undoubtedly the chocolate chips. High-quality chocolate can make all the difference in achieving a rich, indulgent flavor. Semi-sweet chocolate is the traditional choice, but you can experiment with dark chocolate, milk chocolate, or even white chocolate for a unique twist. You might also consider adding nuts, such as walnuts or pecans, for an added crunch and depth of flavor. However, the choice to include nuts is entirely personal and can be adjusted based on your preference.
Sea Salt
A sprinkle of sea salt is the finishing touch that elevates chocolate chip cookies to new heights. It enhances the sweetness of the chocolate and balances the richness of the dough. The contrast of salty and sweet creates a more complex flavor profile that tantalizes the taste buds. Using flaky sea salt on top of the cookies before baking can add an extra layer of sophistication to your treat.
Step-by-Step Instructions for Baking Chocolate Chip Cookies
Now that we’ve covered the essential ingredients, it’s time to dive into the baking process. Following these detailed steps will ensure that your chocolate chip cookies turn out perfectly every time.
Prepping Your Workspace
Before you begin, it’s essential to prepare your workspace. Gather all your ingredients and tools, including mixing bowls, measuring cups, spoons, a whisk, a spatula, and baking sheets lined with parchment paper. Having everything organized will make the process smoother and more enjoyable. Preheating your oven to 350°F (175°C) is also crucial, as this ensures your cookies bake evenly and develop the perfect texture.
Mixing Wet Ingredients
Start by creaming together the room temperature unsalted butter and sugars in a mixing bowl. Using an electric mixer, beat the butter and sugars on medium speed until the mixture is light and fluffy. This step is vital, as it incorporates air into the batter, leading to a tender cookie. Once combined, add in the egg and vanilla extract, mixing until fully incorporated. The batter should appear creamy and smooth at this stage, setting the foundation for your cookies.
With this detailed introduction and foundation, you’re well on your way to crafting heavenly homemade chocolate chip cookies that everyone will love. Stay tuned for the next part, where we will continue with the mixing of dry ingredients, forming the cookies, and baking them to perfection!
Combining Dry Ingredients
The first step in creating your perfect batch of chocolate chip cookies involves combining your dry ingredients. This process is crucial for achieving a uniform texture and flavor in your cookies. Start by measuring out your flour, baking soda, and salt accurately. It’s recommended to spoon your flour into the measuring cup and level it off with a knife to avoid packing it down, which can lead to dense cookies.
Once measured, sift the flour with the baking soda and salt in a medium bowl. Sifting helps to aerate the flour, ensuring that the baking soda is evenly distributed throughout the mixture. Now, here’s a vital tip: when you add the dry ingredients to your wet ingredients, do so in parts. This technique prevents overmixing, which can develop gluten in the flour and result in tough cookies. Gently fold the dry ingredients into the wet mixture with a spatula until just combined. It’s perfectly fine if some flour streaks remain; the mixture will come together after you add the chocolate chips.
Incorporating Chocolate and Nuts
Next, it’s time to fold in the chocolate chips and any nuts you may be using, such as walnuts or pecans. Choose high-quality chocolate chips for the best flavor – semi-sweet or dark chocolate are popular choices, but feel free to mix and match based on your preference.
To fold in the chocolate, use a gentle motion to incorporate the chips without overmixing the dough. Overmixing at this stage can lead to a tough texture, so be patient and only mix until the chocolate and nuts are evenly dispersed throughout the dough. If you’re feeling adventurous, consider adding different types of chocolate or additional flavorings, like a dash of vanilla extract, for an extra depth of flavor.
Scooping and Spacing
Once your dough is ready, it’s time to scoop it out onto your baking sheet. For consistent cookie sizes, use a cookie scoop or a tablespoon to portion the dough. Aim for about two tablespoons of dough per cookie. This size allows the cookies to bake evenly while achieving that perfect chewy center.
When placing the dough balls on the baking sheet, ensure there’s enough space between them. Leave at least two inches of space around each cookie, as they will spread while baking. This spacing is crucial for allowing proper air circulation and preventing the cookies from merging into one large cookie.
Sprinkling Sea Salt
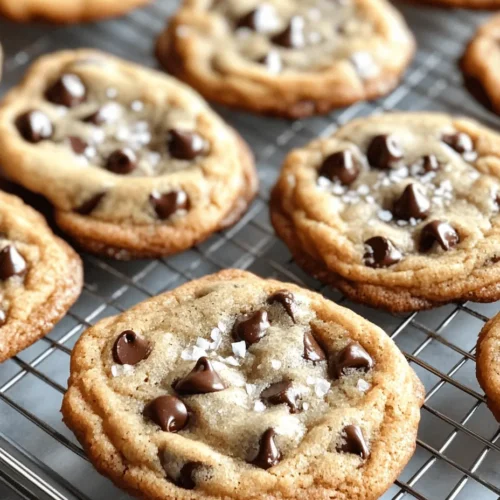
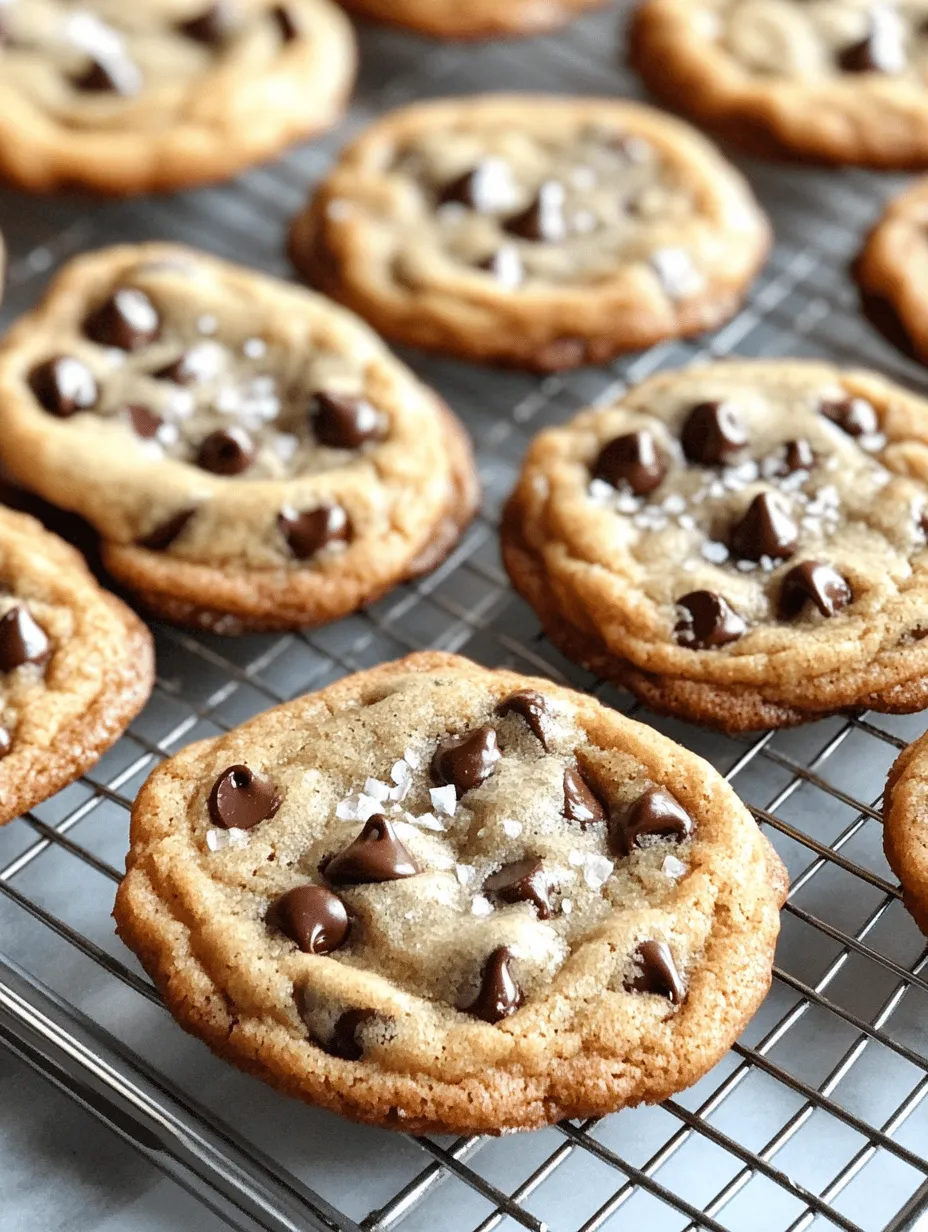
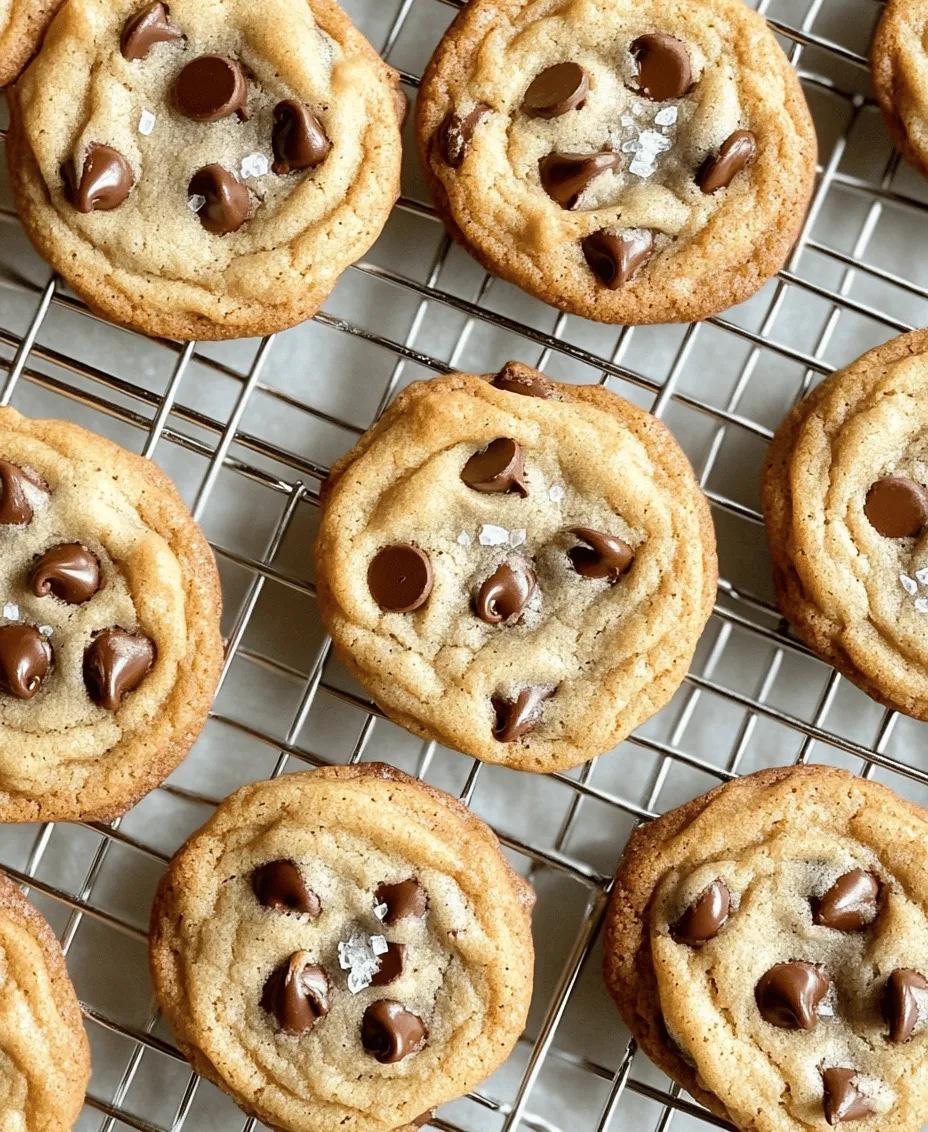
One secret to elevating your chocolate chip cookies from delicious to heavenly is the addition of a sprinkle of sea salt before baking. This final touch enhances the sweet flavors of the chocolate and adds a delightful contrast to the overall taste. Use flaky sea salt for a beautiful finish; just a pinch on top of each cookie will do. This step not only enhances flavor but also creates an appealing visual element that makes your cookies look even more irresistible.
Baking to Perfection
When it comes to baking, timing is everything. Preheat your oven to 350°F (175°C) before placing the cookies inside. For the best results, bake your cookies for 10-12 minutes, but keep a close eye on them during the last few minutes. You’ll know they are done when the edges are lightly golden, and the centers appear slightly underbaked. They will continue to firm up as they cool, ensuring a soft and chewy texture.
If you use a convection oven, you may need to reduce the baking time by a minute or two. For those who prefer a crispier cookie, extend the baking time slightly, but be careful not to overbake, as this can lead to dryness.
Cooling Process
After removing the cookies from the oven, allow them to cool on the baking sheet for about 5 minutes. This resting time lets the cookies set and makes transferring them to a wire rack much easier. After a few minutes, use a spatula to move the cookies to a wire rack to cool completely. This step is essential as it allows air to circulate around the cookies, preventing them from becoming soggy on the bottom.
Understanding the cooling process is key to achieving the right texture. If you enjoy a gooey center, you can serve the cookies warm, straight from the oven. However, if you prefer a firmer cookie, allowing them to cool completely will help achieve that desired consistency.
The Science of Baking Cookies
Baking cookies is as much a science as it is an art. Each ingredient plays a crucial role in the final outcome. For instance, flour provides the structure, sugar adds sweetness and affects the browning, and butter gives richness and flavor. Baking soda acts as a leavening agent, helping the cookies to rise while also contributing to the chewy texture.
Temperature and humidity can significantly affect your cookie-baking results. High humidity can cause flour to absorb more moisture, leading to a sticky dough, while low humidity might require a slight adjustment in liquid ingredients. Additionally, using butter that is too warm can result in overly flat cookies, while cold butter can make mixing difficult.
Understanding the chemical reactions occurring during baking can help you troubleshoot any issues and perfect your recipe over time. As you gain experience, you’ll learn how to adjust your ingredients and methods based on your unique environment and preferences.
Creative Variations on the Classic Recipe
While the classic chocolate chip cookie is a beloved favorite, there are countless ways to customize this recipe to suit your taste. Here are some creative variations to inspire you:
Different Types of Chocolate
Experiment with different types of chocolate to find your favorite flavor profile. Dark chocolate chips offer a rich, intense flavor that pairs beautifully with the sweetness of the cookie. Milk chocolate provides a creamier, sweeter taste, while white chocolate adds a unique sweetness and a touch of elegance. For a fun twist, try mixing various types of chocolate chips in one batch for a chocolate lover’s dream cookie.
Add-ins and Mix-ins
Consider incorporating additional ingredients to elevate your cookies further. Dried fruits, such as cranberries or cherries, add a delightful chewiness and tartness that balances the sweetness of the chocolate. Nuts like macadamia or pecans can introduce an appealing crunch. You can also add spices such as cinnamon or nutmeg for a warm, comforting flavor. For a hint of sophistication, consider a splash of almond or orange extract.
Healthier Alternatives
For those seeking healthier options, there are several ways to adapt this classic recipe. Substitute whole wheat flour for all-purpose flour to add fiber and nutrients. You can also experiment with using coconut oil or applesauce instead of butter for a lower-fat alternative. If you’re aiming for a lower sugar content, consider using natural sweeteners like honey or maple syrup, but be aware that this may affect the texture and spread of the cookies.
Serving and Enjoying Your Chocolate Chip Cookies
Once your heavenly homemade chocolate chip cookies have cooled, it’s time to enjoy them! These cookies are perfect for various occasions, whether it’s a casual snack at home, a dessert for a dinner party, or a thoughtful gift for a friend.
Pairing with Beverages
To enhance your cookie-eating experience, consider pairing them with the perfect beverage. A glass of cold milk is a classic choice, bringing nostalgia and comfort. For a more gourmet experience, try serving your cookies with a rich cup of coffee or espresso, which complements the chocolate beautifully. Alternatively, a warm cup of tea can provide a soothing contrast to the sweetness of the cookies.
Storing Cookies
Proper storage is essential for keeping your cookies fresh and delicious. Place cooled cookies in an airtight container at room temperature, where they should stay soft for several days. If you want to prolong their shelf life, consider freezing them. Simply place the cookies in a freezer-safe bag, separating layers with parchment paper, and they can last for up to three months. When you’re ready to enjoy them, simply thaw at room temperature or warm them in the oven for a few minutes.
Conclusion
Chocolate chip cookies are more than just a dessert; they are a comforting treat that brings people together. By following this detailed recipe and understanding the science behind the ingredients, you can create a batch of cookies that are sure to impress. Whether enjoyed warm from the oven or shared with loved ones, these heavenly homemade chocolate chip cookies are bound to make any occasion sweeter. With endless variations and the ability to personalize them to your liking, chocolate chip cookies will forever hold a special place in the hearts of bakers and cookie lovers alike.