Introduction
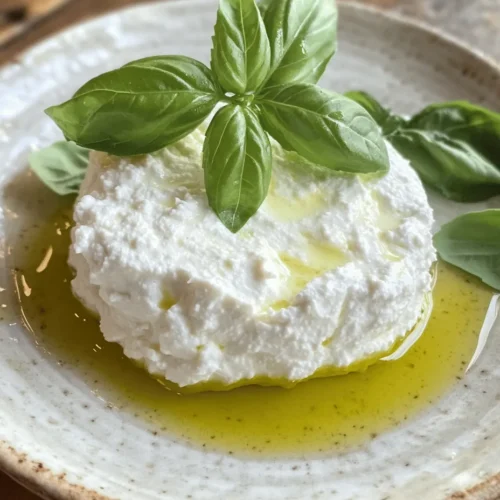
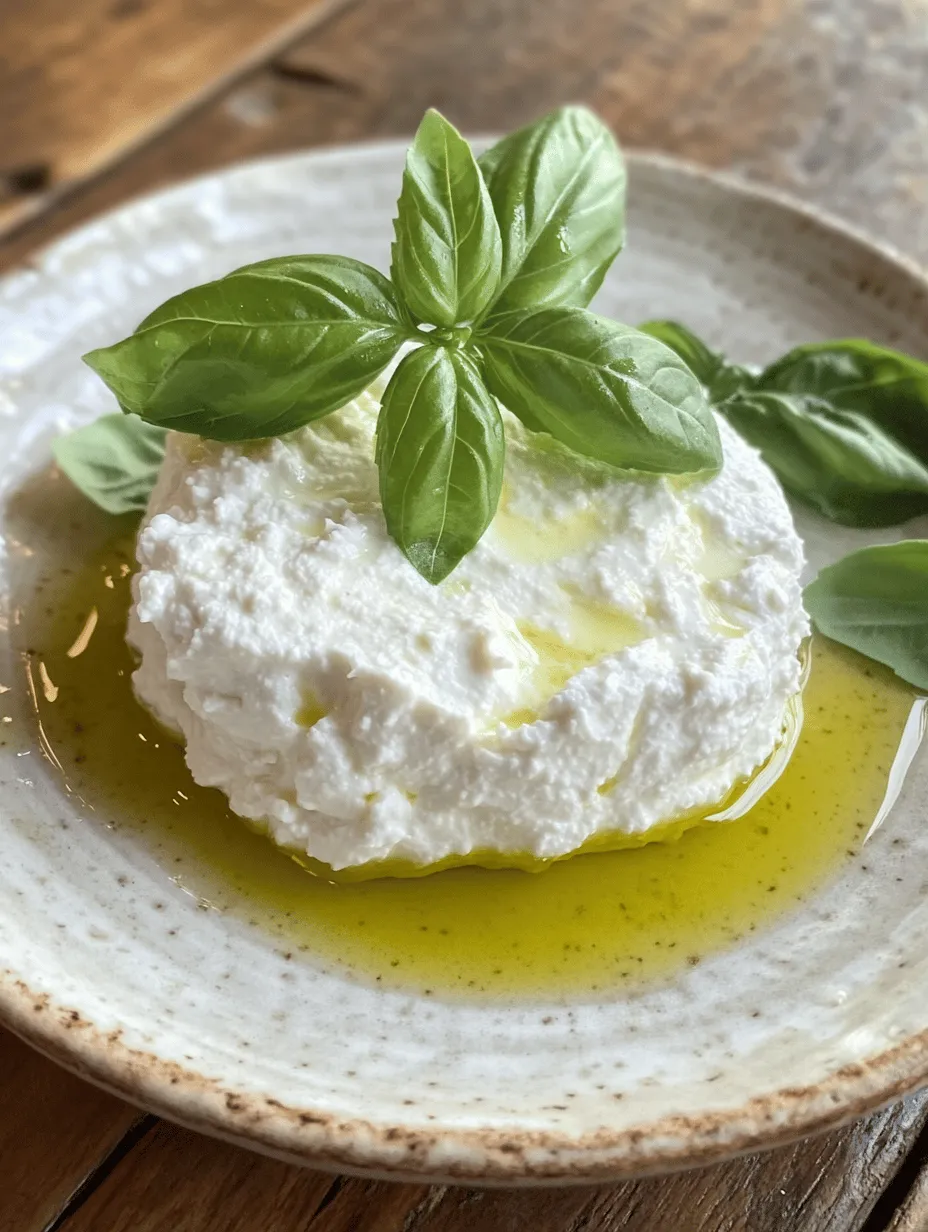
Ricotta cheese, with its creamy texture and mild flavor, holds a special place in the heart of Italian cuisine. Its name derives from the Italian word “ricotta,” meaning “recooked,” which aptly describes the traditional process of making this beloved cheese. While ricotta is often associated with dishes like lasagna, cannoli, and stuffed pasta, its versatility extends far beyond these classic recipes. From savory to sweet, this cheese can elevate any meal, enriching it with a fresh, delicate essence.
The beauty of ricotta lies not just in its flavor but also in the joy of creating it from scratch. Making ricotta at home is a delightful experience that allows you to control the quality of ingredients and enjoy the freshest cheese possible. With just a few simple ingredients, you can produce a creamy, luscious cheese that surpasses anything found in the store. The process is surprisingly straightforward, making it accessible even for beginner cooks.
As you embark on this culinary adventure, you’ll discover that the satisfaction of crafting your own ricotta cheese is unparalleled. The delicate aroma wafting through your kitchen as you heat the milk and cream is just the beginning of a rewarding experience that culminates in a delicious, homemade product.
The Cultural Significance of Ricotta Cheese
Ricotta cheese boasts a rich history in Sicilian cooking, deeply rooted in the island’s agricultural traditions. Originally made from the whey left over from the production of other cheeses, ricotta was a practical solution to reduce waste and provide nourishment. Over the centuries, this cheese evolved into a staple in Italian households, symbolizing resourcefulness and culinary ingenuity.
In traditional Sicilian cuisine, ricotta is often used in a variety of ways. It plays a crucial role in savory dishes, such as stuffed pasta—where it is combined with ingredients like spinach and herbs to create a flavorful filling. Additionally, ricotta serves as a key component in desserts like cannoli, where it is sweetened and flavored with vanilla or citrus zest, transforming it into a delightful filling encased in a crispy pastry shell.
In recent years, ricotta cheese has gained popularity in modern culinary trends, embraced by chefs and home cooks alike for its versatility and adaptability. It can be found in everything from salads to pizzas, and its creamy texture makes it an excellent addition to dips and spreads. Whether served as a topping for bruschetta or blended into smoothies, ricotta continues to inspire creativity in the kitchen.
Understanding the Ingredients
Before diving into the process of making fresh ricotta, it’s essential to understand the key ingredients that contribute to its unique flavor and texture. The primary components for homemade ricotta include whole milk, heavy cream, and an acidic agent such as vinegar or lemon juice.
Whole Milk and Heavy Cream
The foundation of ricotta cheese is high-quality whole milk and heavy cream. Using whole milk provides the necessary fat content, ensuring a rich and creamy texture. Additionally, incorporating heavy cream enhances the flavor, contributing to a luxurious mouthfeel. For the best results, opt for milk that is free from additives or preservatives, as this will yield a fresher and more authentic taste.
The Role of Acid
The addition of an acid—either vinegar or lemon juice—is crucial in the curdling process. When heated, the milk proteins coagulate and separate from the whey, forming curds. The acid not only aids in this process but also contributes a subtle tanginess to the finished cheese. The choice between vinegar and lemon juice can influence the flavor profile of your ricotta. Apple cider vinegar adds a milder taste, while lemon juice imparts a bright, zesty flavor.
Optional Ingredients
While the basic recipe for ricotta is simple, you can enhance its flavor with optional ingredients. Fresh herbs, such as basil or chives, can be stirred into the ricotta after it has cooled, adding a burst of freshness that complements savory dishes. For a sweet twist, consider mixing in honey or vanilla extract, perfect for dolloping on toast or pairing with fruit.
Step-by-Step Guide to Making Fresh Ricotta
Preparing the Equipment
Before you begin the cheese-making process, it’s essential to prepare your equipment. Cleanliness is paramount when it comes to making cheese; any contamination can spoil your batch. Here’s what you’ll need:
– Large Pot: Choose a pot large enough to hold the milk and cream, allowing for ample space to prevent boiling over.
– Cheesecloth: This fine fabric will be used to strain the curds from the whey, so select a clean, food-safe cheesecloth.
– Colander: A colander is essential for draining the ricotta after it has formed.
– Thermometer: A digital or candy thermometer will help you monitor the temperature of the milk and cream accurately.
Heating the Milk and Cream
Once your equipment is ready, it’s time to heat the milk and cream. Pour the whole milk and heavy cream into the large pot and place it over medium heat. Stir gently to combine the two liquids, ensuring even heating.
As the mixture warms, keep an eye on the temperature. You want to heat it slowly, bringing it to about 190°F (88°C) without allowing it to boil. Look for signs that indicate the milk is ready: small bubbles will begin to form around the edges, and steam will rise from the surface. This is the point at which the proteins are on the verge of coagulation.
Adding the Acid
Once the milk and cream have reached the desired temperature, it’s time to add the acid. Remove the pot from the heat and stir in your chosen vinegar or lemon juice gently. You should see immediate curdling as the milk solids begin to separate from the whey. Allow the mixture to sit undisturbed for about 10 minutes to let the curds fully form.
During this time, you’ll notice the curds will become firmer and more distinct. After 10 minutes, the separation should be clear, with a visible distinction between the soft curds and the translucent whey.
At this point, you are well on your way to creating a delicious batch of fresh Sicilian homemade ricotta cheese. The next steps will involve straining the curds and whey, which will transform your mixture into the creamy cheese you can enjoy in a variety of dishes.
Stay tuned for the continuation of this cheese-making adventure, where we’ll dive into the straining process and explore how to store and use your freshly made ricotta!

The Curds and Their Transformation
Creating your own ricotta cheese at home is an exciting culinary adventure, and understanding the curdling process is crucial to achieving the best results. When you heat the milk and add the acid, whether it’s lemon juice or vinegar, the milk proteins start to coagulate, forming curds. This process can take anywhere from 5 to 15 minutes, depending on the temperature of the milk and the acidity.
During this phase, it’s essential to keep a close eye on the mixture. You should see the curds forming and separating from the whey, which is the liquid part. The curds will look lumpy and soft, and the whey will appear clear and slightly yellowish.
Patience is key during the curdling process. Avoid the temptation to stir vigorously; gentle stirring is crucial to maintaining the integrity of the curds. Too much movement can break them apart, leading to a grainy texture instead of the soft, creamy consistency we desire in ricotta. Allow the curds to settle and form a cohesive mass before proceeding to the next step.
Straining the Curds
Once the curds have formed, the next step is to strain them. Straining is a critical phase in making ricotta, as it determines the final texture of your cheese. For this process, you will need a large bowl and a fine-mesh strainer lined with cheesecloth or a clean kitchen towel.
1. Preparing to Strain: Place the strainer over the bowl, ensuring it’s stable enough to hold the curds and whey.
2. Transferring the Curds: Carefully ladle the curds into the strainer using a slotted spoon. Be gentle to avoid breaking them up too much.
3. Draining: Let the curds sit for about 10-15 minutes. If you prefer a soft ricotta, you might only need to drain them for a shorter time. For a firmer texture, leave them to strain longer.
To achieve the desired texture, you may want to test the curds at intervals. If they seem too wet, continue straining, but remember that some moisture is essential for a creamy ricotta.
Seasoning and Finishing Touches
Once you have strained the curds to your liking, it’s time to season them. This step is vital; while ricotta has a mild flavor on its own, seasoning enhances it beautifully.
Start by adding a pinch of salt to the curds. Salt not only boosts flavor but also acts as a preservative. Mix the salt gently into the curds, ensuring even distribution.
For those looking to elevate their ricotta even further, consider incorporating fresh herbs like basil, thyme, or chives, or even a hint of black pepper or garlic powder. These additions can transform your ricotta into a versatile ingredient that can stand alone or accompany other dishes.
Chilling and Serving Suggestions
Homemade ricotta is best enjoyed fresh, but if you have leftovers, proper storage is essential. Transfer the ricotta into an airtight container and store it in the refrigerator. It should last for about 3 to 5 days.
When it comes to serving your fresh ricotta, the possibilities are endless. You can use it as a spread on toasted bread, dollop it onto salads, or incorporate it into pasta dishes like lasagna or ravioli. Here are some ideas to get you started:
– Pasta Dishes: Ricotta is an excellent filling for stuffed pasta, or it can be stirred into sauces for added creaminess.
– Salads: Crumble ricotta over a fresh salad for a burst of flavor and texture. It pairs beautifully with beets, arugula, and citrus.
– Spreads: Mix ricotta with herbs, lemon zest, or even roasted garlic for a delectable spread on crackers or bread.
The Versatility of Fresh Ricotta Cheese
Fresh ricotta cheese is incredibly versatile and can be utilized in a variety of culinary applications. Beyond the common uses mentioned, consider these ideas:
– Appetizers: Use ricotta as a base for dips or as a topping for bruschetta, combined with seasonal vegetables or fruits.
– Main Dishes: Incorporate ricotta into savory tarts or as a layer in lasagna. It also works well in baked dishes, adding creaminess and depth.
– Desserts: Ricotta can be sweetened and used in desserts such as cheesecake or cannoli filling, offering a lighter alternative to cream-based options.
Personal narratives often enrich the experience of cooking. Many families have cherished recipes featuring ricotta, passed down through generations. Perhaps it’s a simple lasagna made with layers of homemade ricotta, or a festive dessert that brings everyone together during holidays. These stories add warmth and connection to the act of cooking and sharing food.
Health Benefits of Homemade Ricotta
Making ricotta at home not only allows you to control the ingredients but also offers several health benefits. Ricotta cheese is a good source of protein and calcium, essential for bone health and muscle development. It also contains healthy fats, which can aid in nutrient absorption and provide a feeling of fullness.
When comparing homemade ricotta to store-bought options, the differences are evident. Homemade ricotta usually contains fewer preservatives and additives, making it a healthier choice. Additionally, you have the option to use high-quality, organic milk, further enhancing the nutritional profile of your cheese.
However, individuals with lactose intolerance should note that homemade ricotta may still contain some lactose, though the curdling process can reduce it. For those who are lactose sensitive, enjoying ricotta in moderation or opting for lactose-free milk may be a good solution.
Conclusion
Making fresh ricotta cheese at home is an incredibly rewarding experience that combines simplicity with the joy of creating something delicious. The process is straightforward, and the end result is a creamy, versatile cheese that can elevate a multitude of dishes.
As you experiment with flavors and textures, remember that each batch of ricotta will yield a slightly unique flavor profile, allowing you to tailor it to your personal taste. Embrace the creative possibilities that ricotta offers in your kitchen, and don’t hesitate to explore new pairings and recipes. The joys of homemade cheese extend beyond taste; they include the satisfaction of crafting something with your own hands, connecting with culinary traditions, and sharing delightful creations with loved ones.