
Introduction
Exploring the world of homemade cheese can be a rewarding culinary adventure, and there’s perhaps no cheese more delightful than fresh, stretchy mozzarella. This guide will walk you through the process of creating your own mozzarella at home, using simple ingredients and techniques. You’ll not only enjoy the satisfaction of making this beloved cheese but also the delicious, fresh flavor that store-bought varieties often lack. Mozzarella is a versatile cheese that can elevate various dishes, from classic pizzas and caprese salads to simply enjoying it on its own.
In recent years, there has been a resurgence of interest in crafting homemade cheeses, and mozzarella stands out as a favorite among both novice and seasoned cooks. The process of making mozzarella is not only simple but also educational, allowing you to understand the science behind cheese-making. With just a few ingredients and some patience, you’ll be able to produce a product that is fresher and tastier than any store-bought version.
In this article, we will explore the essential ingredients, the necessary equipment, and the step-by-step instructions to help you create perfect mozzarella in your own kitchen. Whether you’re a cheese lover or looking to impress your friends at your next gathering, homemade mozzarella is sure to be a hit.
Understanding the Ingredients
Whole Milk: The Foundation of Mozzarella
The foundation of mozzarella is, unsurprisingly, milk. When selecting milk for cheese-making, it is essential to choose whole milk. This is because whole milk contains the fat and proteins necessary for creating the rich and creamy texture characteristic of mozzarella. The higher fat content in whole milk contributes to the cheese’s smooth stretchiness and mouthfeel, making it the ideal choice for this recipe.
However, not all milk is created equal. While it may be tempting to use ultra-pasteurized milk for its longevity and convenience, this type of milk is not ideal for cheese-making. Ultra-pasteurized milk undergoes a higher processing temperature, which alters the proteins and can prevent proper curd formation. For the best results, always opt for fresh, non-ultra-pasteurized whole milk from your local grocery store or farmer’s market.
Rennet: The Curdling Agent
Rennet is a critical component in the cheese-making process, acting as the curdling agent that helps separate the curds from the whey. There are two primary forms of rennet used in cheesemaking: liquid rennet and rennet tablets. Liquid rennet is often more accessible for home cheese-makers, as it is easier to measure and incorporate into the milk.
The role of rennet is to coagulate the milk, forming solid curds that can later be drained and shaped into mozzarella. It does this by introducing enzymes that cause the proteins in the milk to bond together, creating a gel-like consistency. When using rennet, it’s important to follow the recommended amounts closely, as too much can lead to overly firm curds, while too little may result in a failure to form curds altogether.
Citric Acid: Enhancing Flavor and Texture
Citric acid plays a dual role in mozzarella-making: it helps to acidify the milk and enhances both flavor and texture. The acidification process is crucial, as it prepares the milk for the addition of rennet, ensuring that the curds form properly. When making mozzarella, citric acid is typically added to the milk before rennet, allowing the milk to reach the optimal pH for curd formation.
If you don’t have citric acid on hand, there are alternative sources you can use, such as lemon juice or vinegar. However, citric acid is preferred for its consistent results and ability to impart a clean, fresh flavor to the cheese.
Salt: Essential for Flavor
Salt is an essential ingredient in mozzarella, serving not only as a flavor enhancer but also as a preservative. It is crucial to add salt after the curds have formed, as this helps to draw out excess moisture and improve the overall texture of the cheese. When selecting salt, consider using non-iodized varieties such as kosher salt or sea salt, as these options contribute to the cheese’s flavor without introducing any unwanted additives.
Equipment You Will Need
Essential Kitchen Tools
Before diving into the mozzarella-making process, it’s important to gather the necessary equipment. Here are the essential tools you will need:
– Large Pot: A heavy-bottomed pot is ideal for heating the milk evenly without scorching. Choose one that is large enough to hold the milk and allows for stirring without spillage.
– Thermometer: A reliable kitchen thermometer is crucial for monitoring the milk’s temperature. Precise temperature control is key to successful cheese-making, as different stages require specific temperatures.
– Knife or Long Spatula: Once the curds have formed, you’ll need a knife or spatula to cut them into smaller pieces. This step is essential for releasing whey and achieving the desired texture.
– Colander and Cheesecloth: A colander lined with cheesecloth is necessary for draining the whey from the curds. Cheesecloth allows for the easy separation of whey while retaining the curds.
– Microwave: Many mozzarella recipes involve a kneading process that can be expedited using a microwave. This method helps achieve that signature stretchiness.
Optional Tools for Expertise
While the essential tools listed above will suffice for your mozzarella-making adventure, there are a few optional tools that can enhance your cheese-making expertise:
– Cheese Molds: If you’re looking to shape your mozzarella into specific forms, cheese molds can help you achieve professional-looking results.
– pH Strips: For those interested in the science of cheesemaking, pH strips can measure the acidity levels in your milk, ensuring you achieve optimal conditions for curd formation.
Step-by-Step Instructions to Make Mozzarella
Now that you understand the importance of the ingredients and have gathered your equipment, it’s time to dive into the exciting process of making mozzarella. Below are the detailed step-by-step instructions to guide you through this culinary adventure.
Preparing the Milk
The first step in making mozzarella is to prepare the milk. Pour the whole milk into your large pot and place it on the stove over medium heat. You want to heat the milk gradually to a target temperature of 85°F (29°C). This temperature is crucial, as it allows the citric acid to work effectively without curdling the milk prematurely.
To monitor the temperature accurately, use your thermometer, stirring gently to ensure even heating. It’s important to avoid overheating the milk, as scorching can occur if it’s left unattended or heated too quickly. As soon as the milk reaches the desired temperature, remove it from the heat and move on to the next step.
Adding Citric Acid
Once the milk is heated, it’s time to incorporate the citric acid. Gradually sprinkle the citric acid into the warm milk while stirring gently. This gradual incorporation will help evenly distribute the citric acid, ensuring optimal curd formation.
As you stir, keep an eye on the milk. You should start to see signs of curdling as the milk thickens slightly and begins to separate into curds and whey. This process usually takes a few minutes; be patient and continue to stir gently until you see the desired changes in the milk’s texture.
Incorporating Rennet
With the citric acid added and the milk starting to curdle, the next step is to incorporate the rennet. Using your knife or spatula, add the appropriate amount of rennet according to your recipe and stir it into the milk gently for about 30 seconds. After stirring, allow the milk to sit undisturbed for 5 to 10 minutes. During this time, you’ll see the curds forming.
Signs of successful curd formation include a clean break in the curds when you press gently with your finger. If the curds do not form properly, it may be necessary to adjust the temperature or the amounts of citric acid and rennet used.
Cutting the Curds
Once the curds have formed, it’s time to cut them. Using your knife or spatula, cut the curds into small, uniform pieces. Aim for cubes that are about 1 inch in size, as this will help with the whey drainage process. After cutting the curds, allow them to sit for another 5 minutes to firm up slightly before proceeding to the next step.
By following these initial steps, you will be well on your way to crafting your very own batch of homemade mozzarella. The process may seem intricate, but with patience and practice, you’ll soon find joy in creating this delicious cheese right in your kitchen. So gather your ingredients, prepare your equipment, and get ready to embark on your mozzarella-making journey!
Best Practices for Cutting Curds into Uniform Squares
Achieving uniform curd sizes is a crucial step in the mozzarella-making process. Cutting the curds into even squares allows for consistent cooking and helps maintain the desired texture of the final cheese. To ensure uniformity, use a long knife or a curd cutter that can reach the bottom of the pot. Start by cutting the curds into large squares, about 1 to 2 inches in size. Allow them to rest for about 5 to 10 minutes before cutting them further into smaller pieces.
As you cut, try to keep a steady hand and a consistent size, as this will help the curds cook evenly. Remember, the smaller the curds, the quicker they will heat and expel whey, which significantly impacts the final product’s texture.
Impact of Curd Size on Texture
The size of the curds directly influences the moisture content and texture of your mozzarella. Smaller curds will produce a firmer cheese, while larger curds yield a softer, creamier texture. If you prefer a traditional mozzarella with that characteristic stretch, aim for curds around 1 inch. Adjusting the size according to your taste preferences is a fun way to personalize your cheese-making experience.
Heating the Curds
The Significance of Gradually Raising the Temperature
Once the curds are cut, it’s time to heat them. This step is vital for the development of mozzarella’s signature stretchiness. Gradually raise the temperature of the curds to 105°F (40°C) over about 15 minutes. This slow heating process allows the curds to expel whey gently and encourages them to begin forming that luscious texture associated with mozzarella.
Maintaining Gentle Stirring to Avoid Breaking Curds
As you heat the curds, maintain a gentle stirring motion. This not only aids in even heating but also prevents the curds from clumping together or breaking apart. Too much agitation can lead to a crumbly texture, so be mindful to stir just enough to keep everything moving without causing damage.
Draining the Whey
How to Properly Line a Colander
Once your curds have reached the desired temperature, it’s time to drain off the whey. To do this effectively, line a colander with a fine cheesecloth or a clean kitchen towel. Make sure the cloth hangs over the edges of the colander to catch all the curds when you pour them in. This setup allows the whey to drain away while keeping the curds intact.
Understanding Whey and Its Role
Whey is the liquid that separates from the curds during the cheese-making process. It is rich in protein and can be used in various ways, such as in smoothies or bread recipes. Understanding the role of whey in cheese-making not only helps in the process but also gives you insights into how to utilize every part of your ingredients effectively.
Kneading the Curds
Guide to Achieving the Perfect Texture Through Kneading
With the whey drained, the next step is kneading the curds. This is where the magic happens; kneading helps to develop the mozzarella’s texture and stretch. Start by folding the curds over themselves and gently pressing down. You’ll want to knead for about 5 to 10 minutes until the curds are smooth and elastic.
Importance of Microwave Heating in This Step
If you find that the curds are not pliable enough, you can use the microwave to help. Place the curds in a microwave-safe bowl and heat them in short bursts of 30 seconds, kneading in between. Heating helps melt the curds slightly, making them easier to knead and stretch. Always check the temperature; you want them warm, not hot, to avoid burning yourself.
Shaping the Mozzarella
Techniques for Forming Mozzarella Balls
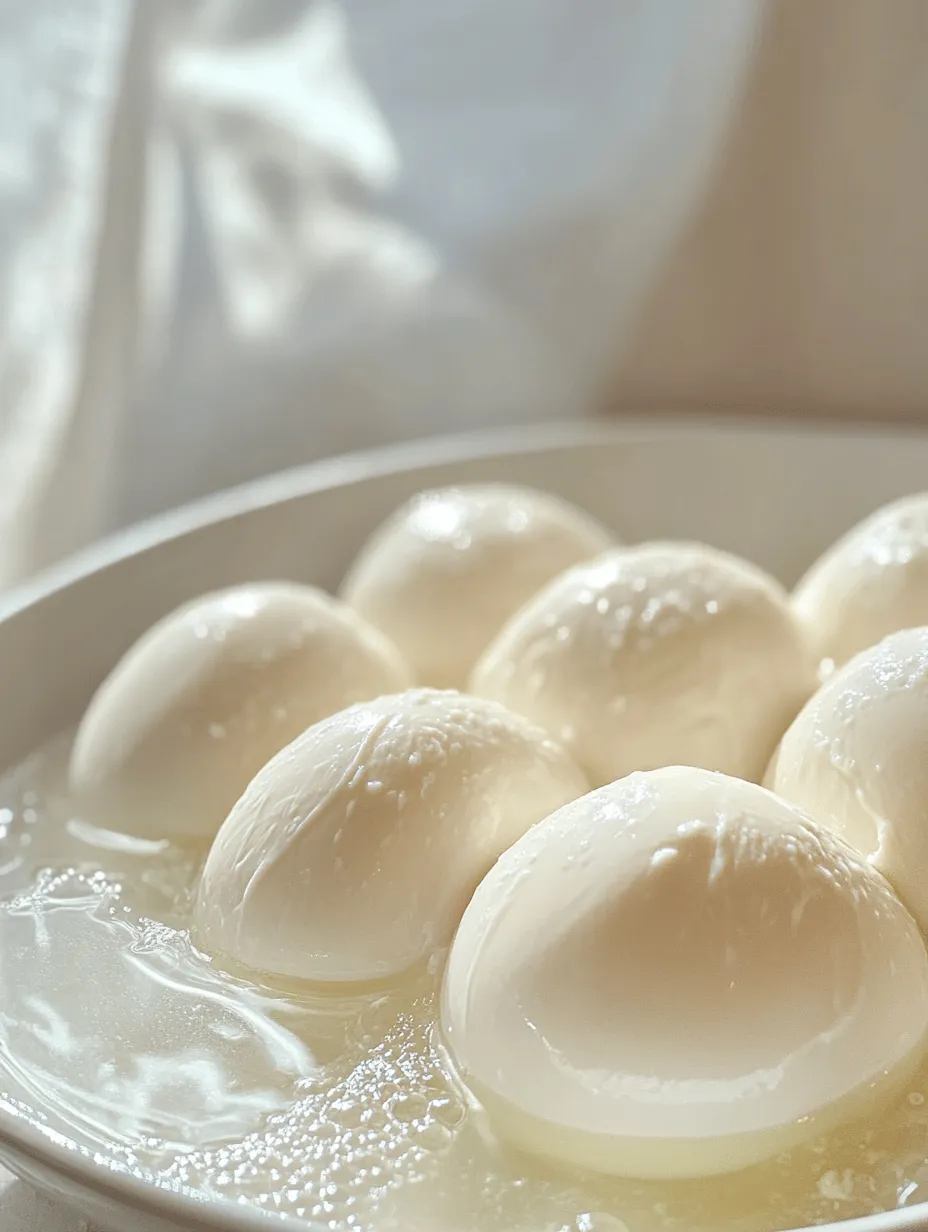
Now that your curds are perfectly kneaded, it’s time to shape them into mozzarella balls. Take a portion of the kneaded curds and roll them between your palms to form a smooth ball. The size is up to you, but traditionally, mozzarella balls are about 1 to 2 inches in diameter.
Creative Ideas for Shaping Beyond the Traditional Ball
Feel free to get creative with your shapes! You can form mozzarella into logs, pearls, or even small knots. These variations not only make for beautiful presentations but also allow for different culinary uses. Think ahead to how you plan to use your mozzarella and shape accordingly.
Cooling in Ice Water
Why Cooling is Essential for Final Texture
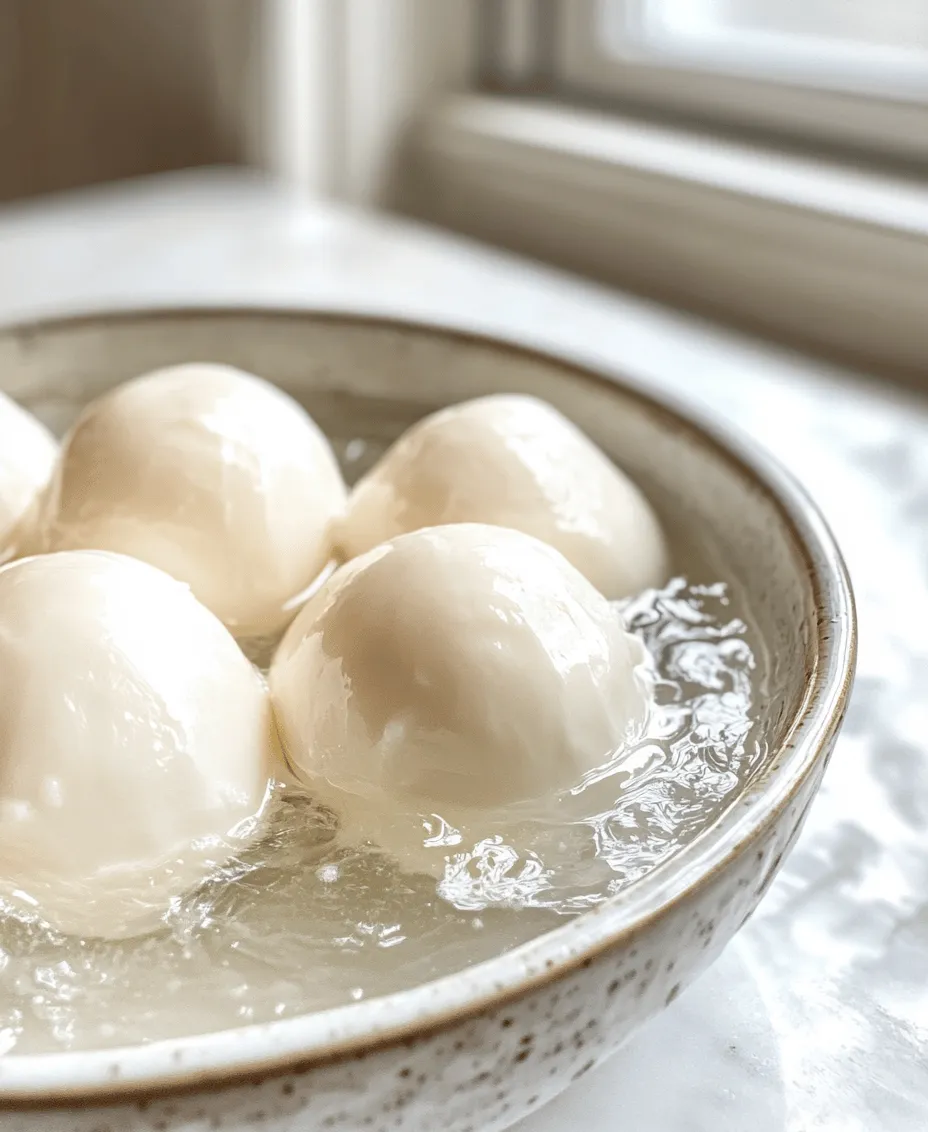
Once your mozzarella is shaped, it’s essential to cool it quickly in ice water. This step halts the cooking process and helps set the cheese, ensuring it maintains its shape and texture. The cool temperature helps firm the mozzarella while also enhancing its stretchiness.
Duration for Optimal Firmness
Allow the mozzarella to cool in the ice water for at least 15 minutes. If your mozzarella is larger, you may need to extend this time to 30 minutes. The longer it cools, the firmer it will become, so adjust according to your desired end texture.
Storing Your Fresh Mozzarella
Best Practices for Keeping Mozzarella Fresh
Fresh mozzarella is best enjoyed shortly after making it, but you can certainly store any leftovers. To keep your mozzarella fresh, place it in a container filled with whey or salted water. This helps maintain moisture and flavor. If you used salted water, make sure to cover it tightly and refrigerate.
How to Store in Whey or Salted Water
To store mozzarella in whey, simply submerge the cheese in the liquid and seal the container. If you prefer using salted water, prepare a brine with 1 tablespoon of salt for every cup of water. Make sure the mozzarella is fully submerged and store it in the refrigerator. Enjoy it within a week for the best quality.
The Science Behind Mozzarella
Understanding the Cheese-Making Process
The process of making mozzarella is both art and science. Curdling occurs when rennet is added to milk, causing it to separate into curds and whey. The temperature and acidity of the milk play a crucial role in this separation. The curds are then cut, heated, and shaped, transforming them into the cheese we know and love.
The Role of Temperature and Acidity in Cheese Texture
Temperature influences the elasticity and stretch of the cheese, while acidity affects its flavor. A well-controlled environment during cheese-making leads to a better end product. Experimenting with different temperatures and acidity levels can yield various textures and flavors, allowing you to customize your mozzarella.
The Importance of Freshness
How Fresh Mozzarella Differs from Aged Varieties
Fresh mozzarella is celebrated for its delicate, milky flavor and soft texture, contrasting sharply with aged mozzarella, which has a firmer texture and sharper taste. The lack of aging means fresh mozzarella retains more moisture and a creamier profile, making it ideal for salads, pizzas, and other dishes where the cheese’s flavor can shine.
The Impact of Freshness on Flavor and Texture
Freshness impacts not only the flavor but also the texture of mozzarella. The fresher the cheese, the creamier and softer it will be. This quality makes fresh mozzarella perfect for caprese salads or simply enjoyed with a drizzle of olive oil and a sprinkle of salt, allowing you to appreciate its pure, milky flavor.
Culinary Uses for Homemade Mozzarella
Classic Dishes Featuring Mozzarella
Homemade mozzarella can elevate traditional dishes. Picture it melted on a Margherita pizza, layered in lasagna, or served alongside ripe tomatoes and basil in a classic caprese salad. Each dish benefits from the freshness and quality of your homemade cheese, enhancing the overall culinary experience.
Pairing with Fresh Ingredients for Maximum Flavor
To maximize the flavor of your mozzarella, pair it with fresh, seasonal ingredients. Think ripe heirloom tomatoes, fragrant basil, and a drizzle of balsamic reduction. These combinations allow the creamy texture of the mozzarella to shine while balancing it with acidity and freshness.
Creative Applications
Unique Dishes That Showcase Homemade Mozzarella
The versatility of mozzarella lends itself to countless creative applications. Consider using it in a creamy risotto, stuffed into chicken breasts, or blended into a savory frittata. Each of these dishes showcases the cheese’s unique qualities, allowing you to experiment with flavors and textures.
Suggestions for Serving and Enhancing Mozzarella’s Taste
For a delightful appetizer, serve mozzarella drizzled with high-quality olive oil, a sprinkle of sea salt, and crushed pepper. You can also enhance its flavor with fresh herbs like oregano or thyme, or even pair it with seasonal fruits such as peaches or figs for a sweet contrast.
Conclusion
Making homemade mozzarella is not only an enjoyable culinary project but also a way to bring fresh, high-quality cheese into your kitchen. With just a few ingredients and simple techniques, you can create a product that far surpasses anything you can buy at the store. Whether you are using it in a family meal or impressing guests at a dinner party, your homemade mozzarella is sure to delight. Embrace the process, enjoy the results, and savor the delicious flavors of your homemade creation!